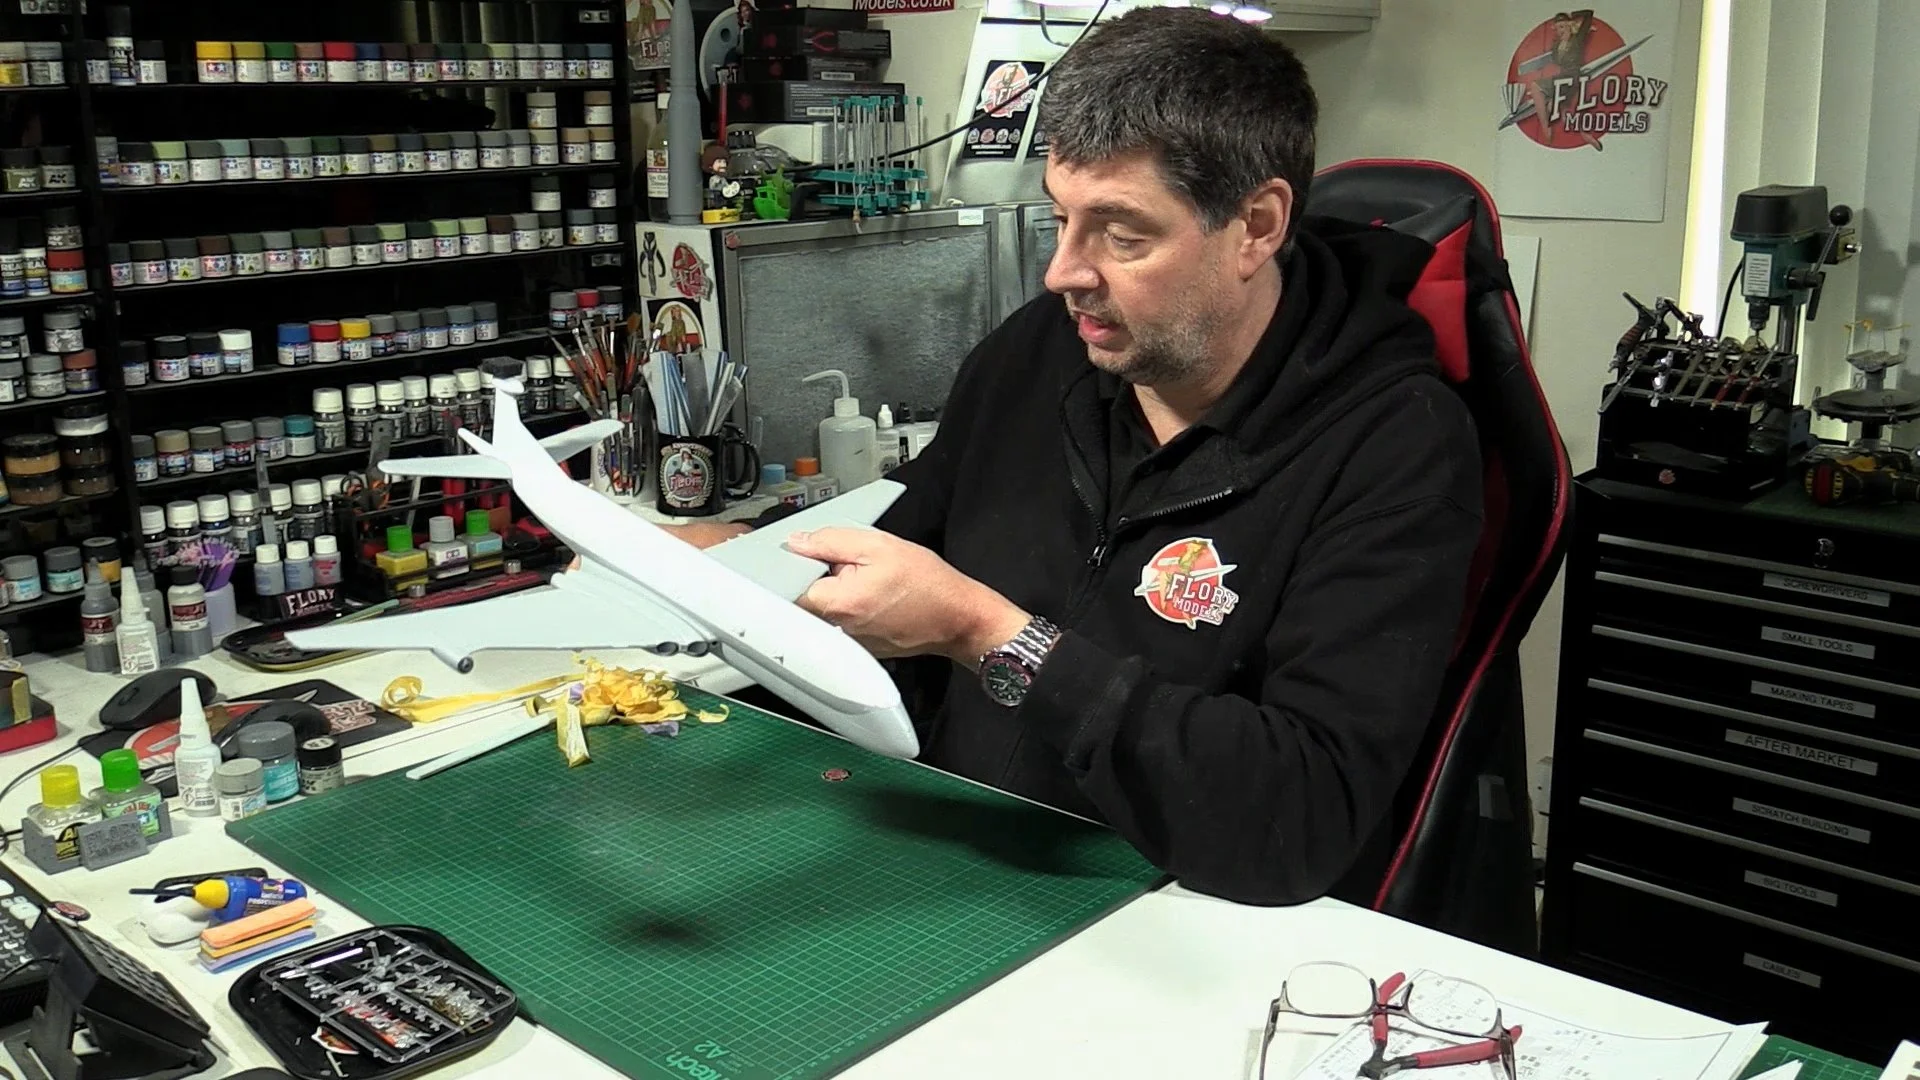
BAe Nimrod
Scale: 1/72
Manufacturer: Airfix
Parts used: Eduard Mask Set
Main paints used: AK Real Colors
0:00 We start the build as always by looking at the build ahead and how we will approach the build. 3:00 We start off with putting the cockpit together and the bomb bay. 8:30 We give a coat of light grey to the cockpit area 10:25 Next we pick out the seats and front panel with AK markets for a bit of color. Then we join the two fuselage halves together. 21:42 Here we find the first of a few problems with the clear part being too big and the bottom wing join being a very tight fit.
0:00 First, we glue the front canopy with the quickest glue, as we will be sanding one side and filling it. We also use some liquid styrene to make the intake seamless. 7:37 Here we mask up the canopy as we have a step on one side and need to feather it with filler to blend it in. Again we use liquid styrene. 12:28 Once dry we sand and blend it in working our way up the grades until we polish it all in. Next, we re-subscribe the panel lines lost on the sanding. 19:42 We put the wings together. and install the intakes. 27:11 With the wings drying we use the Eduard mask set CX 212 to mask up the windows.
0:00 To start, we make up a quick Talk and CA glue filler and fill the holes that need filling and a small seam line. 4:51 Next up we sand and polish the the filler and then prescribe all the panel lines lost. 13:28 With the fuselage done we can attach the wing section to the main body, there's a few fit problems but with a bit of fiddling we get it in place. 25:22 Last up we jig the wings so the alined and glue in place and left to dry overnight.
0:00 To start with, we sand the seams we'd filled on the wing roots and tail plans and then install the gear doors in the closed position for our in-flight look. 10:19 Next, it's over to the spray booth to put down a coat of black around the glass areas and the wing roots to check the seams. 12:41 Once dry it's time for the primer and the first time I've used the Mr Hobby Aqueous Surfacer primer 1000. This sprayed beautifully and gave a great satin finish. 16:08 We move to the workbench for a close look and find a few small dents that need filling with a little drop of Mr Surfacer and allowed to dry fully. We also looked at the colors we'll be using and picked the one that looked right to us. 25:45 We decided on Hataka C217 Light Aircraft Grey BS627 and put down two coats.
0:00 First up we mask up ready for the white top coat. 10:44 Then we use clingfilm to cover the wings so stop any overspray. 13:46 Now we move into the spray booth for the white coat. Here we use Tamiya LP-2 White 60/40 thinners. 17:52 With the white dry we move back to the bench and unmask and see what we have got and if we are happy with the choice of grey color. 25:46 Now it's time for the decals, unfortunately, these are the old, out-of-registered and poor-quality decals Airfix had back in the day.
0:00 After the decaling we look over the model and at some of the fixes we need to take care of. 4:39 We return to the spray booth to put down a satin coat over the entire model. We use AK 3rd Gen Matt varnish, I find this more like a satin finish if thinned around 60%. 10:19 Next up it's time for a wash with Flory Models Dark Dirt wash FMW002. 15:47 Once totally dry we remove the wash with a damp cloth. 20:54 Not happy at all with the decals as they continue to lift, I use gloss to stick and seal them down and to cover this I hand paint the wings with the matt varnish. 26:16 Now the big moment of unmasking and adding the antennas. 31:09 It's time to mount the model to the Flory models inflight stand. 38:03 The final reveal.


