Halifax Mk.III
Scale: 1/24
Manufacturer: Fonderie Miniatures
Parts used: Vector, Bristol Hercules engines
Main paints used: Tamiya and AK Real Colors
0:00 We, look at the kit and the build ahead and the aftermarket bits we have for the build. 5:13 Well, this kit is a bit rough. So first up, clean all the flash of the kit and a bit of test fitting to see just how bad the kit is. 17:11 We start work on the resin and white metal parts and try to work out what all the parts are with the instructions. 24:33 We test fit and look at the fit issues with the cockpit and forward areas and make a plan for getting it all to work.

0:00 We start to test fit all the cockpit together just to see how bad the fit is and yes it doesn't disappoint. 12:49 Next we add some strength to the model by adding some bulkheads to the fuselage. As we don't have a profiler to hand we you white take to make a basic guide and the sand to shape and fix in place. 28:27 With the bulkheads in place we can test fit the two fuselage halves together.

0:00 After the small problem with the cockpit area, we fix that and are happy with fit. 9:06 Now we need to check that the Vac foam canopy fits and the spread of the canopy matches the fuselage. 24:18 Last up is to fix the problem with the bomb aimers area and to make a former to tidy up the area.

0:00 Over on the spray booth, we start off with a coat of grey primer. 3:32 Next we put down a coat of AK real colors Interior Green.RC293 5:44 We then mask off the forward cabin and paint Tamiya XF-85 Black 7:54 With the paint work done and dry we dry brush the whole cockpit area with ABT 502s neutral grey. 12:04 Next we pick out the details with Posca pens and AK weathering pencils. 15:30 The instrument panel is in need of some details so we use some decals for the dials and seal with PVA glue to give a glass look to the dials. 20:23 Finally after what seems an awful lot of work we can bring the two fuselage halves together.

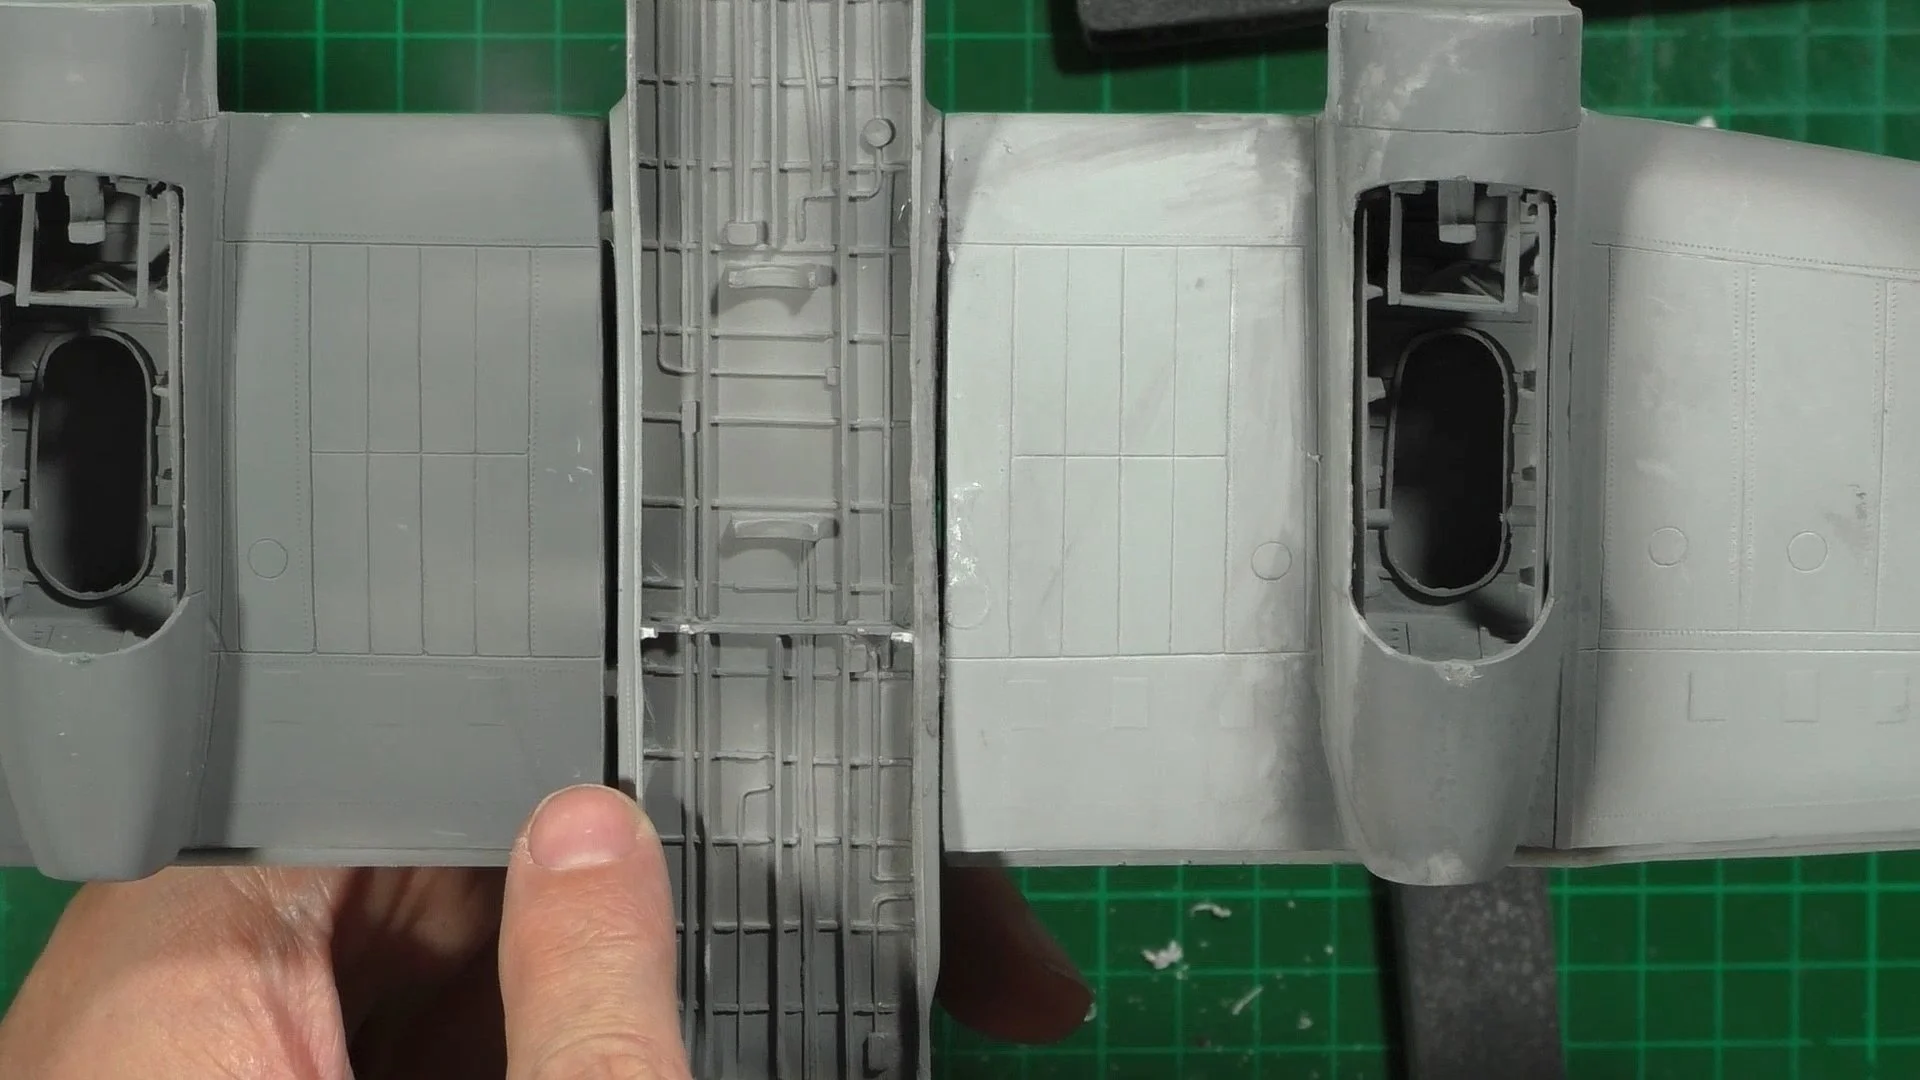
0:00 With the fuselage together we use a mix of plasticard and filler to smooth out the rather large gaps and fit problems and allow 48 hours to totally dry. 7:19 As the filler is drying we put together the wings. 15:36 Next it's time to put together the wheel well and take care of some more fit problems. 24:02 It's time to sand and then polish and then seam check and then re-fill, sand and polish and finally a black matt coat to see if everything looks good.

0:00 With the wheel wells installed in the engine nacelles, we fit them to the wing and the outboard engines with lots of dry fitting. 9:38 With the wings sanded and done it's time to Re-scribe and rivet the wings. 18:04 As with most things on this kit the wings are different and we have to use some creativity to get them to match. 21:27 Next it's time to re-scribe and rivet the fuselage and then we can install the wing spars and test fit the wings for the first time.

0:00 Here we make the wing spars and then fix on the tail panes and fill the seams. 8:18 Next we fix the wings but not without some fit issues we have to overcome. 13:15 With the wings fitted, there is a 2mm gap that needs filling. We use plasticard to fill the gap and extra thin to weld it all in place. 25:13 With the wings on and drying we turn our attention to the engine cowlings and then sanding and re-scribing.

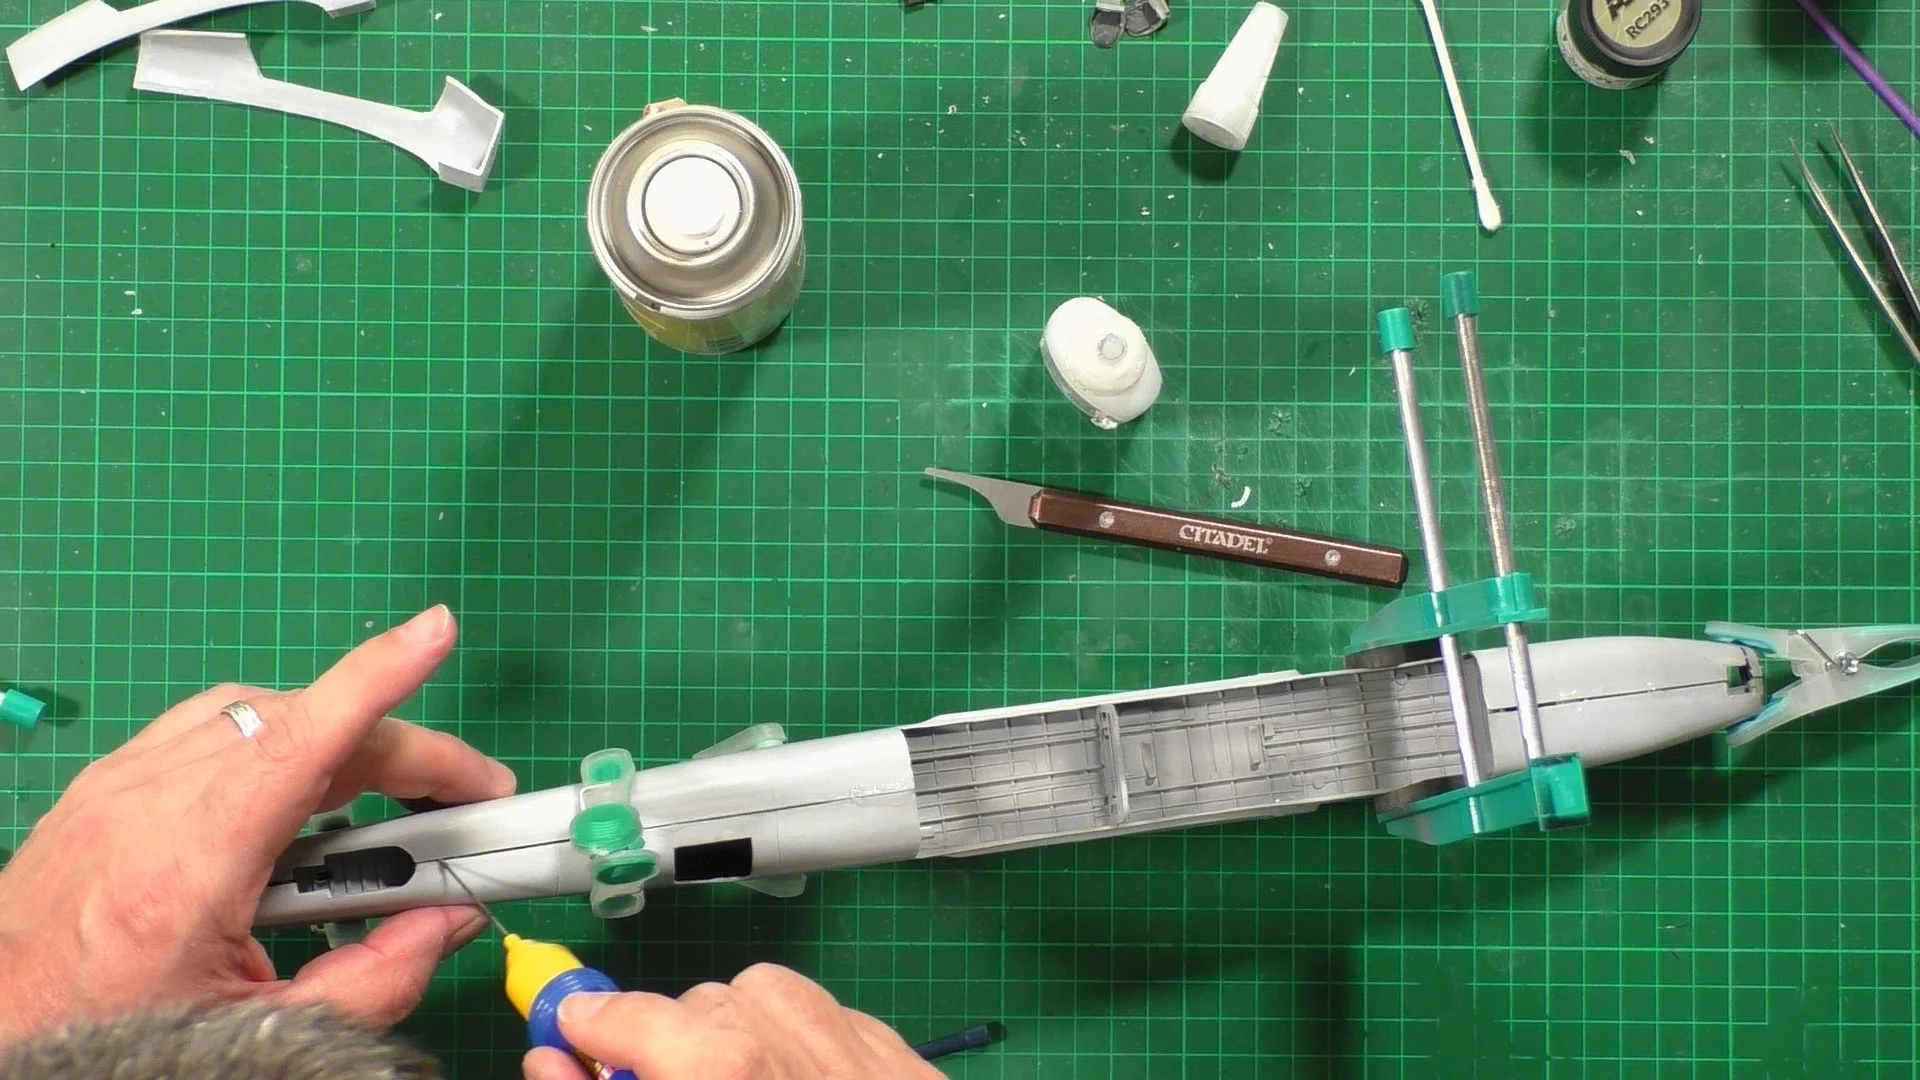
0:00 Firstly, we tidy up the wing join areas and for this, we use our styrene liquid filler and smooth flat with a wet finger. Just like you would using mastic. 3:00 Next we fill all the sink marks in the propellers and the bomb bay doors. 6:33 Now we turn our attention to the engines and how to mount them to the wings, for this we use some old acrylic clear rod and cut them into 9mm lengths and fit to the engines. 14:05 Time to look a fitting, or test fitting the main cockpit clear parts. 21:05 Now it's time to mount the engines and cowlings to the wing and line them all up.

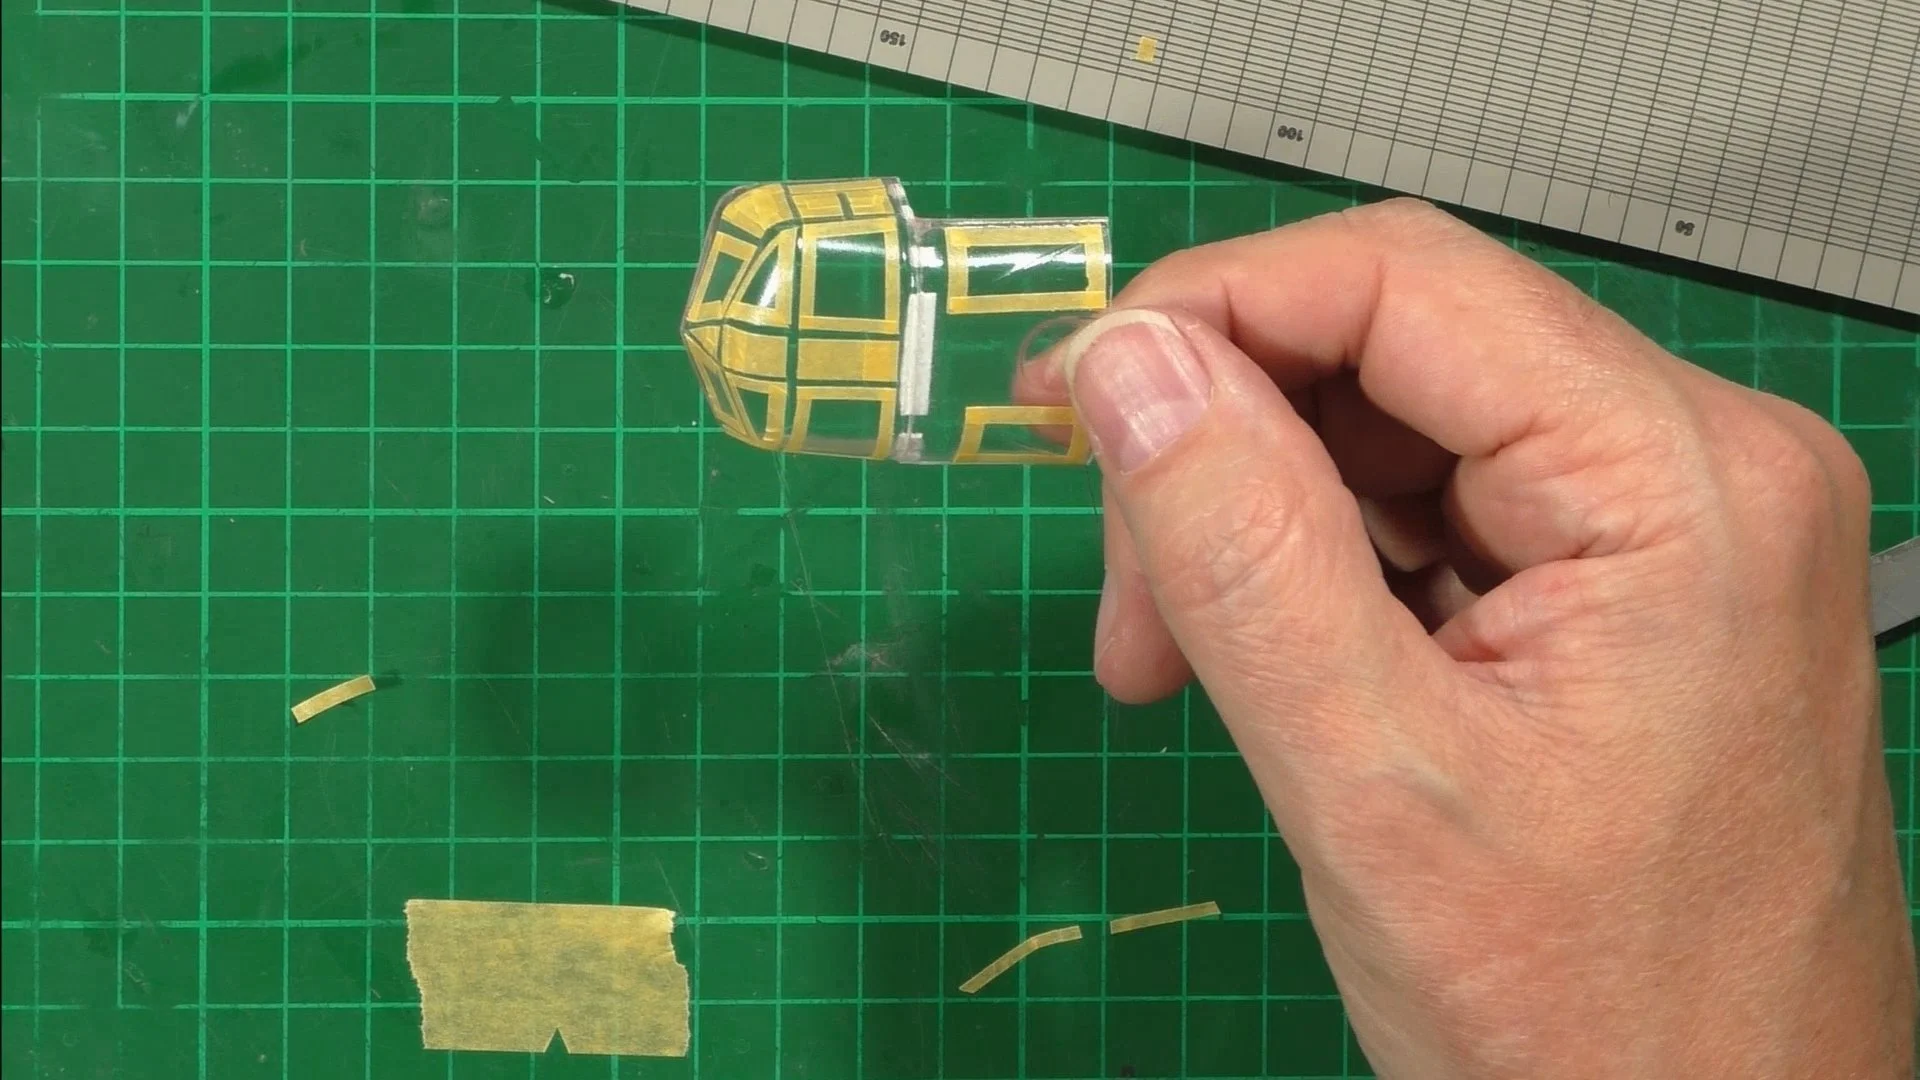
0:00 In the first part we mask up the clear part, we use thin strips of masking tape as the is very little framework as a guide. 6:16 We add the internal framework made of thin plasticard stips painted the cockpit colour. 12:53: We fix the canopy and nose glass into place and will the gaps with a mix of CA glue and PVA glues and fill with styrene filler. 19:40 With the filler dry with more filler (perfect plastic putty) to fix some of the fit problems. 22:38 We sprayed on a coat of black to colour the inside of the framework but also to see how it looks and re-fill and sand where needed.

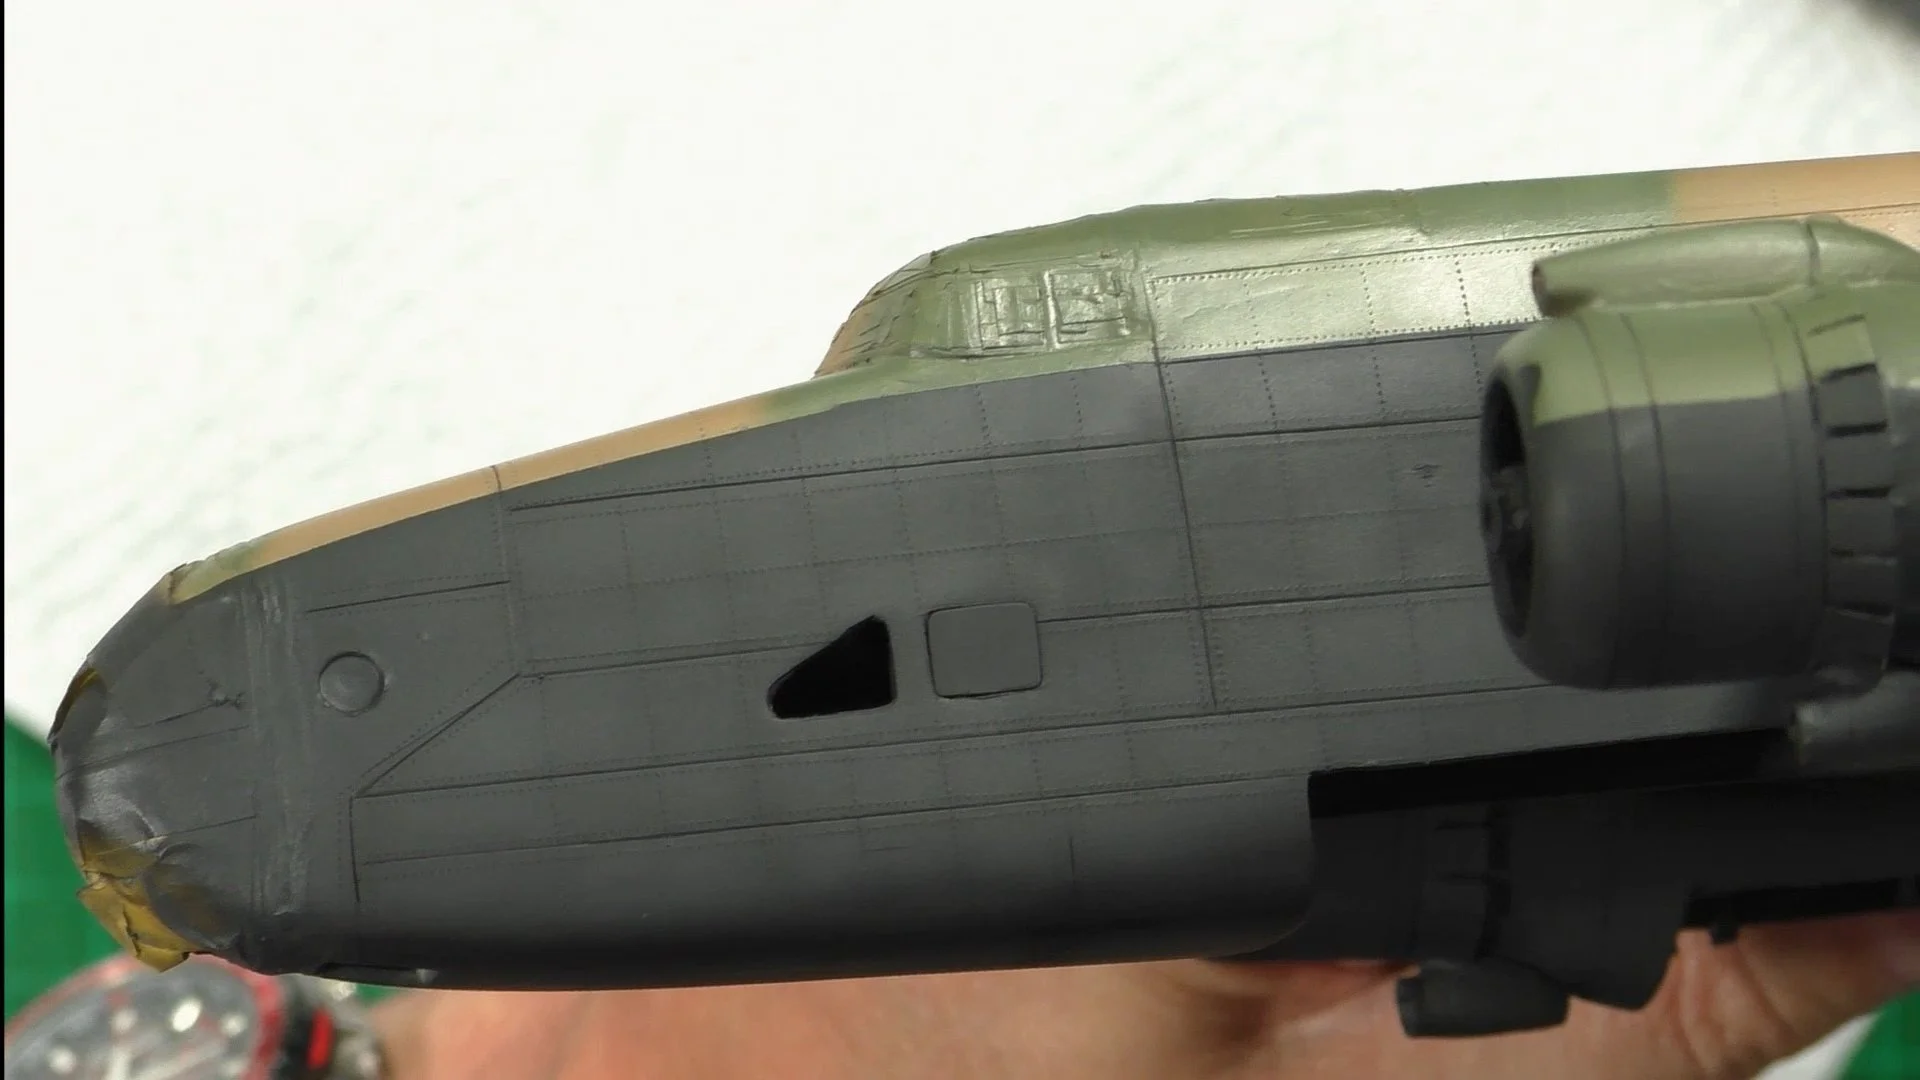
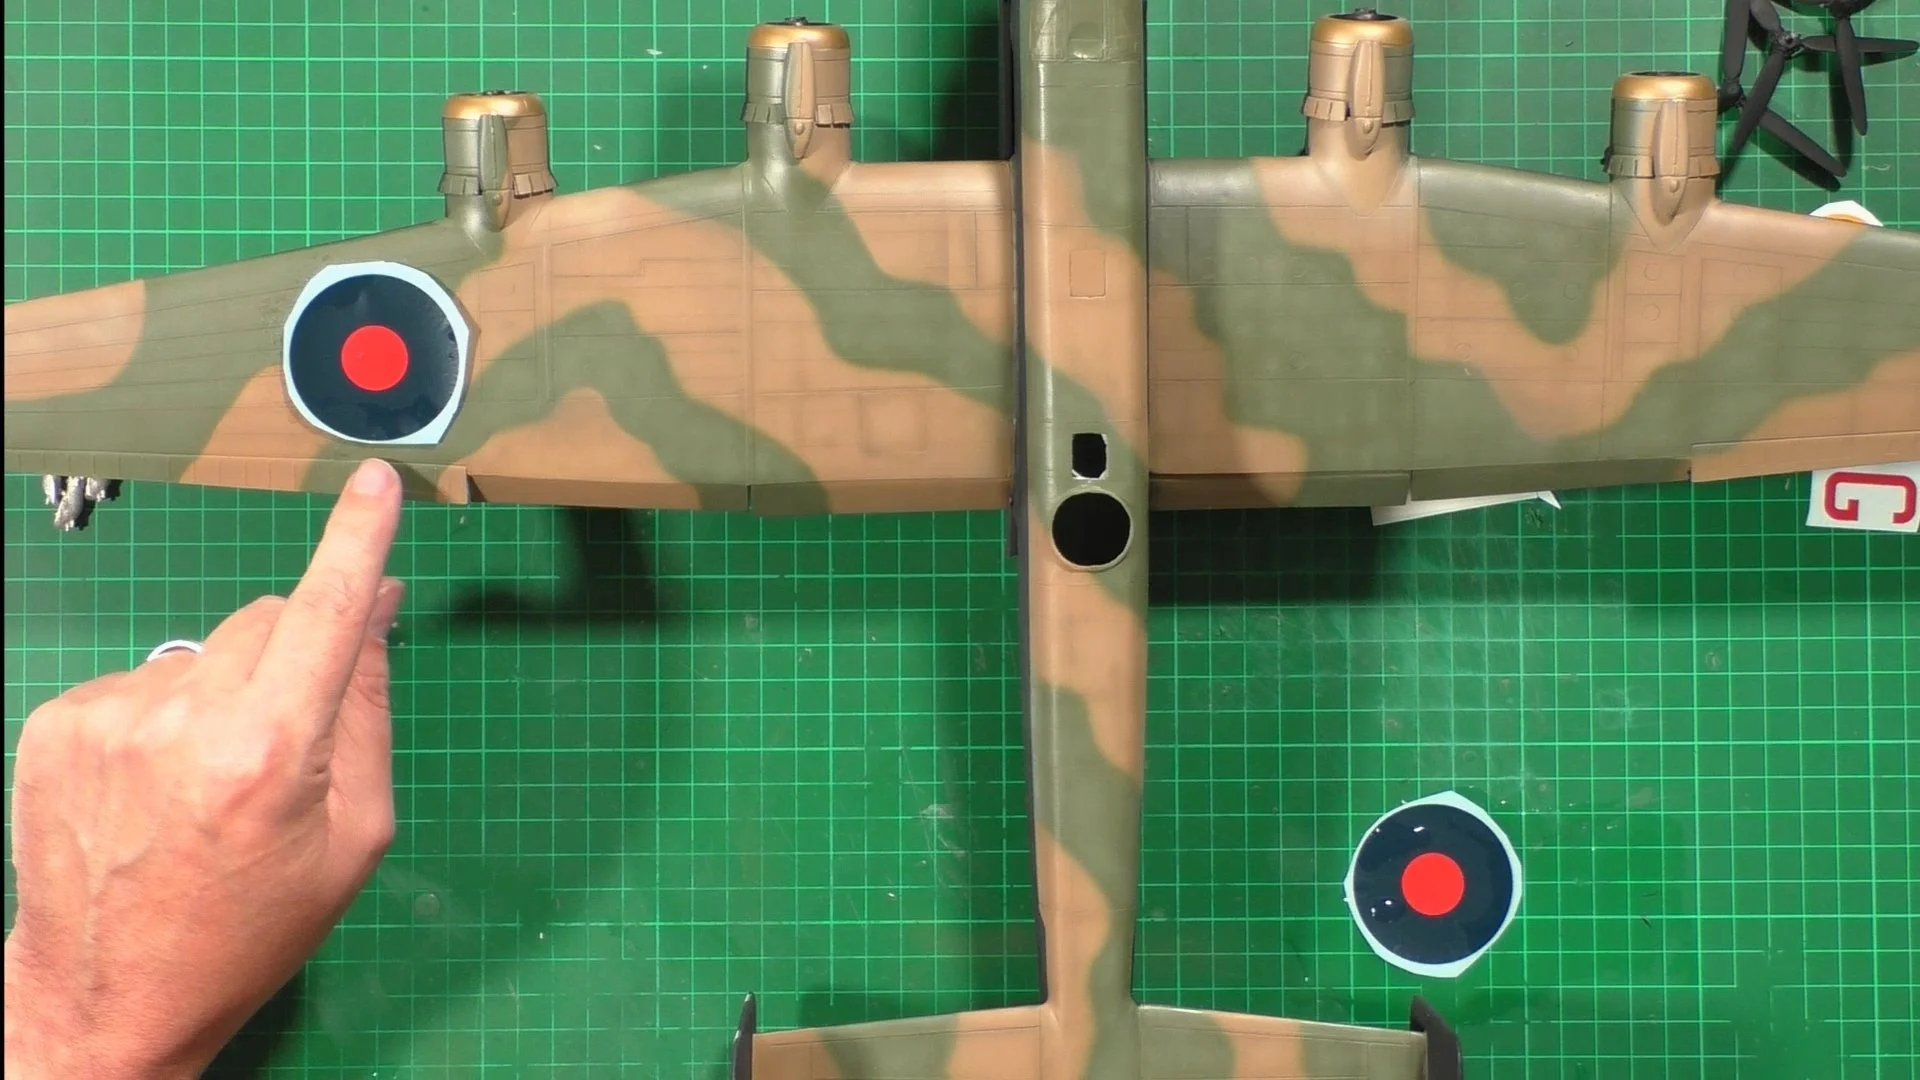
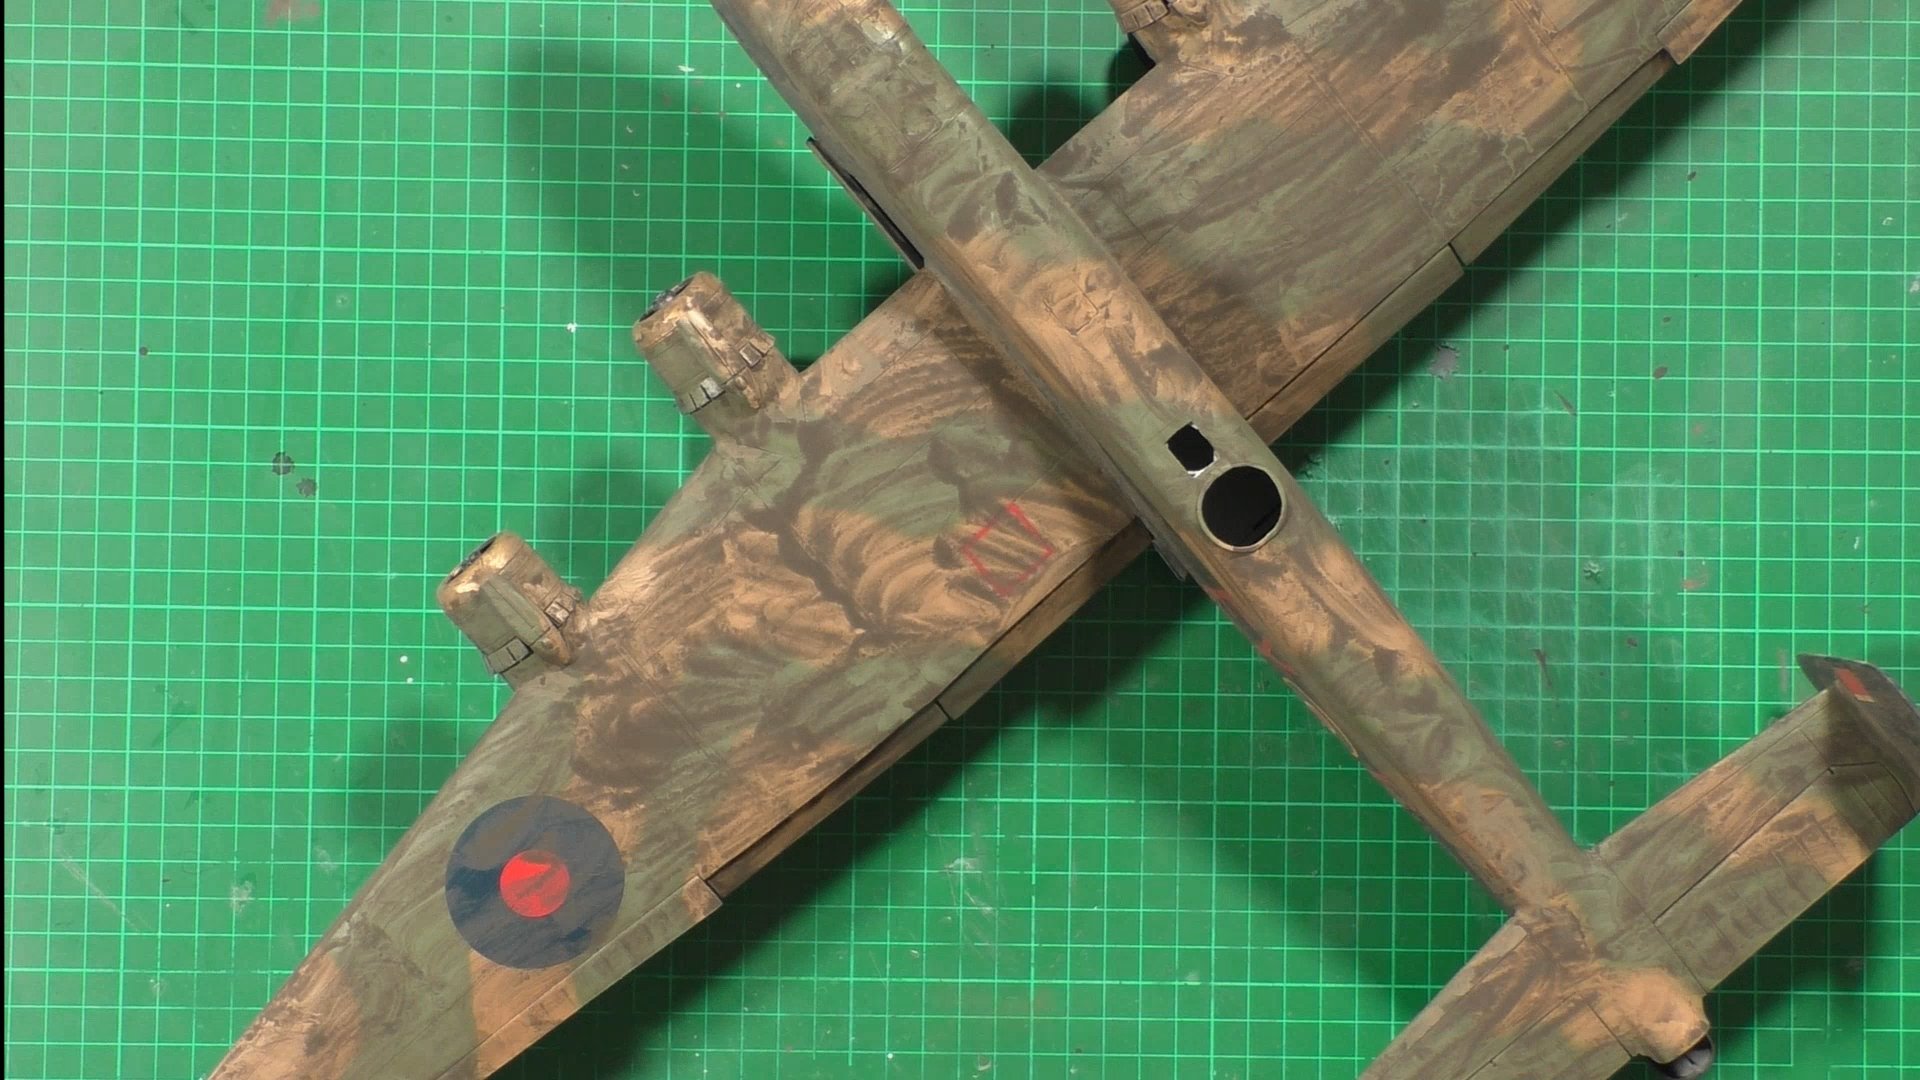
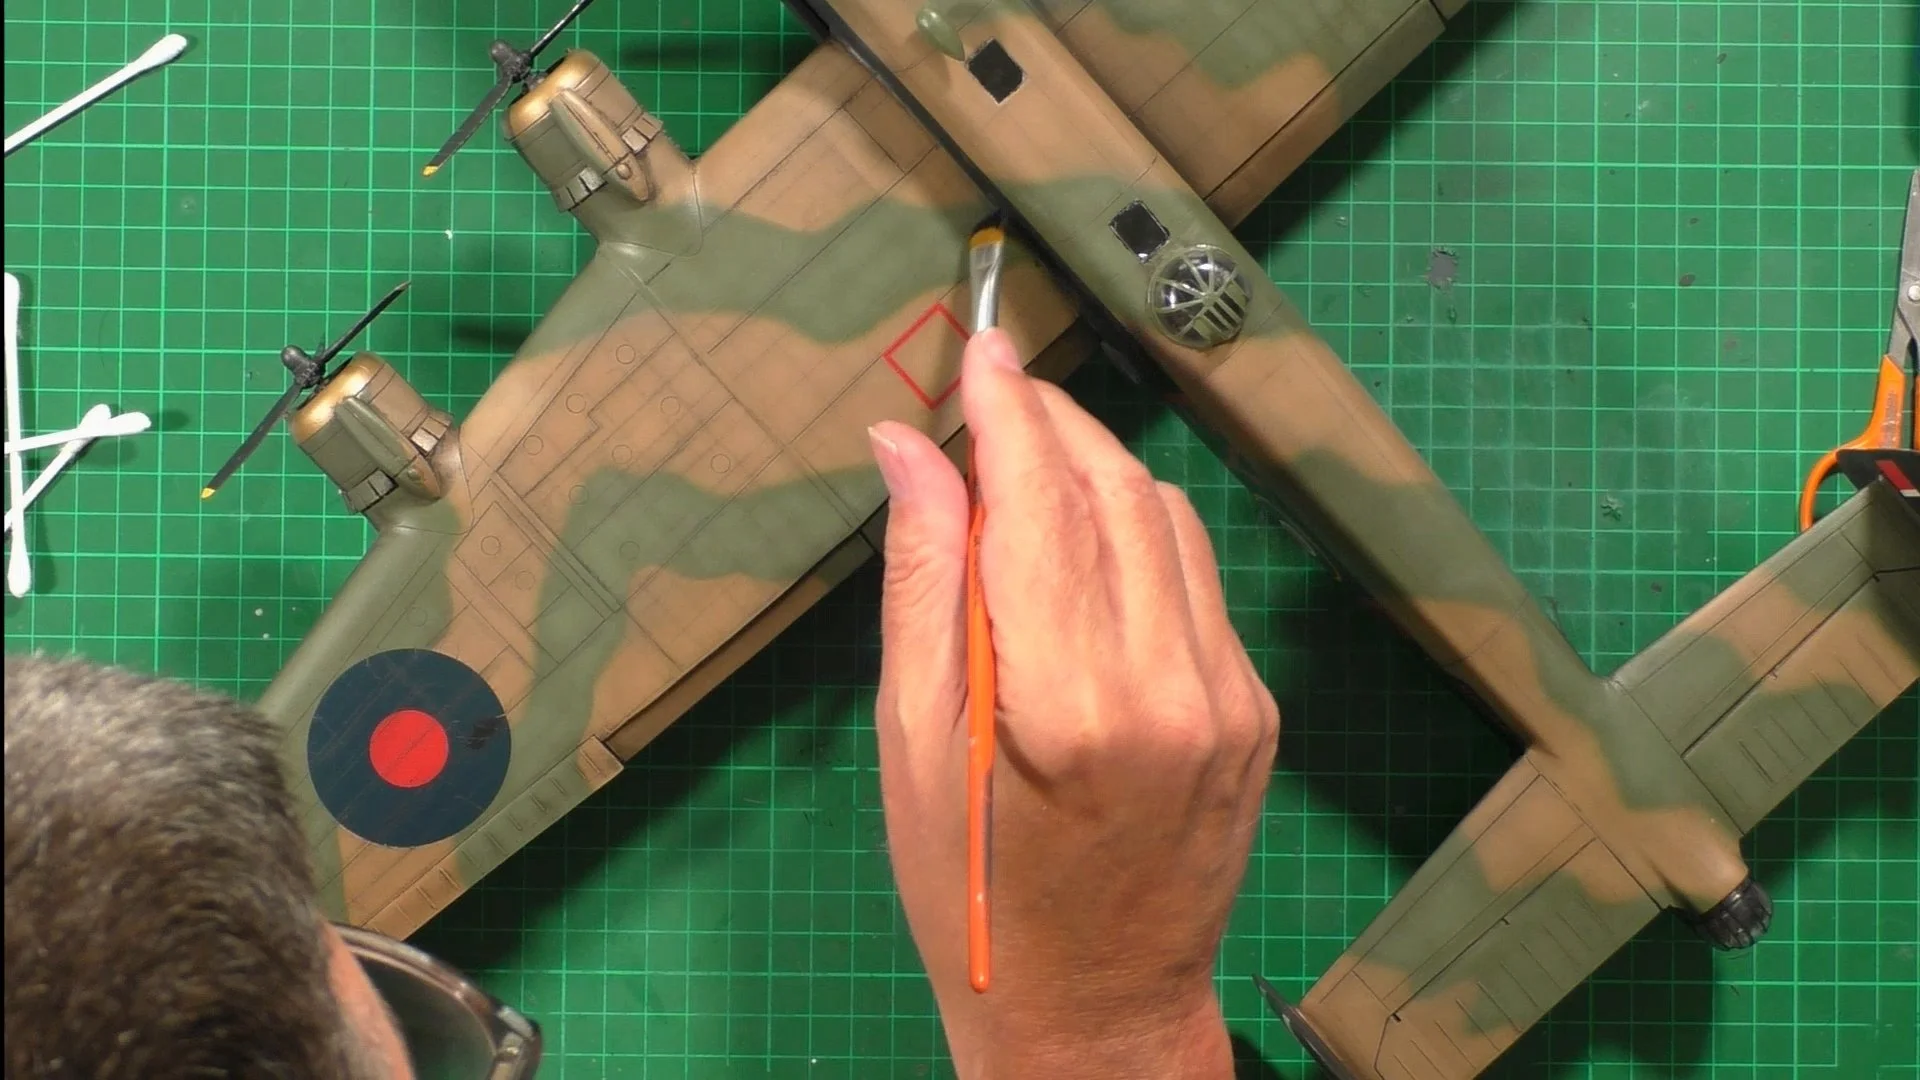
0:00 With to clear parys on and the first black coated on we can get the camo on the Halifax. For this, we lightened AK RC287 Earth and lightened with Tamiya XF-55 Deck Tan. 12:51 Next we lighten the Earth again with more Tan and thin heavily to mottle the first layer. 16:32 Next it's time to do the camo and we look at using the tac worm technique for putting down the Green coat with AK RC286 29:10 With one wing done with the tac worm way the rest we free hand camo and I some how to do that. 34:30 Lastly I show how to make changes to the pattern and tidy the edges up.

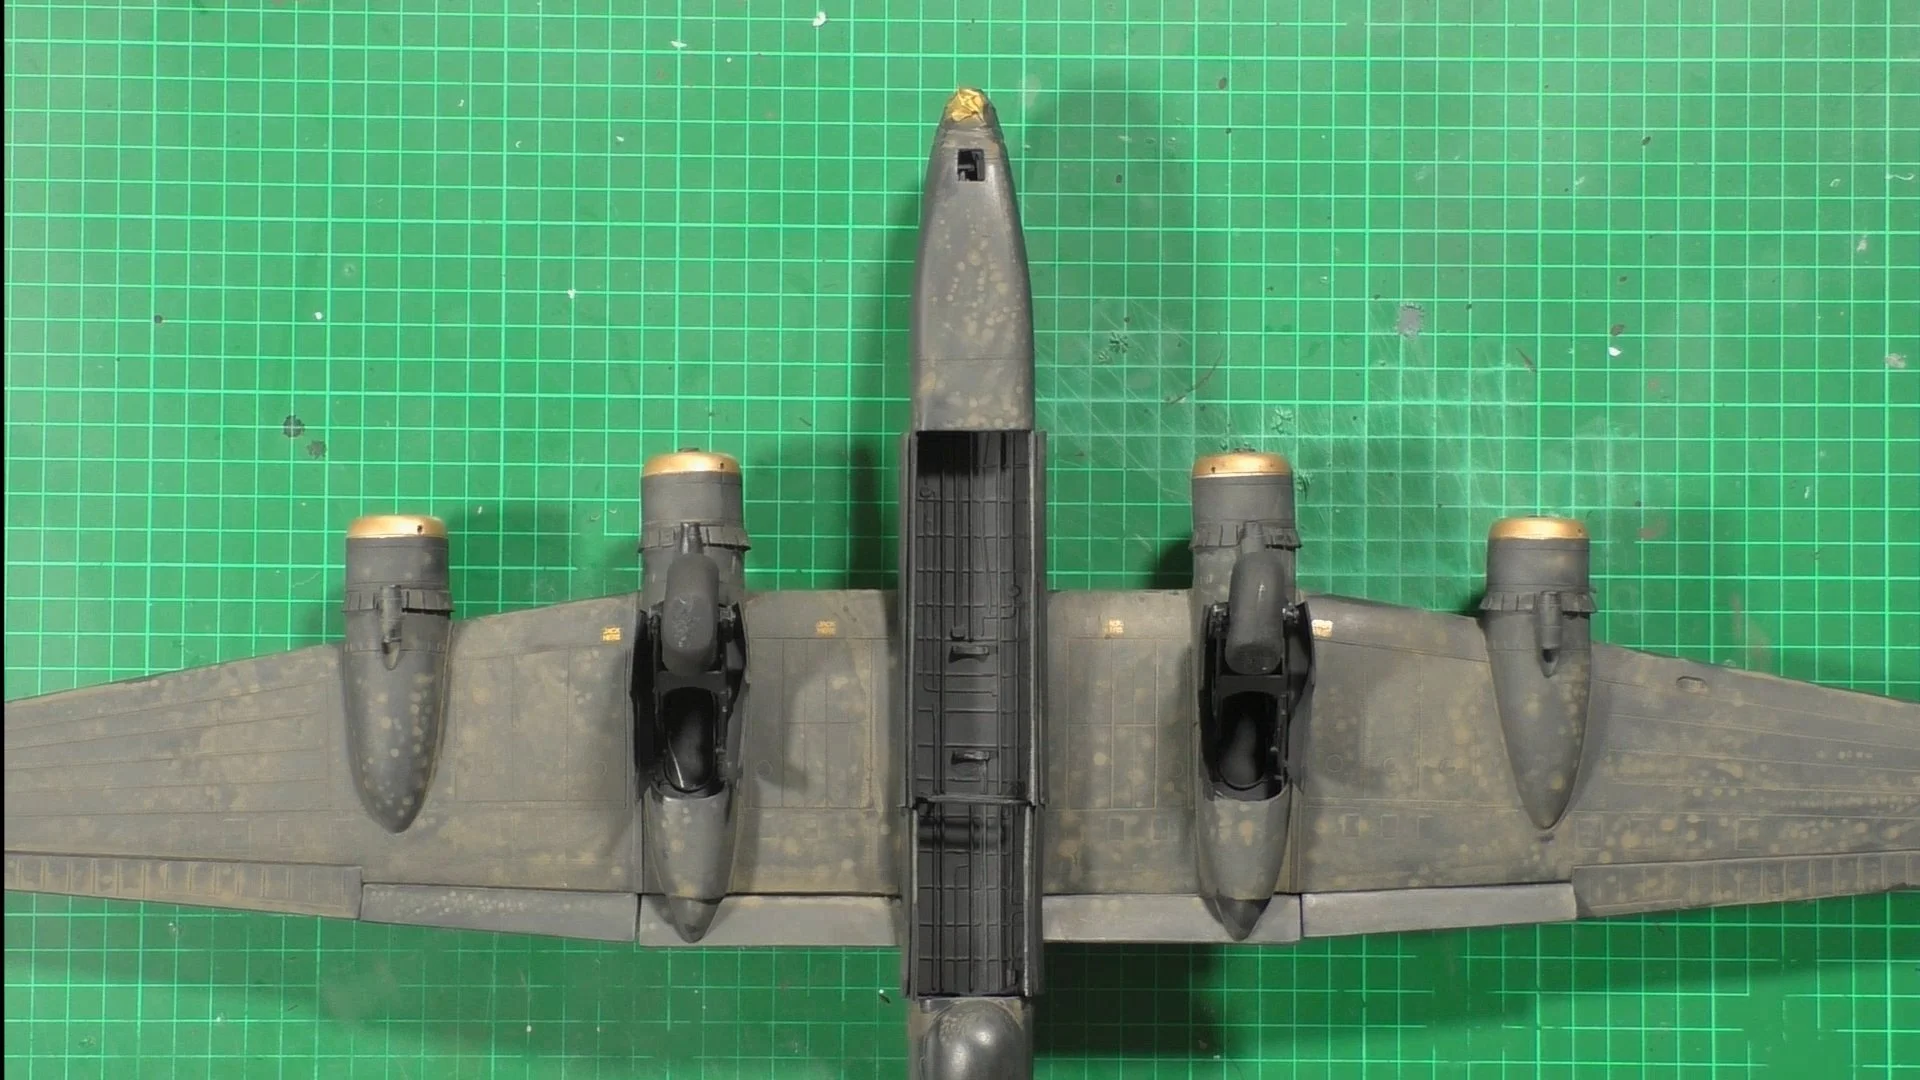
0:00 With the Green camo on, we can lighten it again with the deck tan and heavily thinned. 5:41 We next come back with the tan and as it's a mix it's a slightly different shade and is great for some post-shading. 14:49 Here we mask up all ready for the black bottom color. 18:27 The black coat is Tamiya XF-85 Rubber Black 25:22 With the black coat on we lighten again but this time we add Extra Dark Sea Grey. This is heavily thinned and we again just pick out the center of panels.

0:00 So with the XF-85 Black on we use a standard satin black to help break up the black by adding a different texture and finish. 8:36 Next it's time to add the metal forward cowlings with the distinctive pal brass look. For this, we use Pale burn metal, but this is a little too light, so we then use pale brass for a better look. 16:38, Now it's time to get the model on its gear and as it is white metal we use CA glue to fix it in place. 25:01 With the gear on, next we add the gear doors. 28:18 Last up we fit the bomb bay doors.

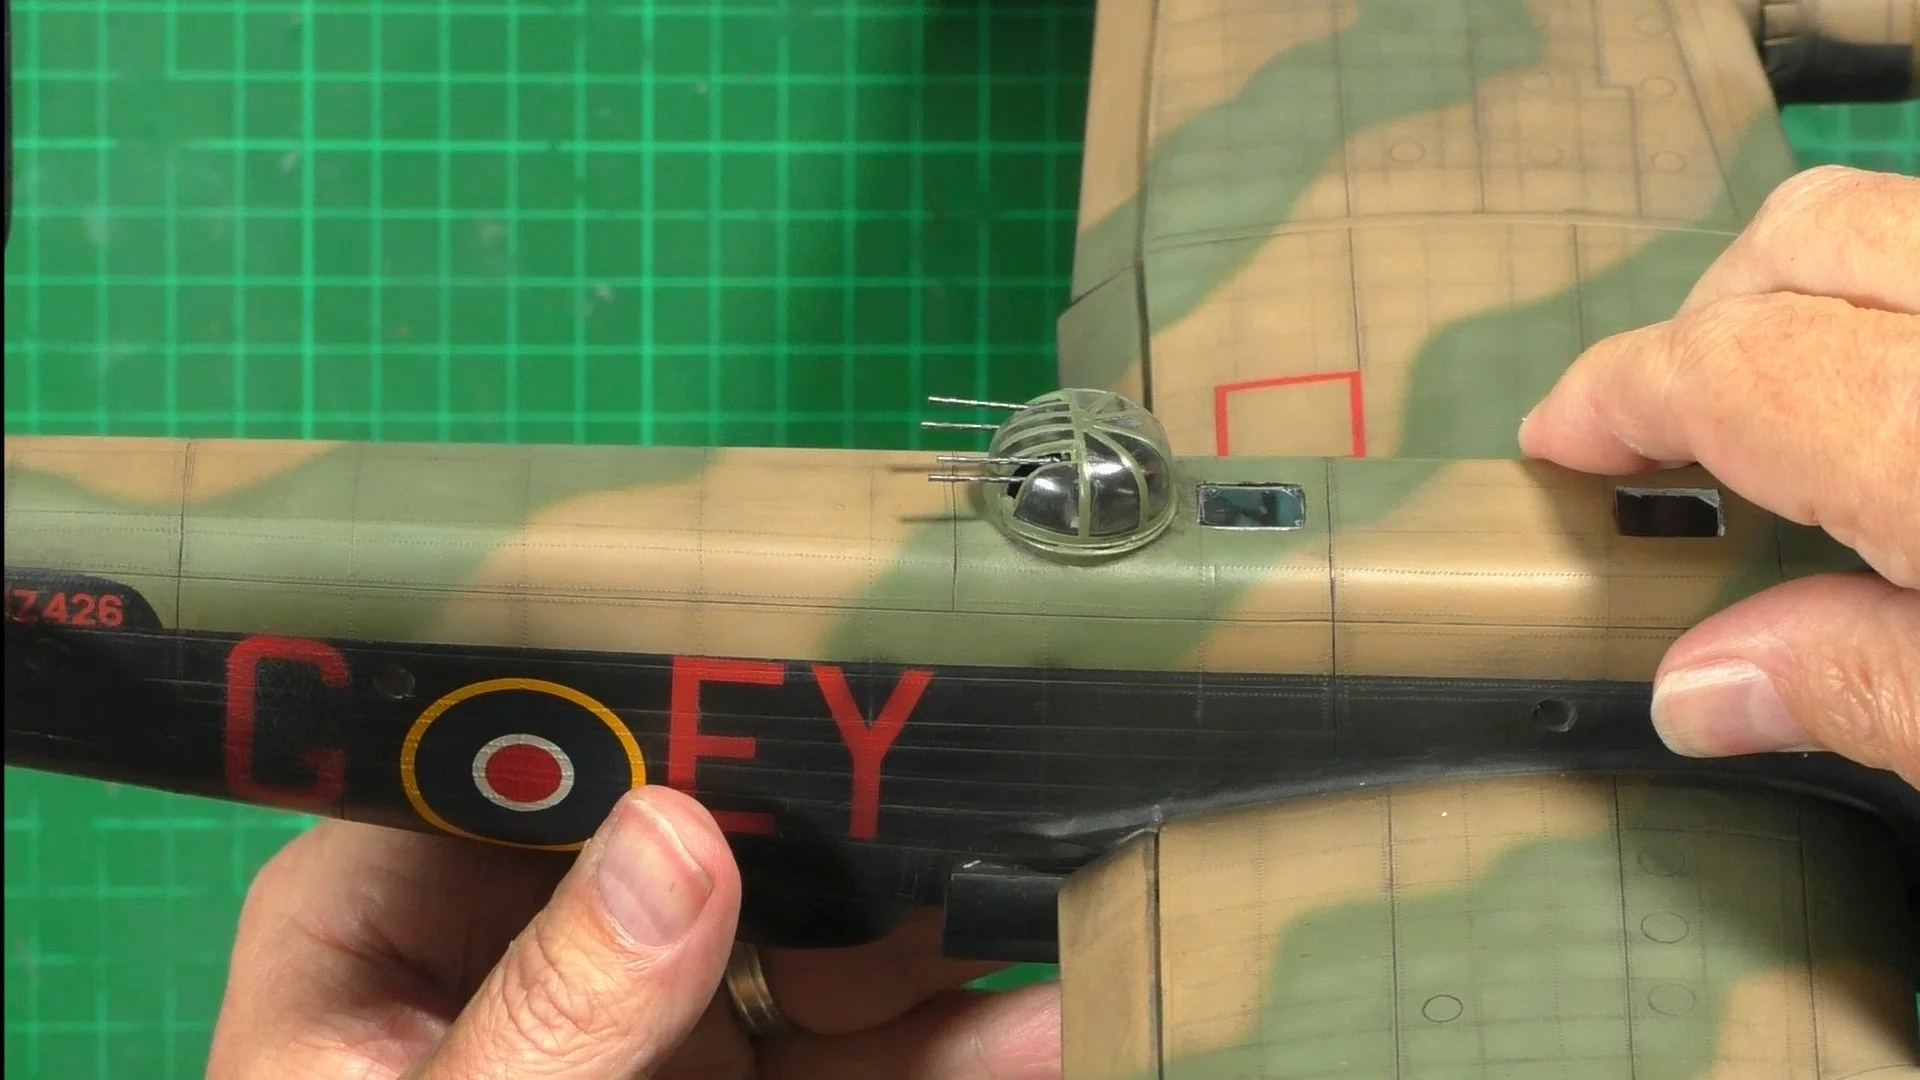
0:00 First up it's time to decal, we use Micro Set and Sole and we use a squeeze pen for putting on the Sole. The decals work well with minimal silvering. 9:05 With the decals down, we put a coat of AK 3rd Gen matt on and allow it to fully dry. Then we put on a Coat of Flory Models Dark Dirt wash on top and the Grime wash over the underside black. 13:32 With the washes full dry we remove the dark Dirt with a damp cloth. 19:42 Next we do the same with the Grime wash on the underside. 23:05 We have a few stubborn areas with the wash, so we use an old warn sanders to gently smooth out the surface and remove more of the wash. This also gives a great look to the riveting we did.

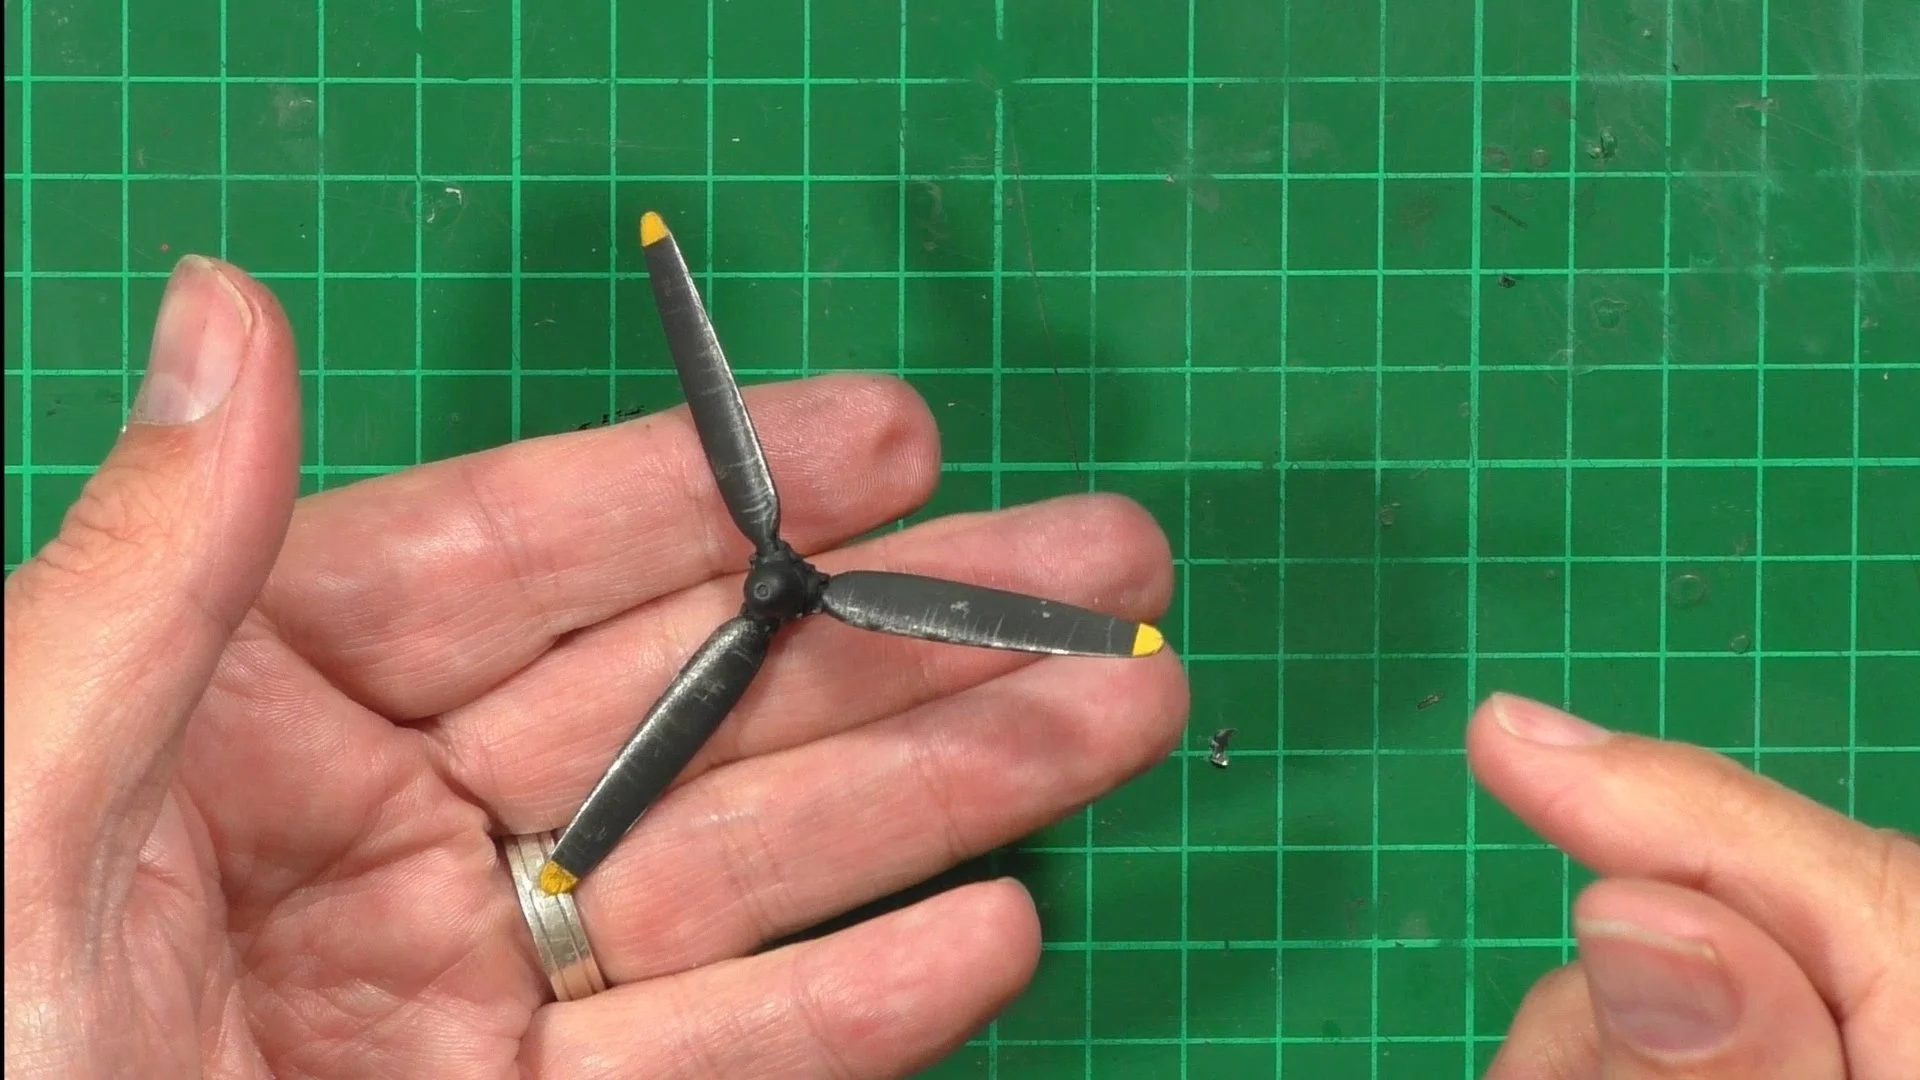
0:00 To Start off we cross a massive milestone in the build by un-masking the clear parts and seeing what we find underneath the tape after all this time. 12:43 Next it's time to weather the props, we use a mix of marker pens and weathering pencils to achieve the look we are after. 19:35 Here we use oils to weather and down the paintwork both neat and thinned. 27:33 We next make staining and streaks with oils.

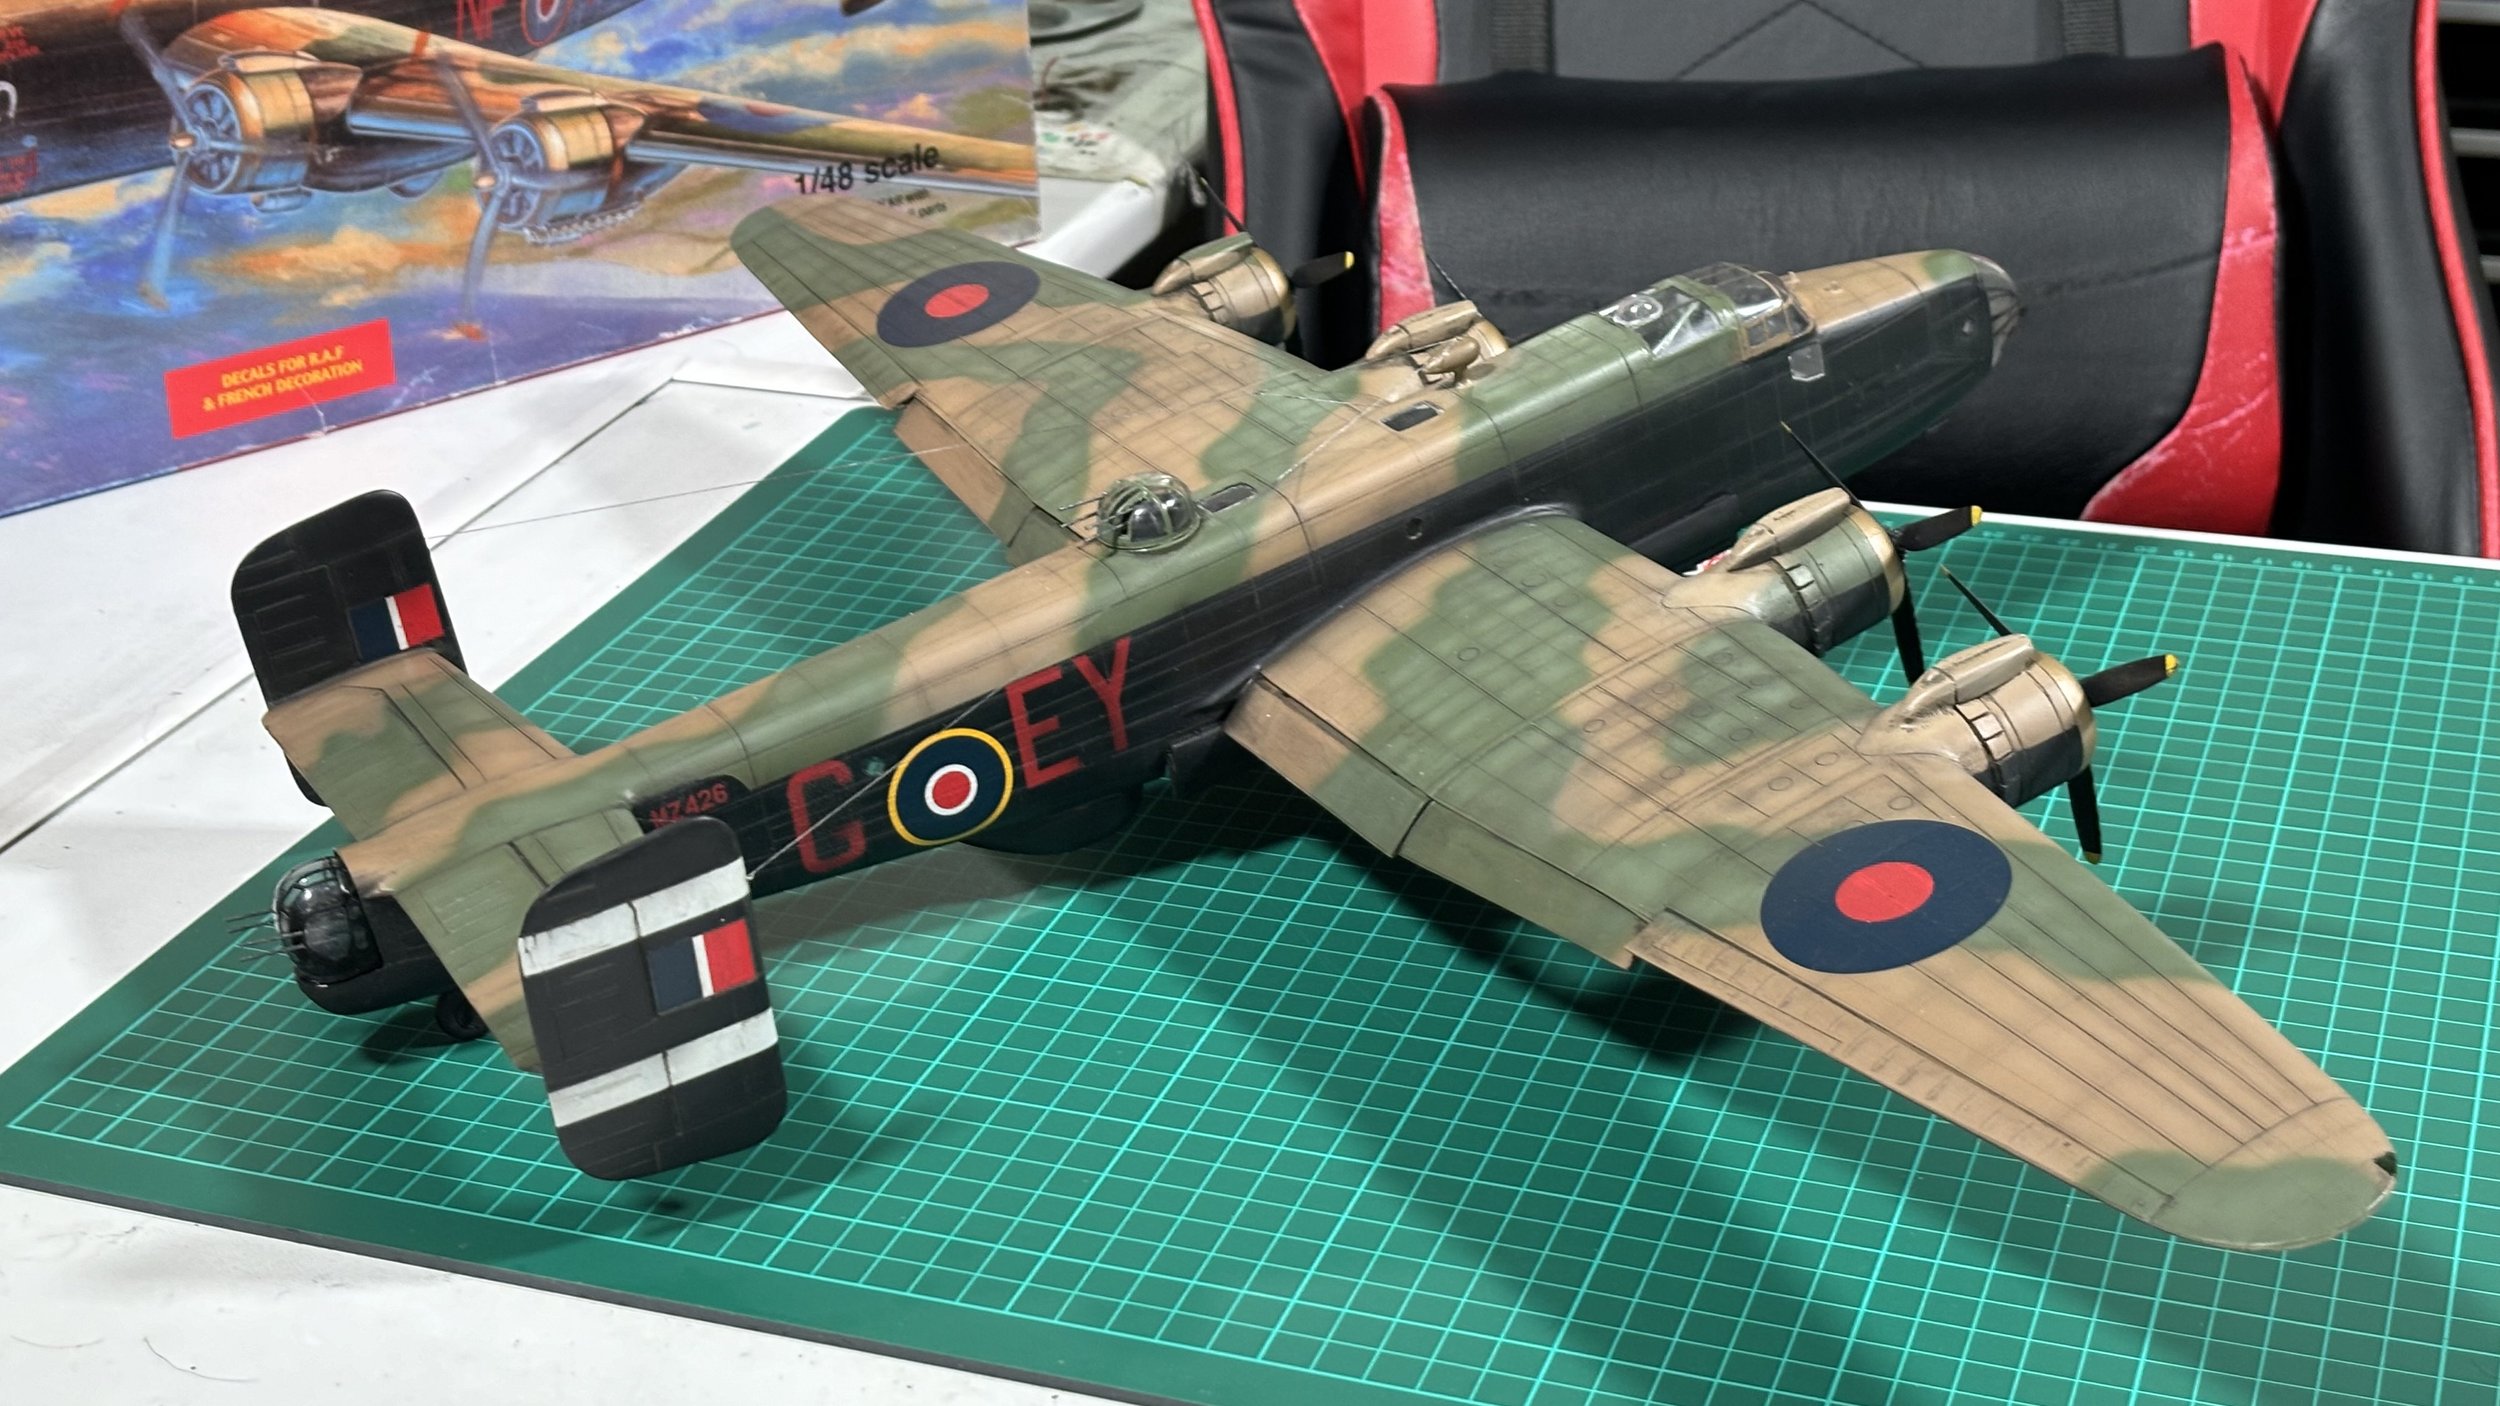
0:00 First up we finish off the weathering on the underside, again with oils and some dry brushing. 4:45 With the white metal parts leaving a lot to be desired, we scratch-build new antennas with brass rods. 7:22 Next we painted up and attached the 3D-printed bombs to the aircraft and then fixed in place the 303 guns. 13:17 With the vac form nose having very soft detailing for the frame work we use black electrical tape for the job. 20:56 Last up we fix in place the antenna wires in place, for this we used PRYM knitting in elastic and marker pens to color. 32:41 The final reveal and my thoughts on the build.