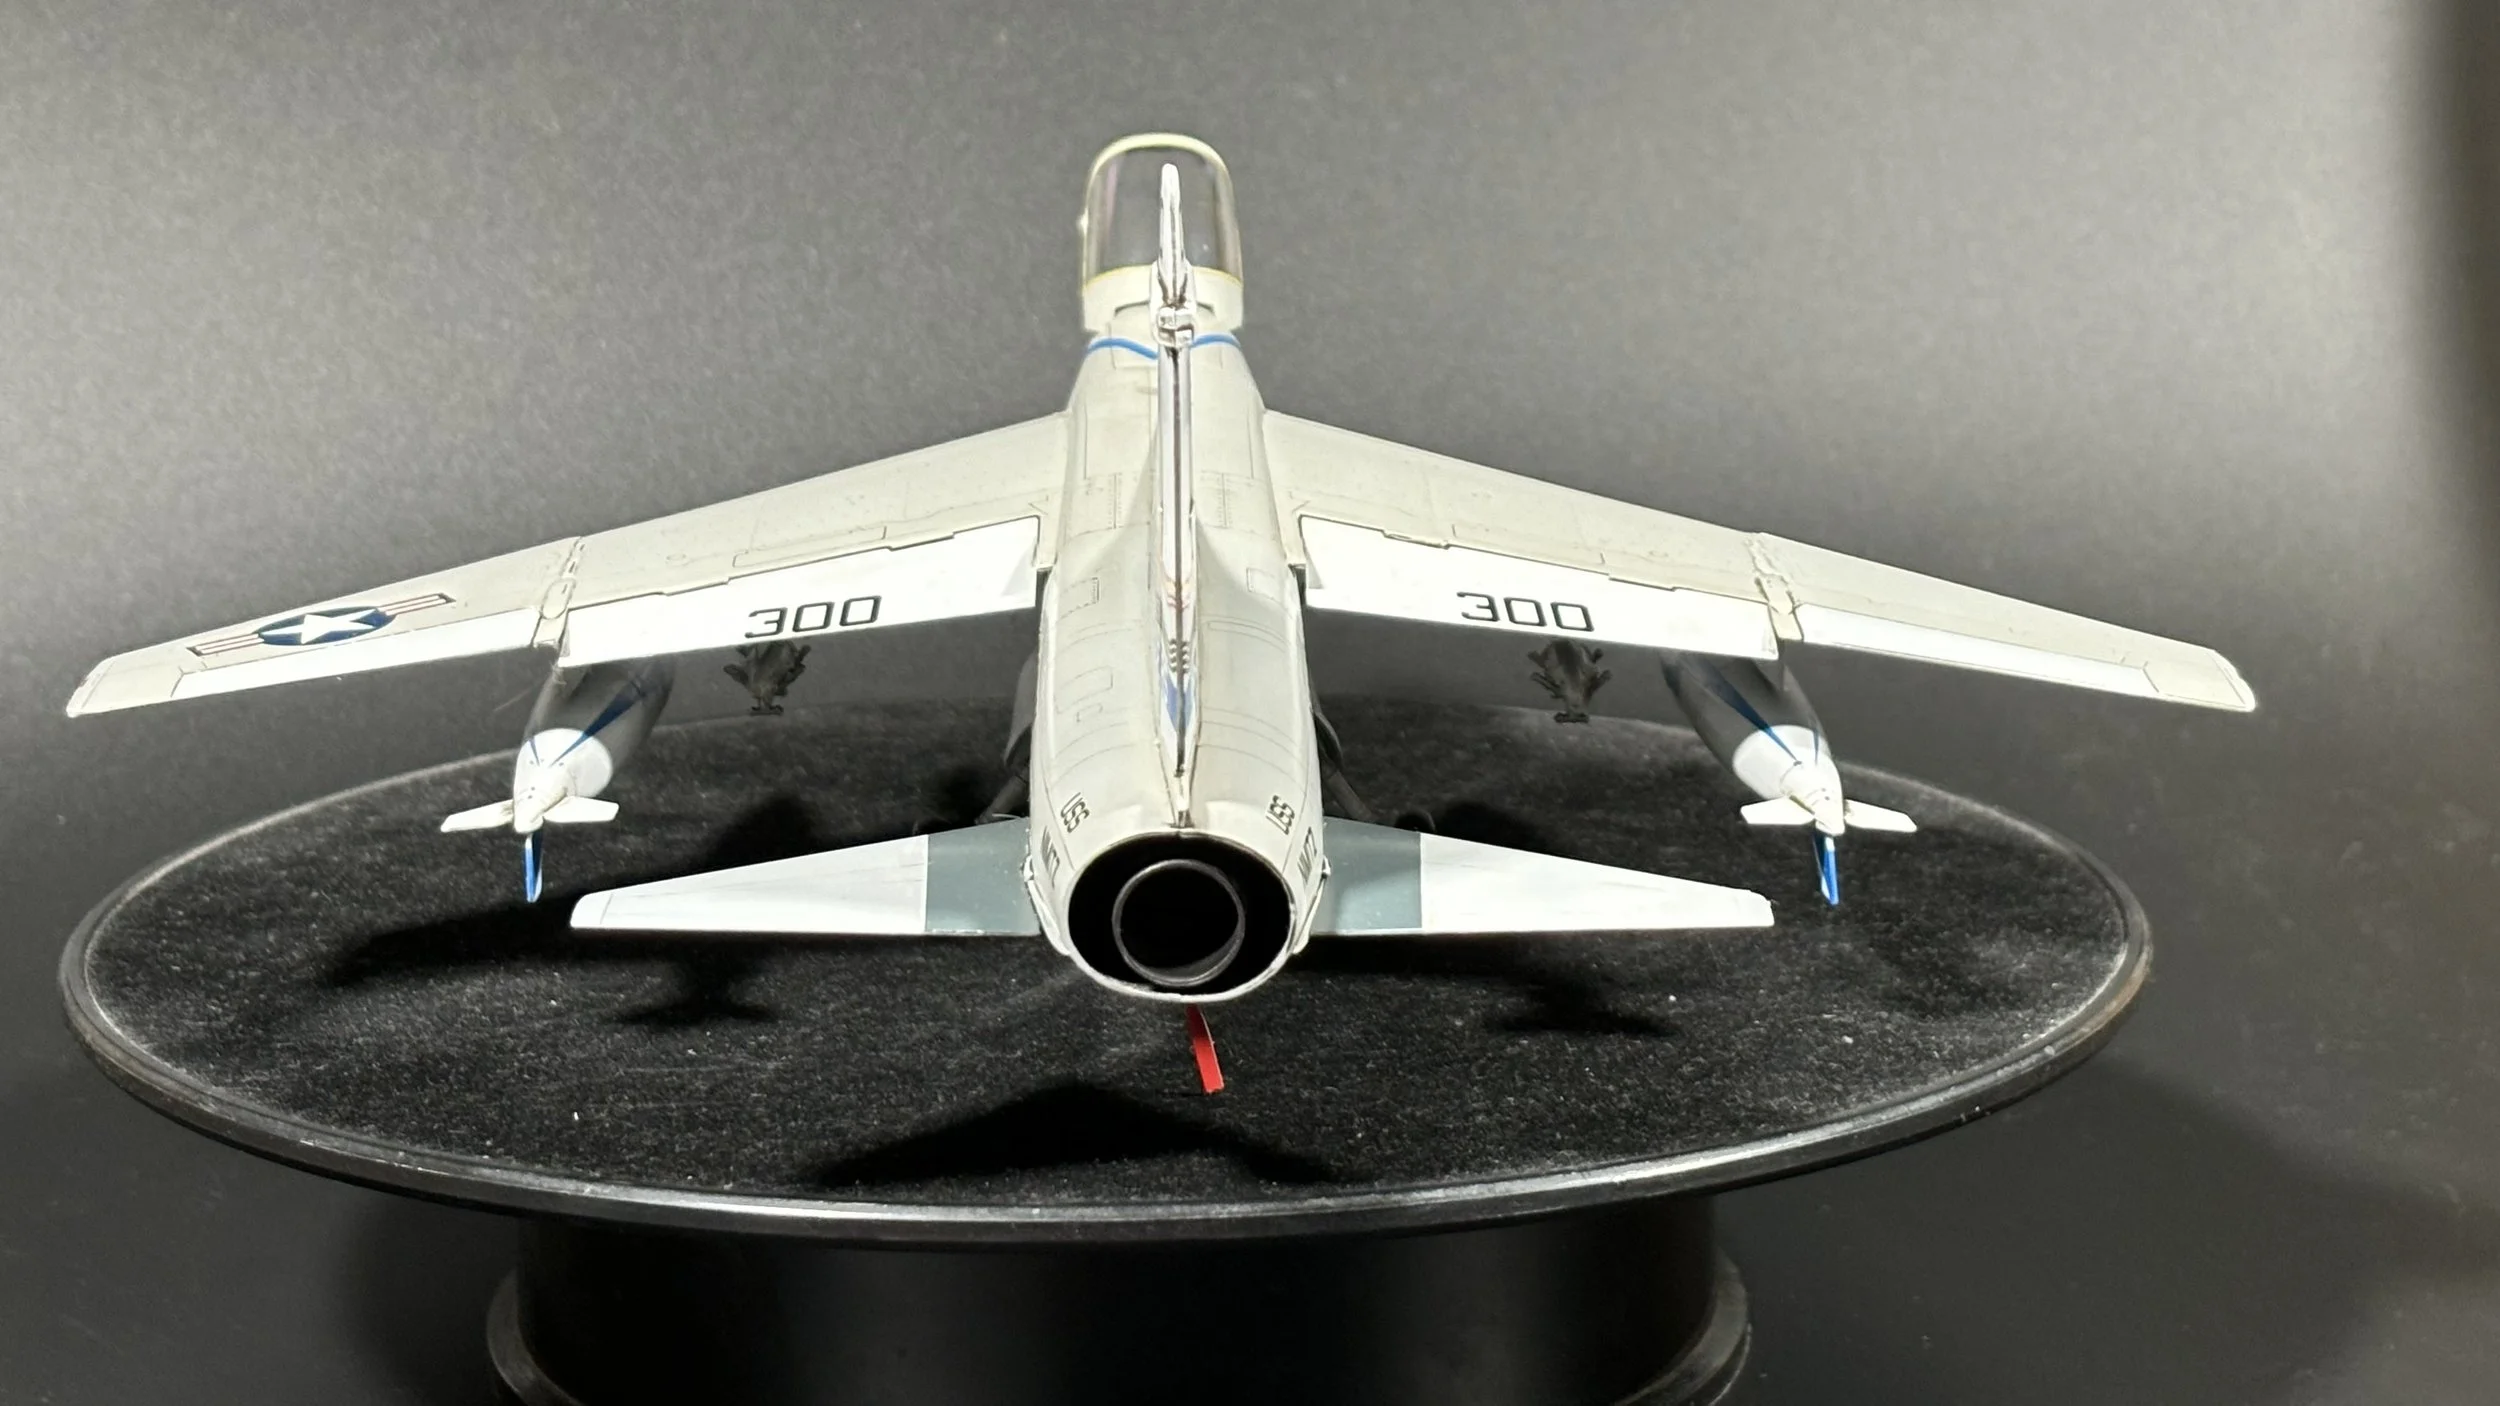
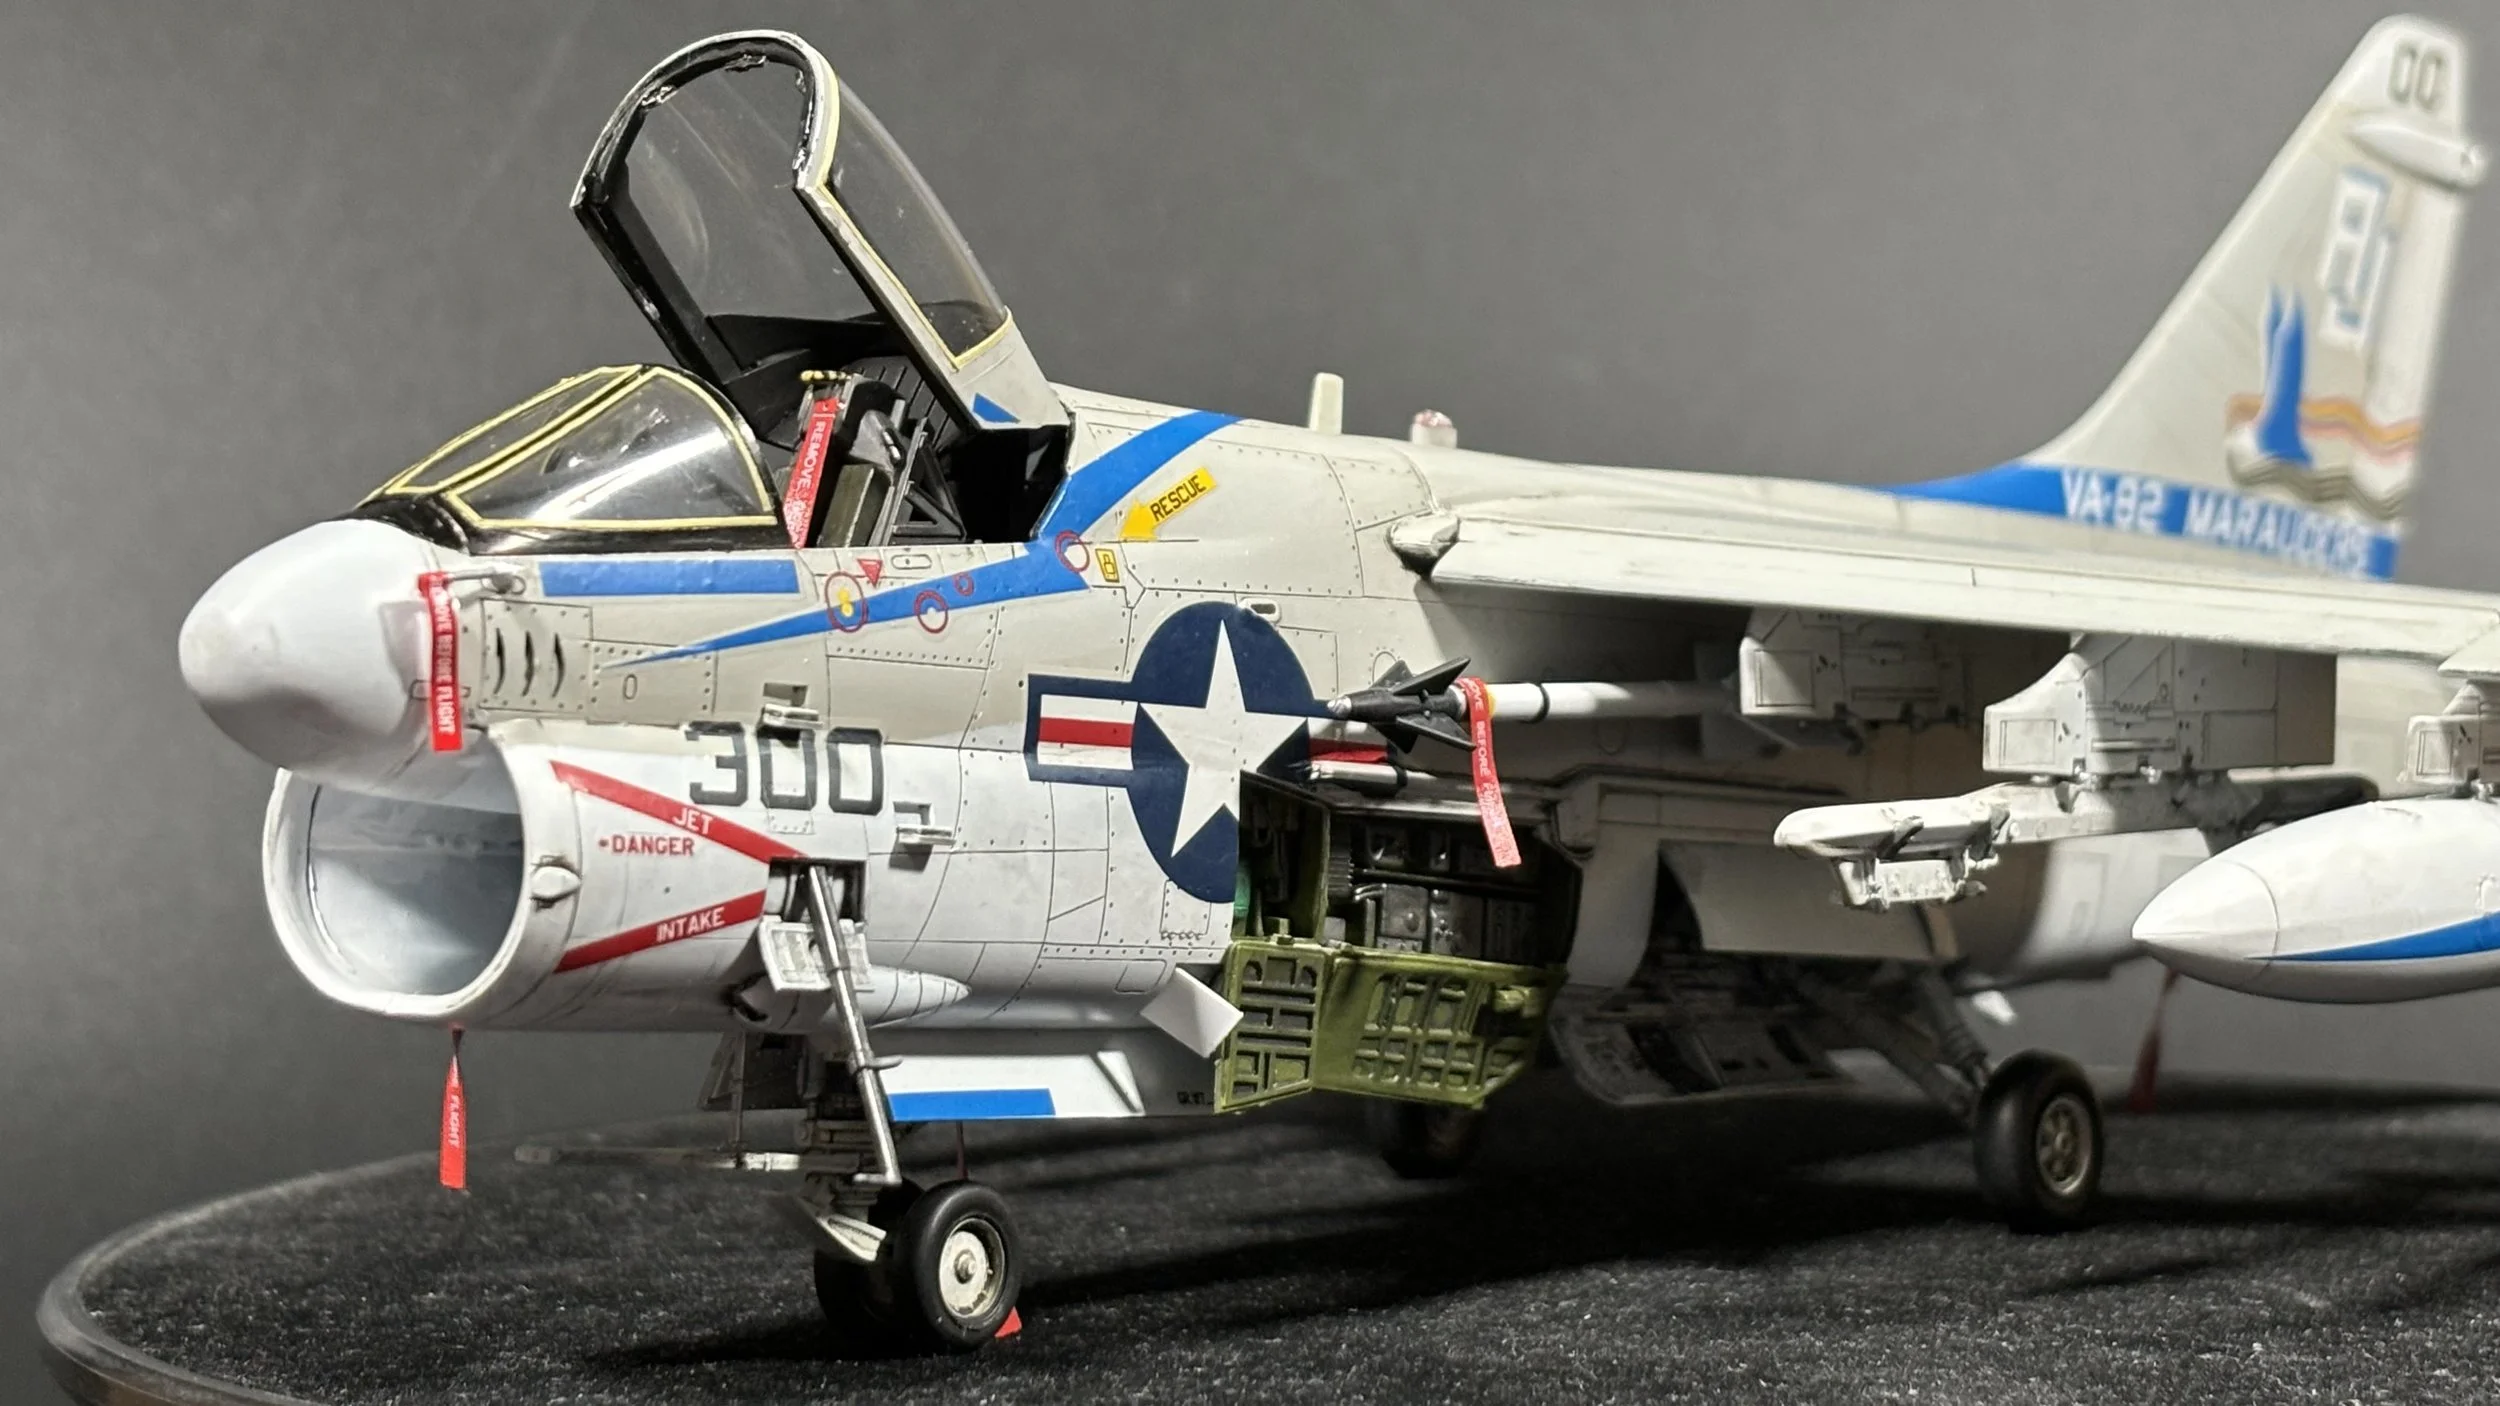
A-7 Corsair II
Scale: 1/48
Manufacturer: Hasegawa
Parts used: Out Of The Box
Main paints used: Tamiya and AK Real Colors
0:00 First up we talk about the kit and the build ahead. This will be for a Classic S.I.G. and dates back to 1987. 2:44 We have a quick look at the instructions and point out the kit is a 2 in 1 and is both the USAF A-7D and the US Navy A-7E and what to watch out for. 5:17 We start off with a bit of cleanup, as it's showing it age and has a few bits of flash to remove. Then we remove the ejector pin marks for the intake and glue together. 13:56 Next we paint the cockpit and the side walls with Tamiya XF-54 19:37 Next we use a black POSCA pen to detail the cockpit's side panels and the instrument panel, then use different colors for the switches. 24:36 Next it's in with Bufferble dark iron 214 to dry brush the ditals and seat. 28:52 last up we finish of the cockpit by adding some simple harnesses to the seat made from thin trips of Tamiya tap and painted grey.
0:00 In the first part we fix a small problem with the instrument panel cover not sitting right. 4:07 Next we install the base of the tail and the speed-break. 8:54 We then open up the holes in the wing for the pylons and make the leading edge slats. 14:52 With the wing section glued on, we fill the small gap at the front with sprue goo. 19:40 Next we build the PE and lines. 23:32 With the lines drying, we installed the lower wing parts and then added the lines down the sides of the fuselage using PVA glue.
0:00 First up we clean up the filler on the top wing seam and cut, sand and polish. We then move on to fitting the outer wings in the spread position. This does take a little re-shaping to get a good fit. 8:58 We look at the internal canopy framing and clean up the clear parts. 14:39 Next we cleaned up the other wing joins and re-scribe the top seam we filled and fixed a few panel lines we had lost on the sanding and cleaned up 22:52 With that done, we can mask up the clear parts, remove the sprue attachment paints, and clean up a little flash.
0:00 First up, we attach the front screen with AMMO Ultra Glue and fix it in place. 5:54 We light fast with flat black all the clear parts and then use the leftover paint to check some seams. 12:44 Here we use a grey AK real color as a primer, we use a paint just for speed as this will dry within an hour and we can push on. 19:54 With the primer on and dry when us AK real color Flat White to put down the white underside color. This is put down with a 70% thinner and 30% paint mix and finished with a 80/20 mix for a nice wet coat for a smooth finish.
0:00 With the White coat on and dry, we mask up the white areas ready for the gull grey. 11:21 Back over in the sprey booth we put down a coat of the AK RC220 Gull Grey FS16440 18:09 The Light gull grey on with Add a little white and thin by 50 percent to post shade. 22:02 With the paintwork left overnight to dry we can now decal the the Hi-Vis markings of VA-28
0:00 To start we add a satin finish to seal the decals and give a texture to the surface for the watering to grip too. 4:01 We use a POSCA black pen to make the black forward framework and the anti-glare area in front of the cockpit. 8:31 With the paintwork totally dry we start the weathering with the Flory models Dark Dirt clay wash. 14:22 With the wash totally dry, we remove the wash with a damp cloth. 22:38 Next up we can detail the electronics bays and wheel wells
0:00 In the final part we add the weathering with an oil wash to the wheels and gear. 3:25 We attach the gear and the wheel bay boors to the model. 18:48 We add the clear part seals by using 0.4mm Tamiya tape strips and adding them for a realistic look. 29:12 Next we build the Drop tanks, paint, decal and weather. 36:11 Now it's time to add all the pylons with the Drop tanks and racks into the model. We also add the pitots and the lights, aerials etc. 46:04 Now we can add the RBF tags For the I show using decals and photo-etched remove before flight tags and fit them in place. 55:31 With the model complete, it's time for the final reveal.


