Citroen H Van
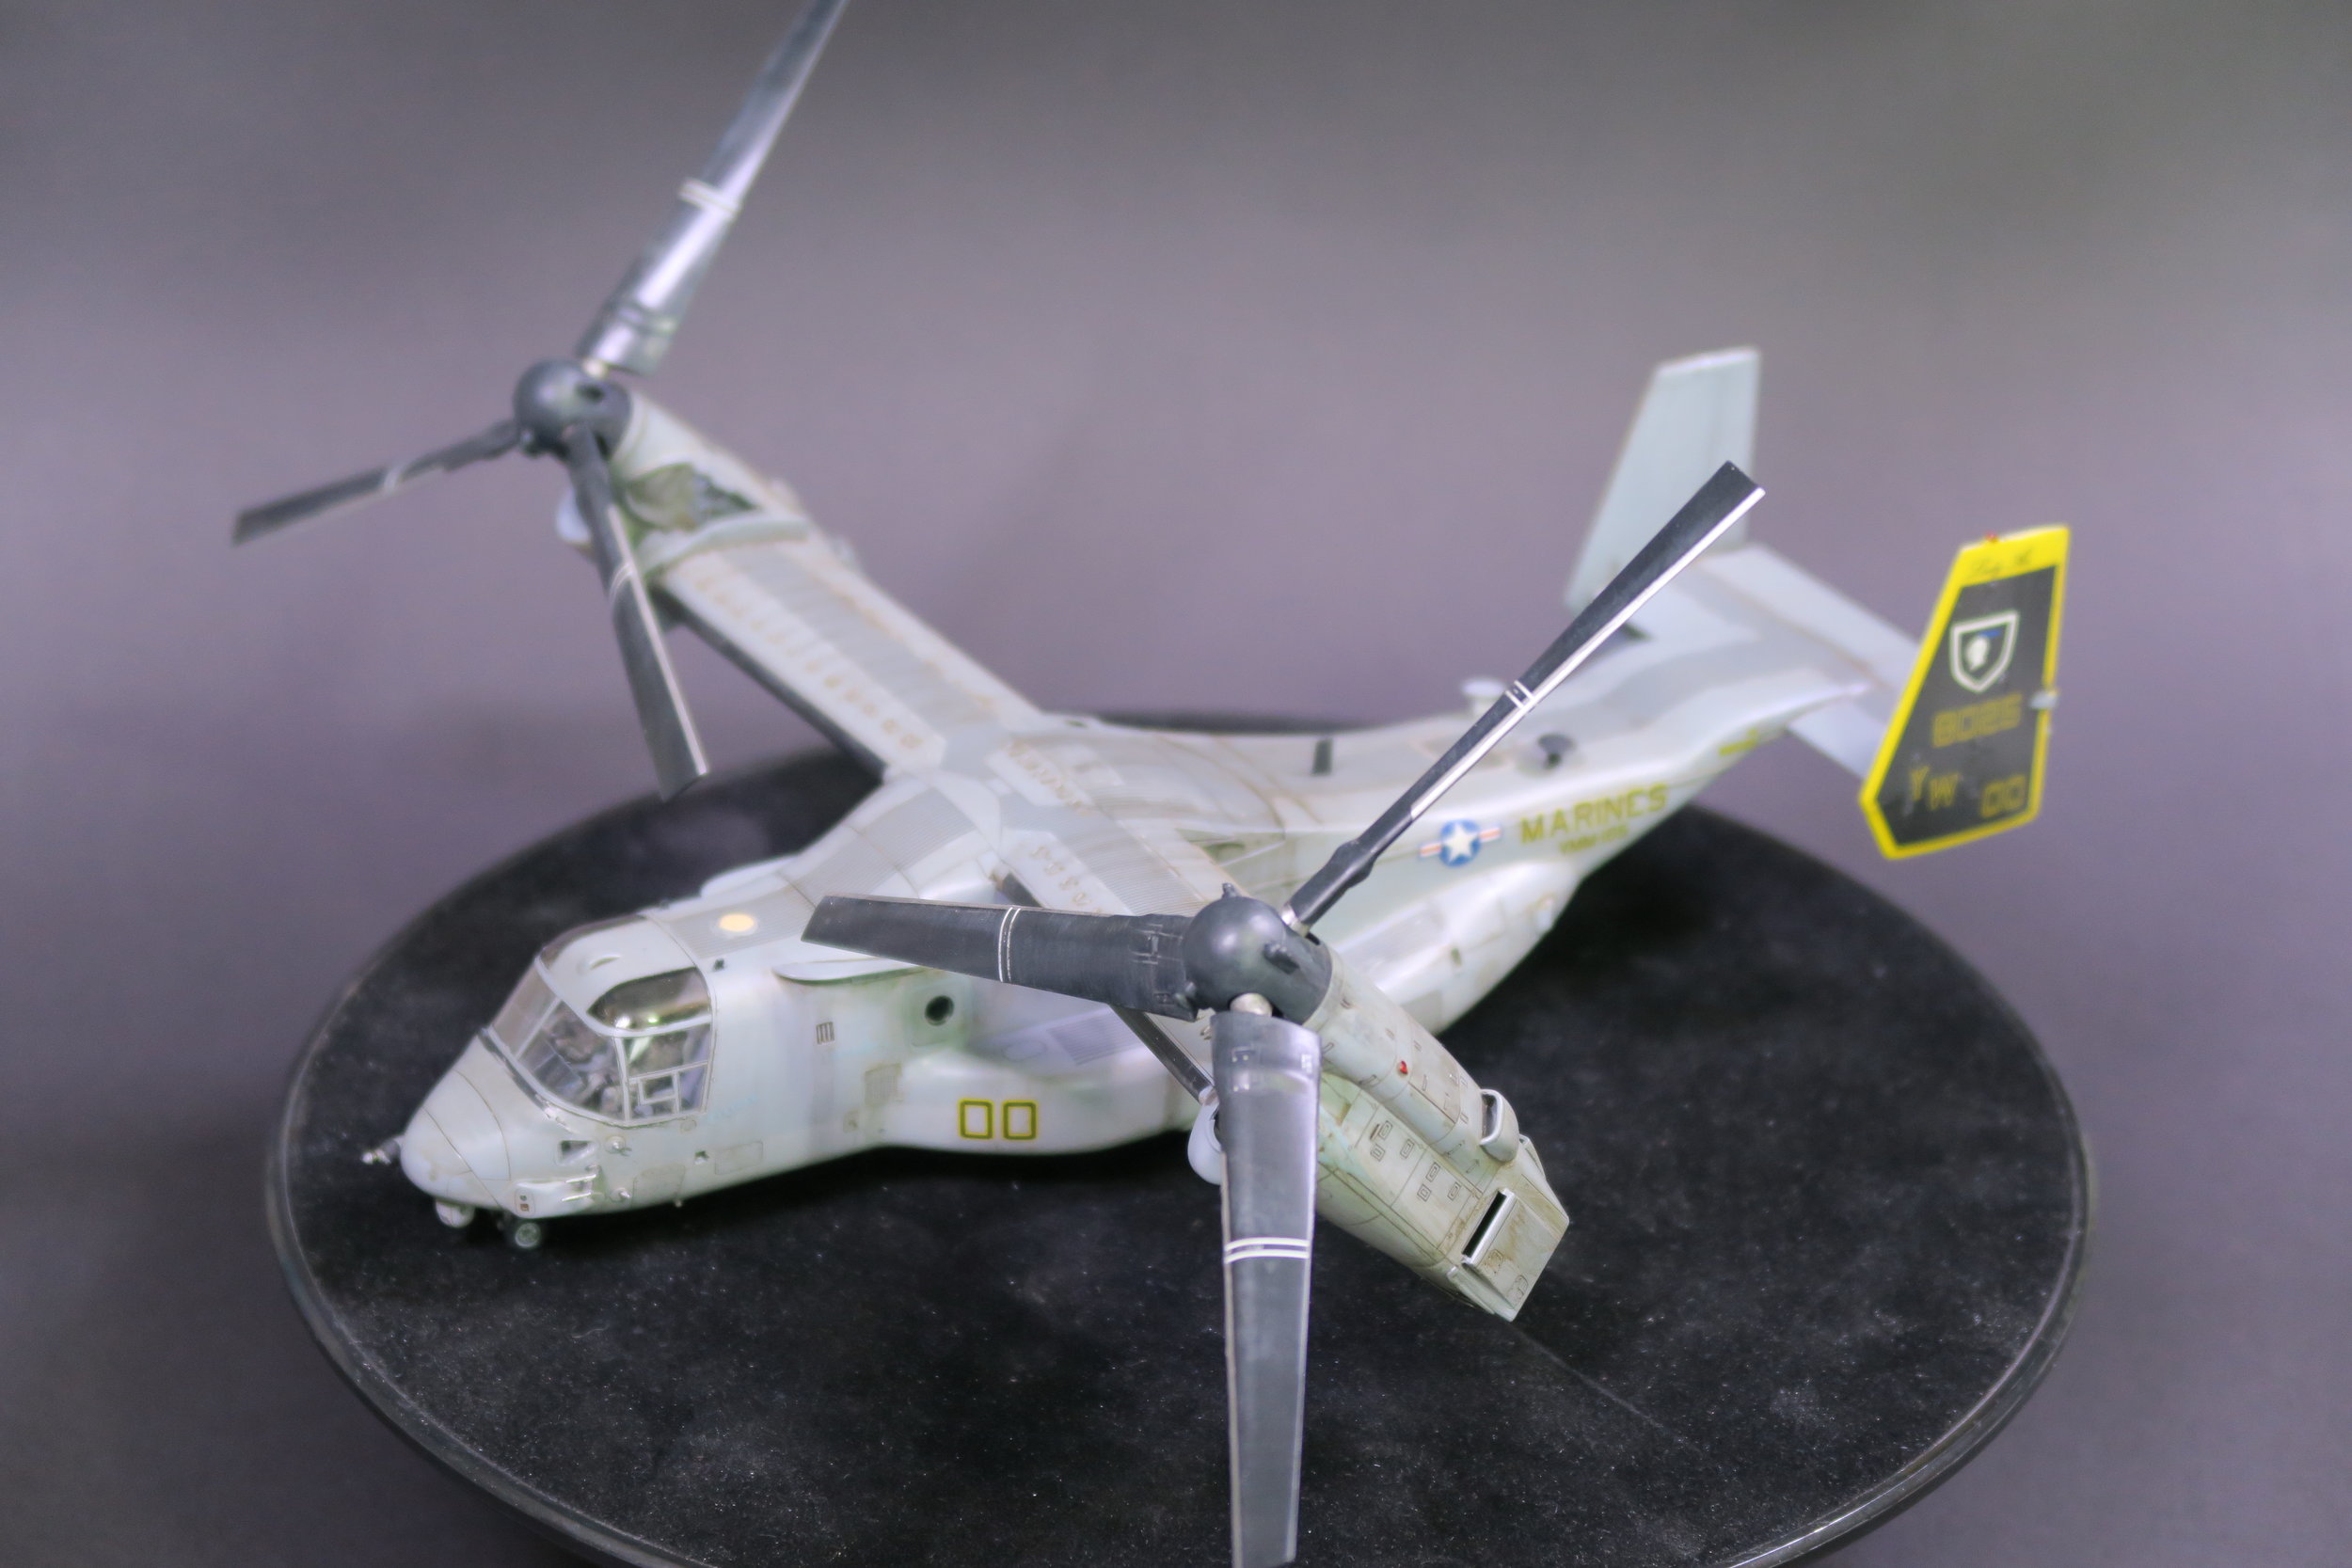
MV-22B Osprey
Scale: 1/72
Manufacturer: Hasegawa
Parts used: Out of The Box
Main paints used: AK, Tamiya & Vallejo
In part one we start we the main construction of the fuselage, wings and engines.
00.00 Introduction to the build
01.55 Starting construction with the fuselage
09.16 Building the tail section
13.48 Building the head section
19.00 Building the engine nacelles
In part two we sand and re-scribe and the airbrush the cockpit area.
00.00 Sanding and tidying up the work so far
10.34 Rescribing the lost details
23.20 Painting the cockpit FS36231 Dark Gull Grey Gunze H317
In Part Three we push on with the build and get the cockpit done and painted before we move on and pre-shade and paint.
00.00 Finishing the cockpit, dry brushing with oils and painting the crew figures
09.28 Preshading the model
17.08 Painting the base grey colour Light Ghost Grey FS36375 Gunze H308 thinned with Gunze Self Levelling thinner
In Part Four we finish the painting and move on with the decalling.
00.00 Masking and painting the second grey Dark Ghost Grey FS36320 Gunze H307
05.02 Adding the 3rd grey FS35237 Dark Blue Grey Gunze H337
11.27 Painting the prop leading edges and other black parts with Tamiya XF85
14.54 Doing the white work and using a circle stencil to mask to paint hubs
21.245 Decalingthe model and glossing the props with AK Gauzy Gloss enhancer
In part Five we work in the rotors and the decal trimming before giving the model a Flory weathering wash
00.00 Painting the prop leading edges and other metal parts with Vallejo Metal Color Duralumin
11.49 Glossing the model with AK Gauzy Gloss enhancer
16.12 Putting on Flory Dark Dirt wash
21.27 Techniques for removing the wash including sanding
In Part Six we Weather the Osprey with Flory models washes and enamel blended together.
00.00 Roundup of work done off camera
00.51 Using Flory Grime wash for horizontal and vertical streaking
10.04 Detail weathering using AK Shafts and Bearings enamel wash
26.22 Weathering the props
In the final part, we make the windows and tint the roof windows before adding all the final parts ready for the final reveal.
00.00 Adding the window with crystal clear
02.06 Unmasking and cleaning the top canopy for tinting using tinned X19 Smoke
07.12 Roundup of work done to date and adding the final touches
13.38 Summary of build and the final reveal


