MV-22 Osprey
Scale: 1/48
Manufacturer: Hobby Boss
Parts used: Eduard Space set 48019 Mask set
Main paints used: AK Real Colors
0:00 In the first part of the build we look at the build ahead and look at the changes we will make with the Eduard 48019 Space upgrade set. 7:34 We start work on the cockpit and remove all the surface detail ready for the 3D printed decals. 11:36 Next it over to the spray booth to give everything a coat of Tamiya XF-85 Rubber black. 15:22 With the black work all dry we dry brush the cockpit with 502s ABT170 Light Grey and then over the flat areas with Dark Iron 214 bufferbles to give a warn look. 22:32 Next we add the Eduard Space set 48019 3D printed decals to the cockpit.
0:00 Here we look at the cockpit and assemble the main gear bays and gear. 6:53 Next we work in the cabin and paint and weather with dry brushing and oil washes. 18:47 As that's drying we add the side bays with the gear and fix them in place 27:29 Next we install the cabin window and then mask it with the Eduard mask set and finally dry fit everything together ready for glueing in place.
0:00 We start by Gluing the overhead panel to the clear parts, we use Ammo Ultra Glue for is and work great and dry clear. 4:24 Next it's time to glue the two fuselage halves together. We use CA glue to tack glue in place and then Extra thin-glue to weld it all up. 16:05 WE have a few seams to take care of, so we use homemade Styrene filler for the job and allow 48 hours to dry. 19:51 With the filler drying we put together the engines and the the main wing and flap assembly.
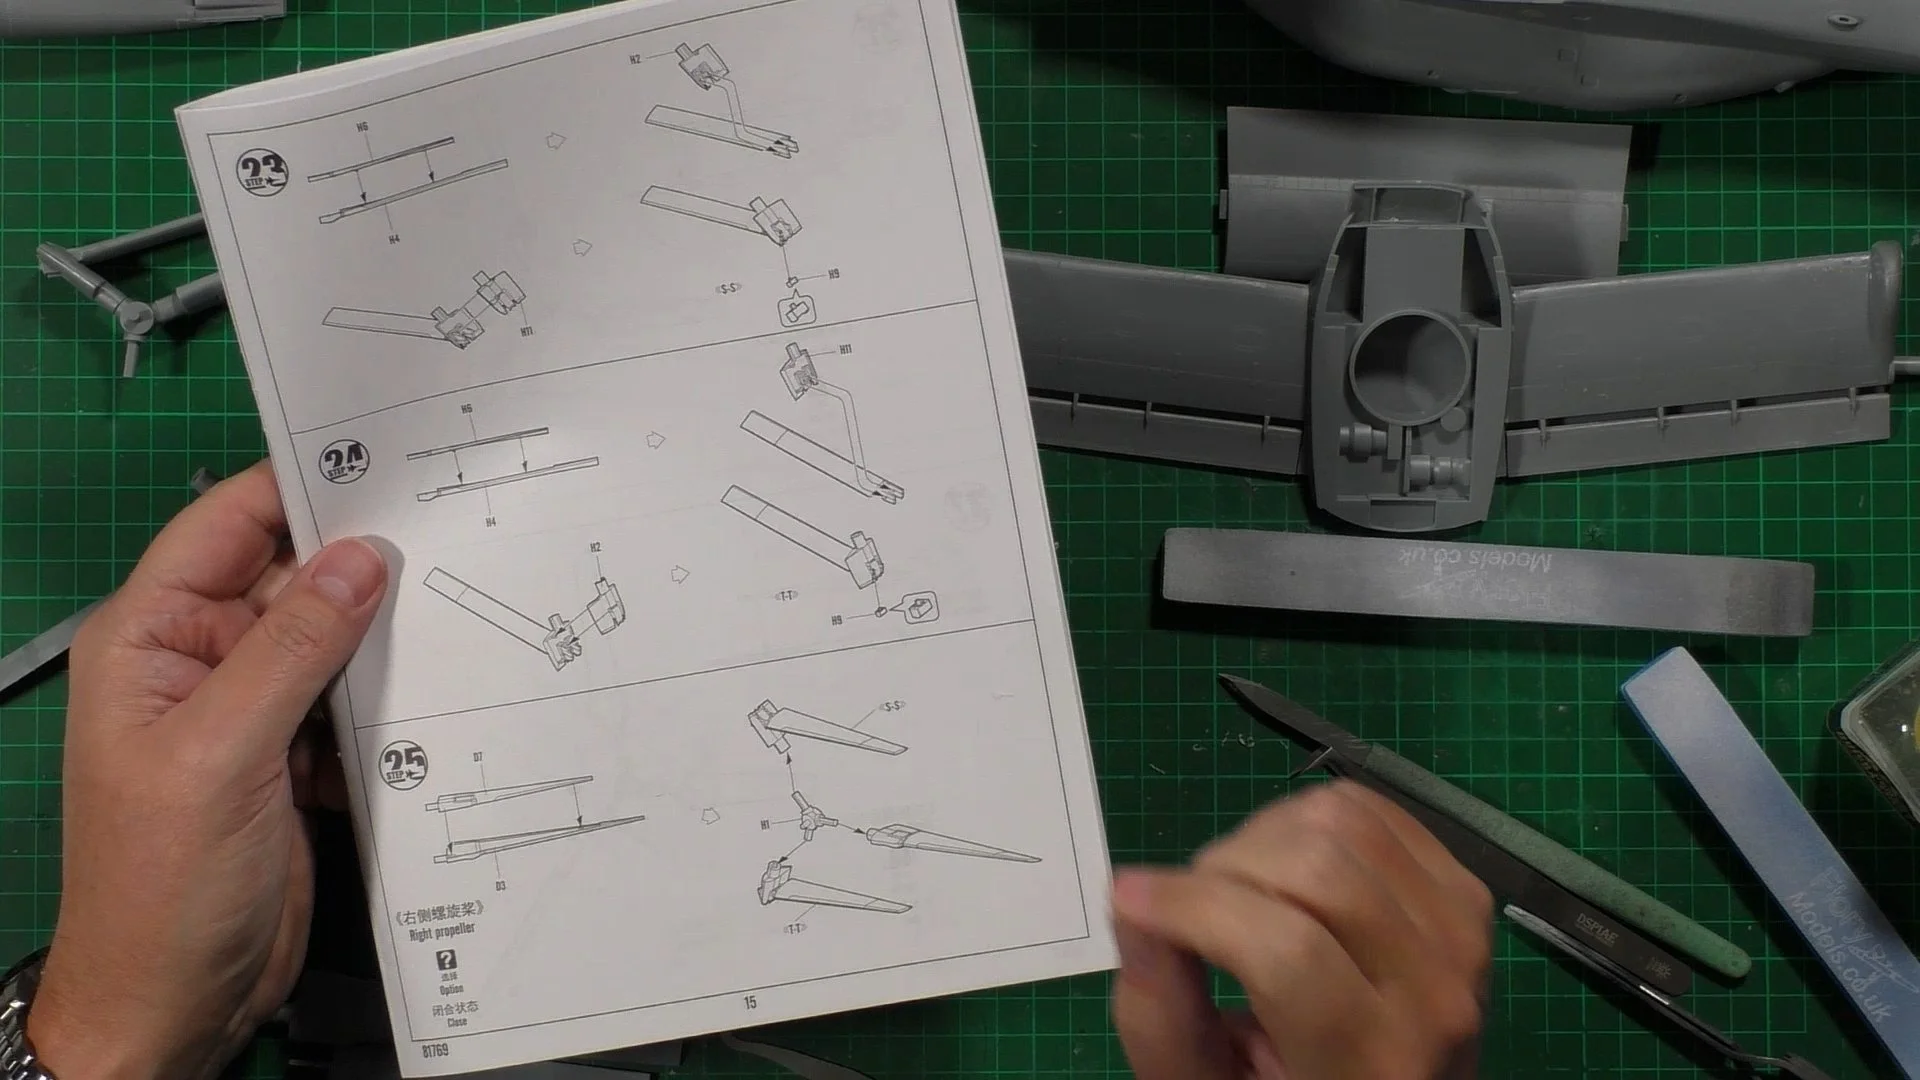
0:00 To start, we assembled the rotors in the flight position and a second set in the folded configuration. The folded configuration was a bit of a head-scratcher, but we got there in the end. 7:23 Next it's time to sand the filled seam on the top and bottom. We talk and show how we tackle sanding flat surfaces. 16:12 Once we are happy we test the seam with a coat of paint to see what it looks like. 26:11 Lastly, we can re-scribe and re-rivet the details we lost with the sanding. 34:57 Last up for now we add the Photo etched vents.
0:00 We start by using the Eduard Mask set EX773. 11:38 Next, we attach the clear parts with Ammo's Ultra Glue. 18:38 Here, we remove the radar, make a significant mistake, and cut off too much. So, we create a CA and chalk filler to repair the damage. 28:56 We sand it back into shape with the filler dry and polish up the repair.
0:00 To start, we polish the nose section and check to make sure we are happy. 2:52 We move over to the spray booth to add a black coat over the clear parts. 5:30 Next it's time for a coat of AK 3gen Primer and left to dry for a few days. 10:42 Now it's time for the Light ghost grey FS36375 (RC252) thinned 65% with rapid-drying thinners. 25:07 With the light ghost grey on we mask up ready for the Dark Ghost grey color next.
0:00 First off we put down the Dark Ghost grey, FS36320 (AK RC251) 4:20 We unmask and see if we are happy with the color. 9:24 Next we paint the rotors Tamiya XF85 Rubber black and use the REAL COLOR markers for the leading edge metal area, here with Gun Metal pen. 19:54 Last up for this part we decal the model. Whilst not happy with the decal color I'm sure we can pop a filter over the decals to lighten them up once there happy in place.
0:00 To start, we finish off the dealing and then use the DSPIAE circle cutter to make a mask for the top receiver. 6:09 Next we use AK 3gen Matt finish to blend the decals and give a nice matt look for the weathering. 10:05 Now it's time for a little post-weathering with a thin mix of the Dark ghost grey and and dark grey mix, we use this over the decals to fade them back a little and add weathering to panel lines and raised details. 19:03 We can now paint the wheel well and gear, so we mask off the bays and paint with flat white along with the door insides. 22:47 Last up is to paint the wheels and tyres, so we use our standard, flat white and Tamiya XF-85 for the tyres. We use a cheep circle guide as a mask.
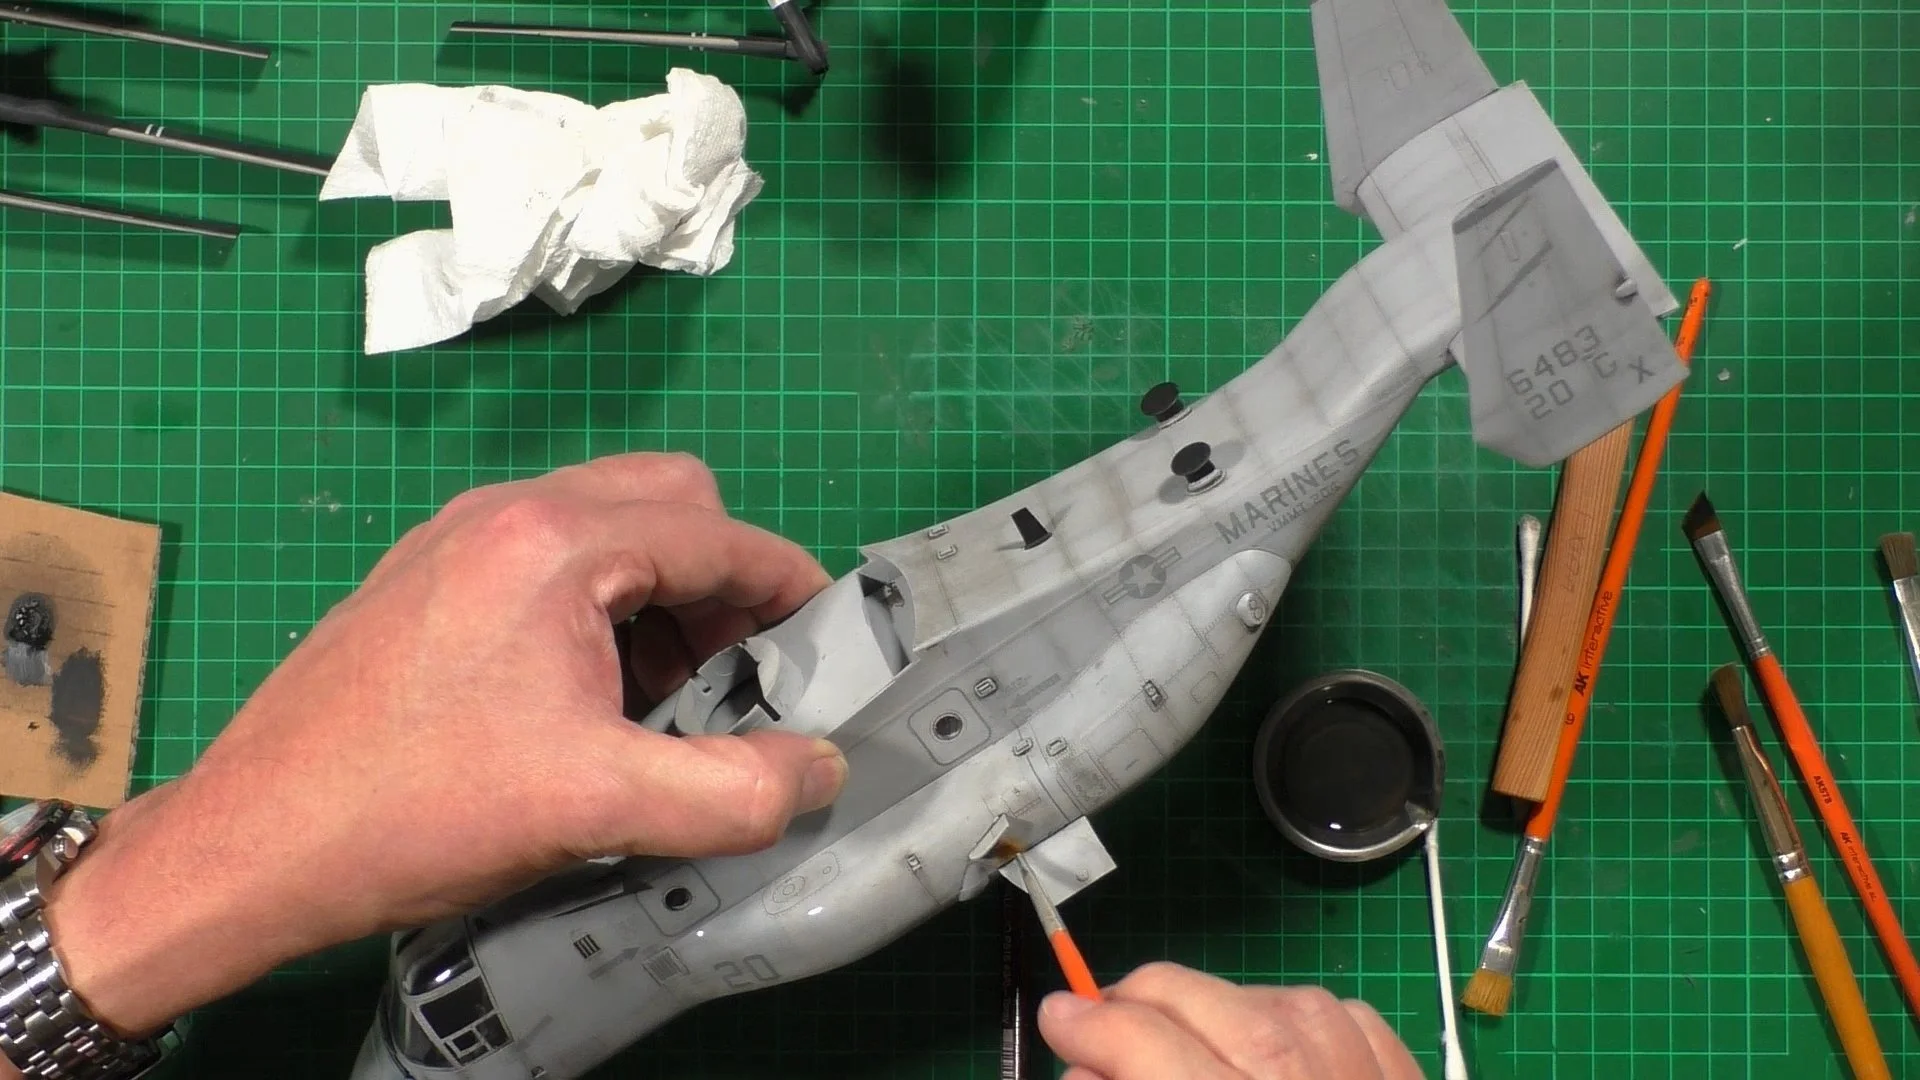
0:00 First up, we use the Flory models Dark Dirt wash FMW002 and apply a coat over the whole model and leave it to dry. 6:05 Once totally dry, we remove the access with a damp cloth. 10:54 With the wash removed, we put together the rotors and add the gear. 15:26 Next up we use oils neat to add weathering, stains and streaking to the model. 22:39 Last up, we unmask and bring the model to life.
0:00 We use neet oils to create grime, stains, watermarks, and warn areas. 13:01 We now make up an oil wash to add more weathering over the model and on the gear and well wells. 29:52 We added the last small parts and lights, and we were already ready for the final reveal.


