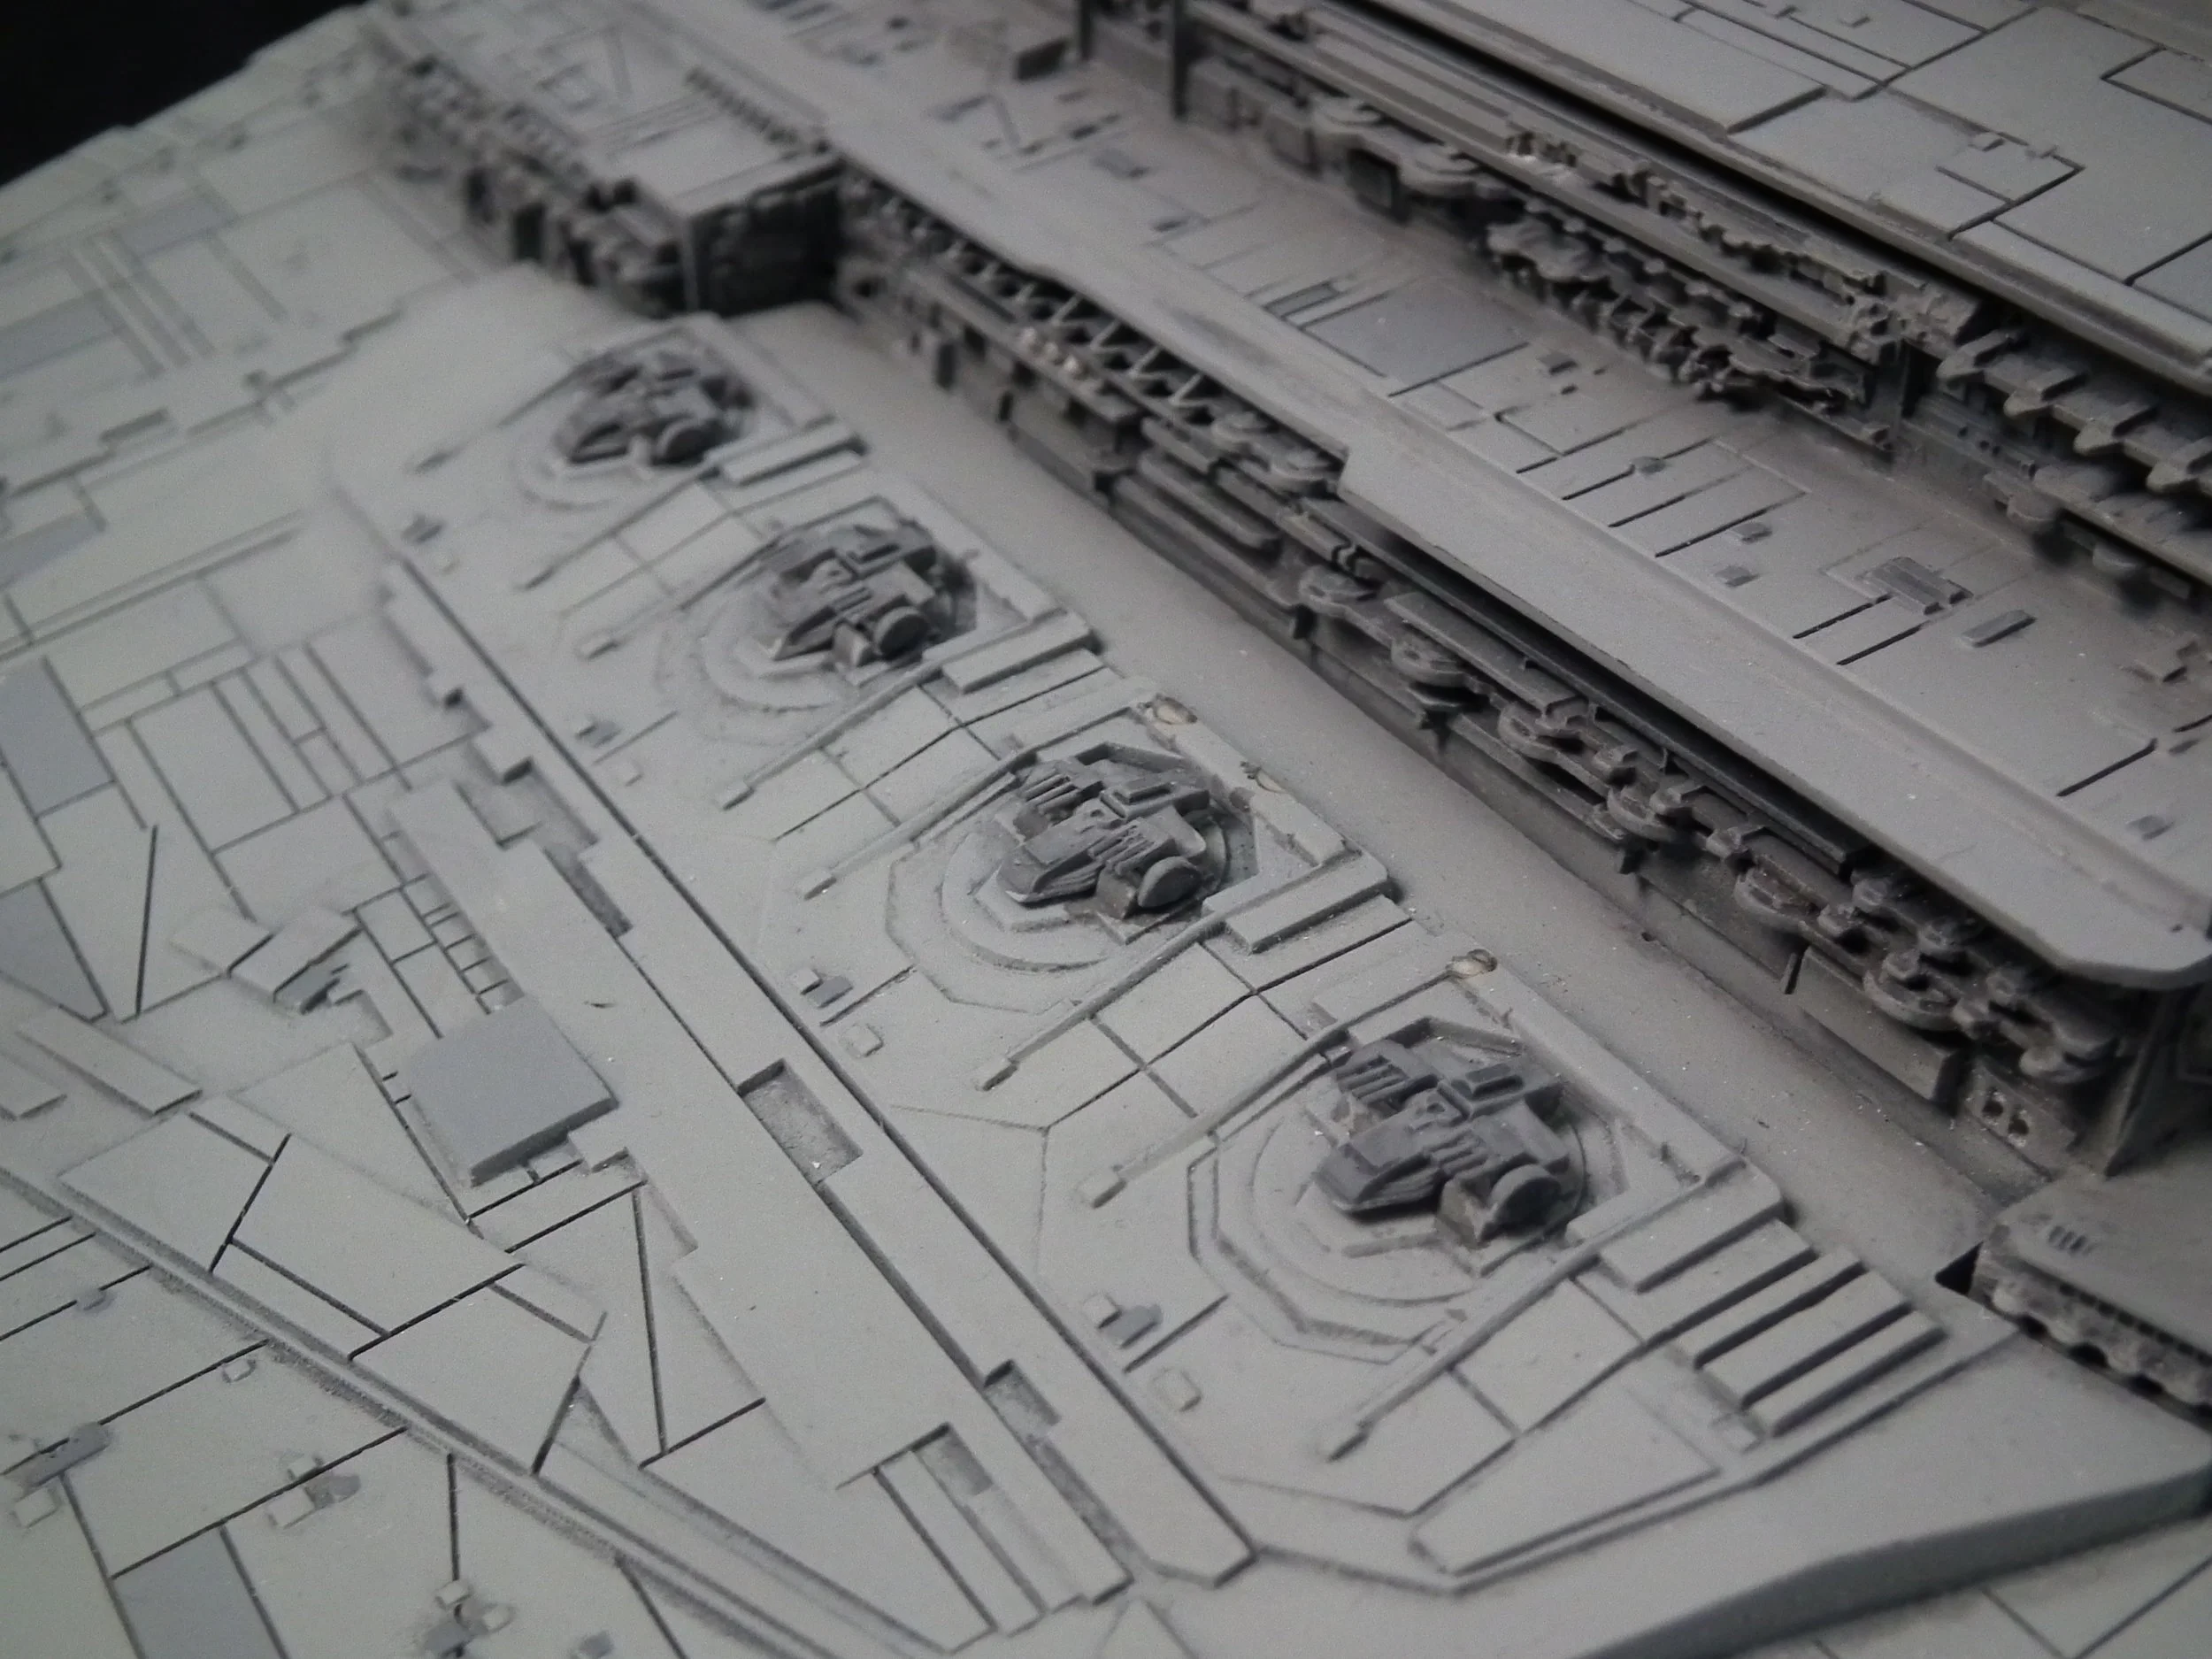
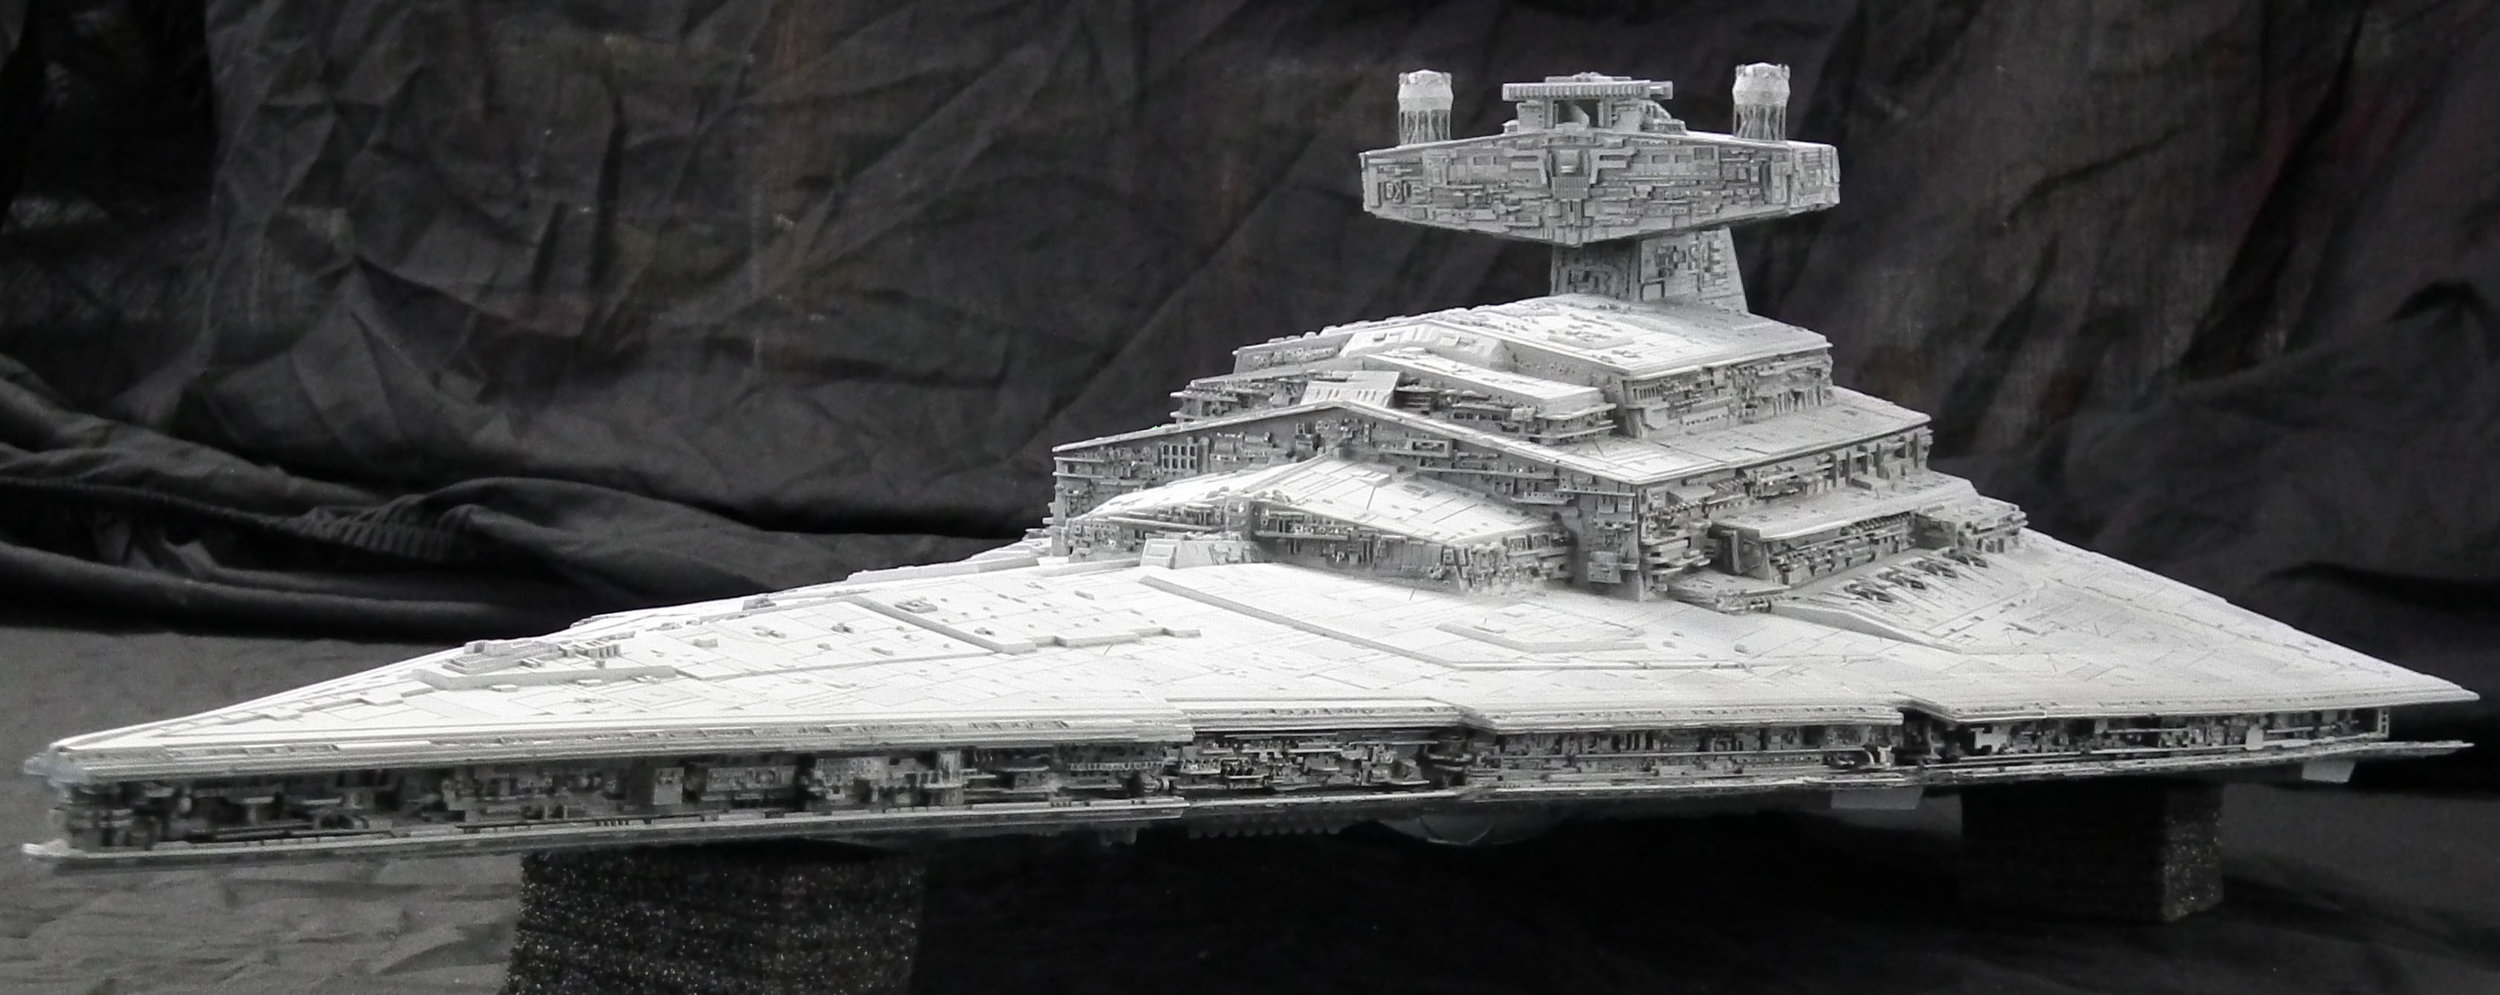
Imperial Avenger-Class Star Destroyer
1/2256 Resin Kit
In part one we look at the project ahead and how we will use LED lighting and the internal frame to mount the ship from the rear and side, Next we wash the resin and remove the flash and blocks from the resin.
Well after a few fit problems we work or putting together the underside and the top parts and using resin as filler to weld it all together
In part three we work through the rescribing and replacing the detail parts and the make some big changes to the kit to get it to fit together.
In part Four we make some big cuts to make it a better fit we then move on the engine area and install the 10mm and 5 mm LEDs for the engine glow.
In part Five we work on the rear engine area, test and install the LEDs and LED strips all 257 lights!!
In part 6 we install the wireless controller for the lights so we can change the brightness, we then connect the whole lighting system up for the first time installed. We then move on to make the stand power point.
In Part 7 we bring it all together and complete the construction and test all the lighting.
In Part 8 we start on the airbrushing and working our way through the different shades of greys to bring the star destroyer to life and bring a scale effect to the model
In Part Nine we start to weather the painting and by using different shades of grey really bring the Star Destroyer to life
In part Ten we weather the whole thing with a mix of different colour washes to give a dull bleached look.
In the final part of this build, we open up all the holes for the lighting and then mount it onto the stand for the final reveal


