F-101 Voodoo
Scale: 1/48
Manufacturer: Monogram
Parts used: Out Of The Box
Main paints used: Tamiya and Xtream Metals
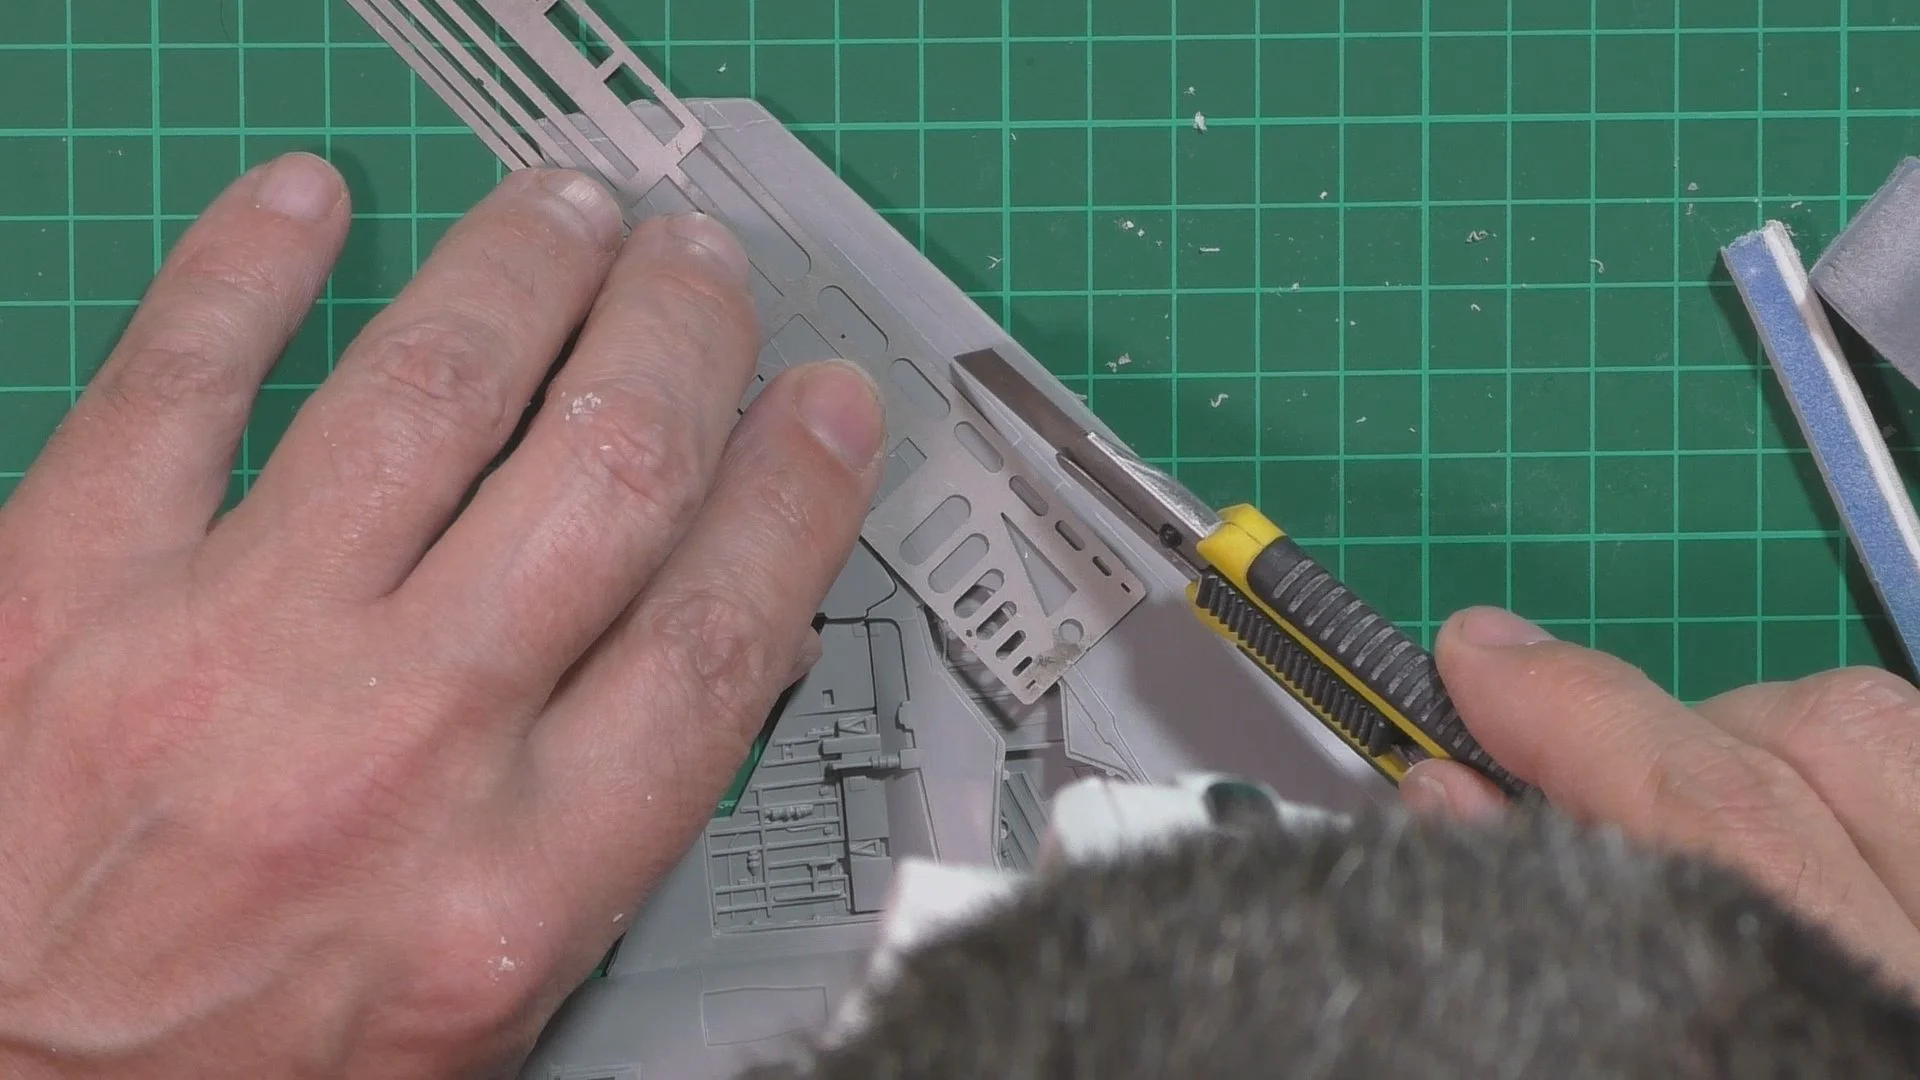
In part one, we look at the build ahead and look at how we will tackle the raised panel lines. Then we start on the build and remove the ejector pin marks and start the construction.
In part two, we work on the cockpit and use Posca pens for adding all the detail and then weathering with oils. Next we bring the fuselage halves together and the scape clean the seams taking care not to delete the raised panel lines.
In part three, it’s time to get the wing section attached and the wheel well and nose. Next we remove some of the lights not needed and then add back the raised panel lines and then finally get the canopy attached.
In part four, we get a coat of primer on the model to check seam lines and the raised panel lines we had put back in and generally checking for any problems. There were a few little things to tack care of so back in with some Mr. Surfacer re sand and polish and I this point we remove the nose tracker and fill the hole left behind with CA and talcum powder mix.
In part five, we move into the spray booth and put down a coat of Tamiya X-1 Black ready for the Xtreme metals Dark Aluminum for the natural metal finish.
In part six, we use different shades of metal finishes like steel and duraluminium etc. Next its left for a few days to totally dry and then on with the deals.
In part seven, take care of the decals and get the Voodoo on its gear, next we add the speed breaks and flaps and unmask the clear parts. Then it’s time for weathering with oils but due to the heat, the oils bake on and then we have to remove them without using anything that will affect the enamel paint underneath, so no enamel thinners!!
In part eight, we get back on track with the oil weathering in the cooler morning air and then add the buff gaskets made out of 0.4mm Tamiya tape to the edges of the canopy framing. Then it’s time to add the drop tanks and pitot tubes and we’re ready for the final reveal.


