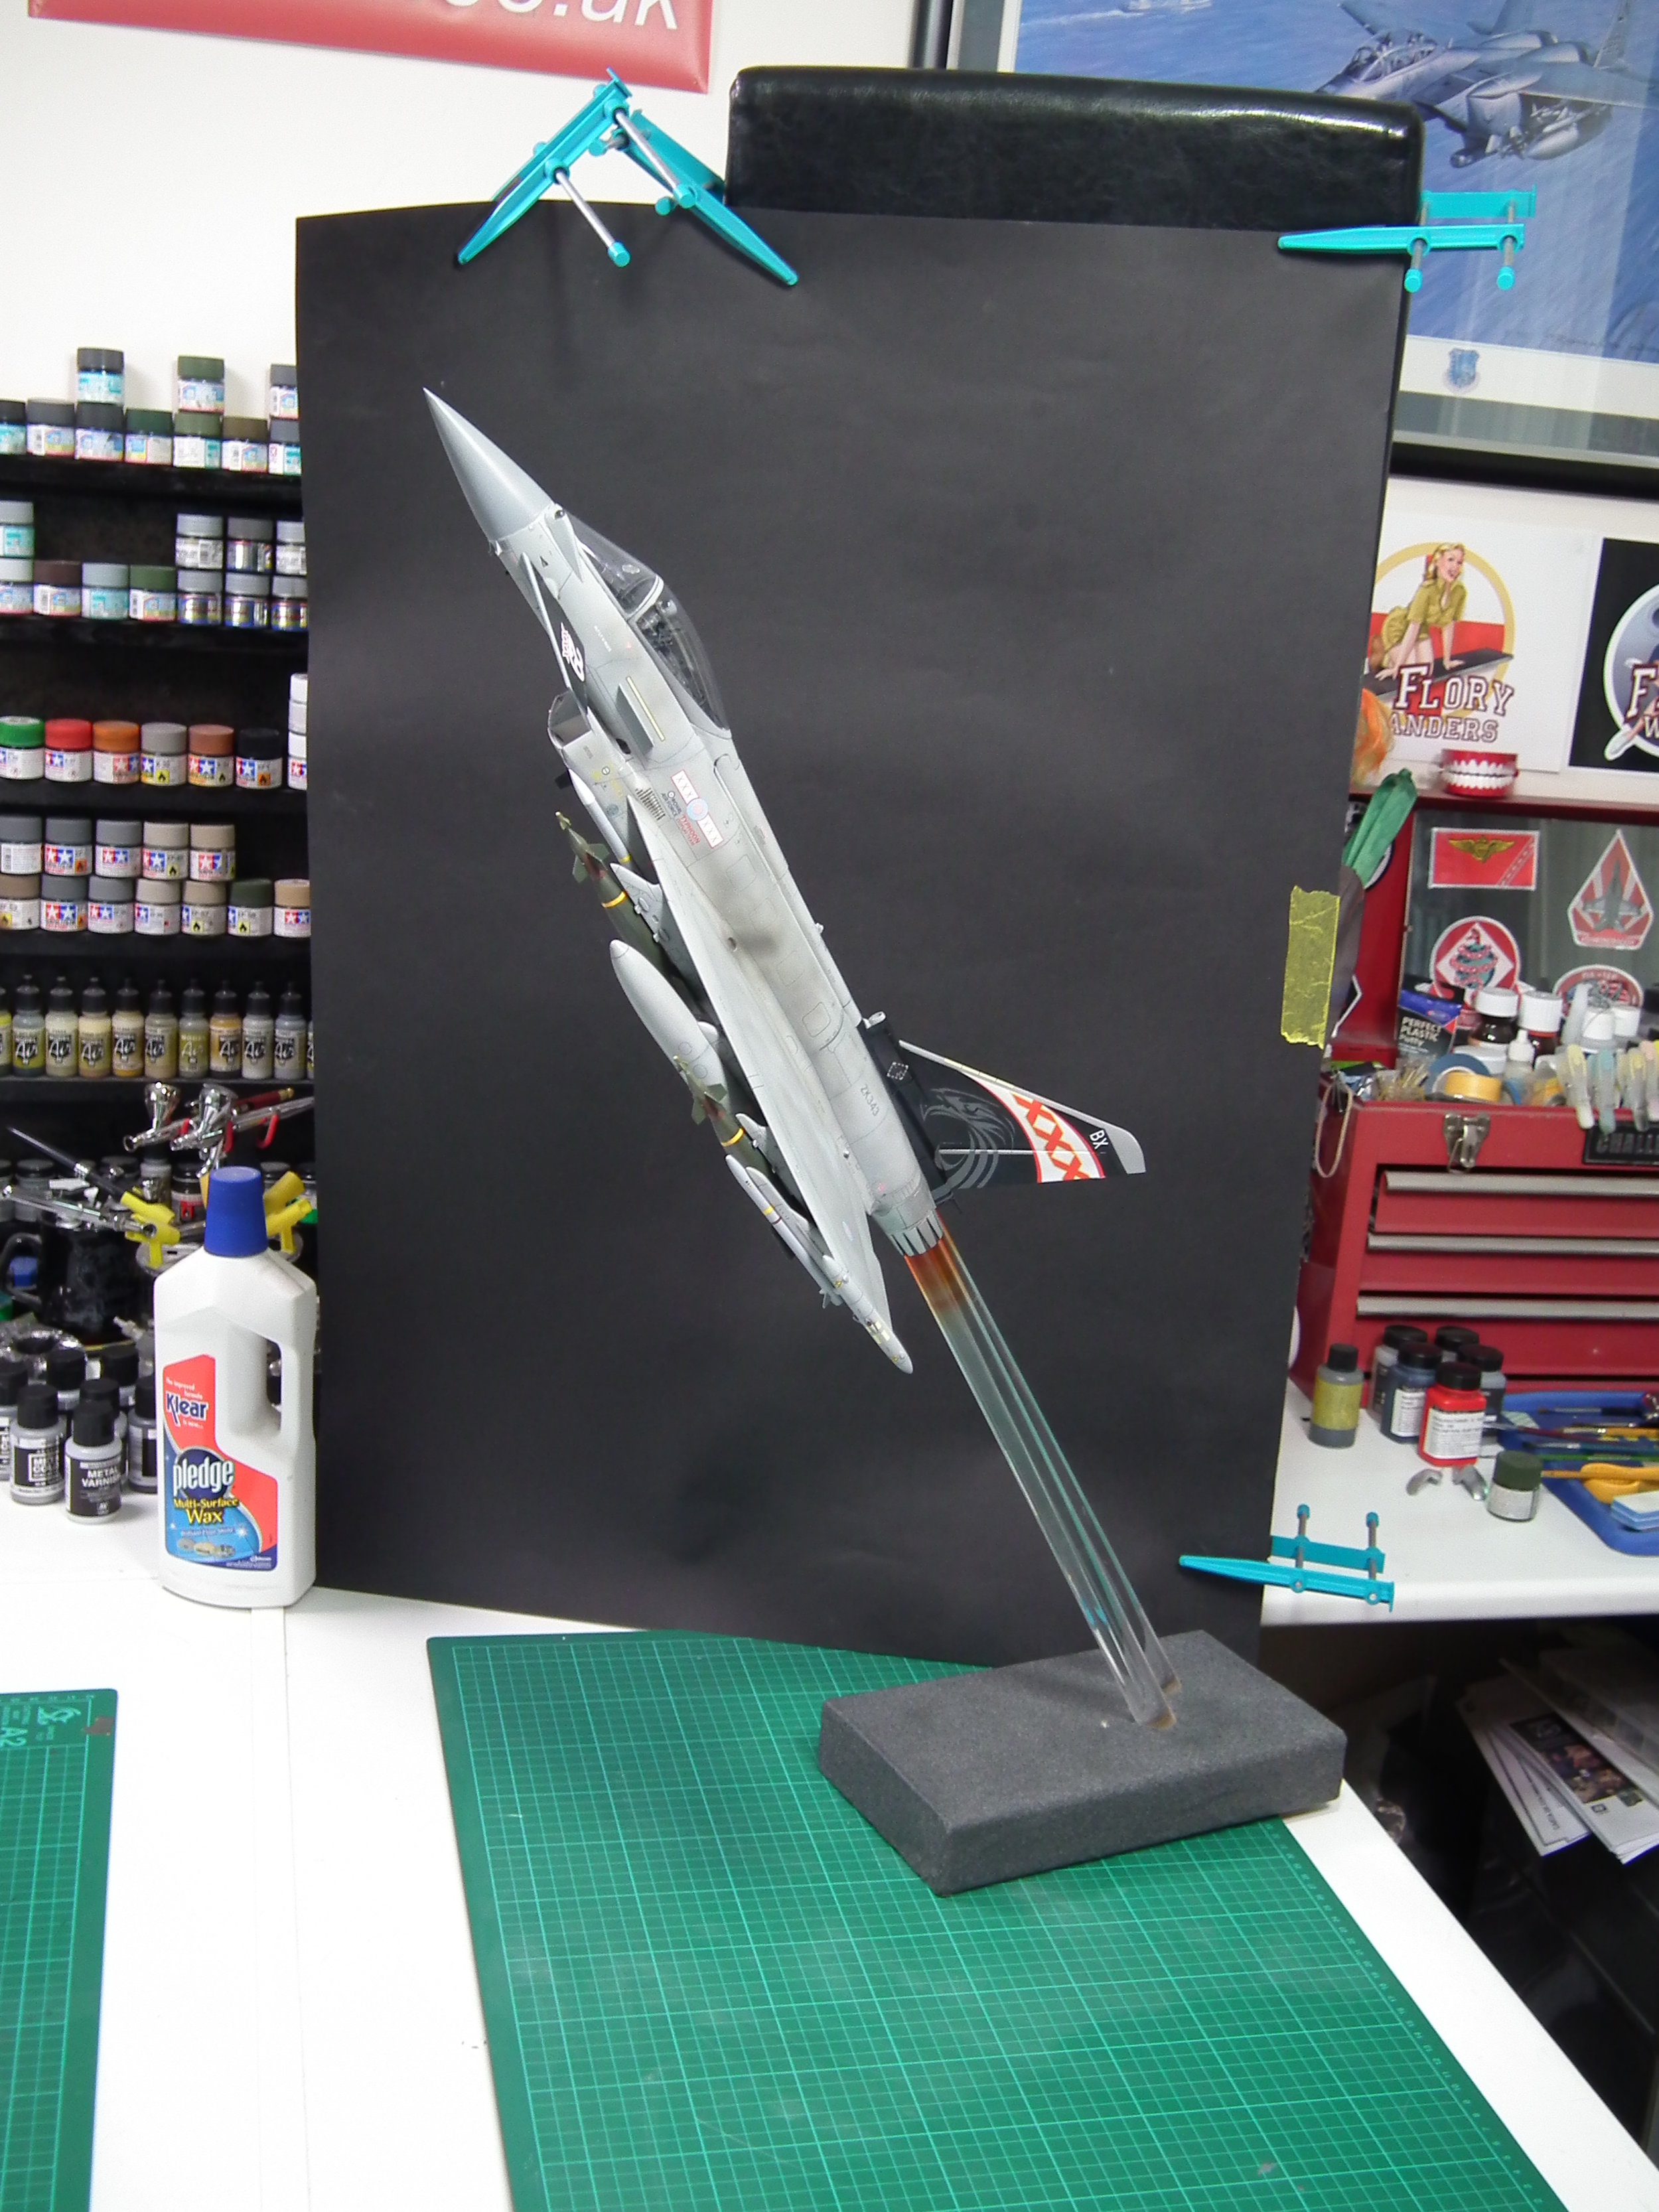
Euro Fighter Typhoon FGR4
Scale: 1/32
Manufacturer: Revell
Parts used: OOB with Scale Magic Lighting System
Main paints used: Tamiya and Gunzo
n part one we start with the cockpit and look ahead at the build
In Part Two we continue the construction and look at rescribing.
In Part Three we work out and install the lighting system into the Typhoon
In Part Four we bring the body and wings together and then have a close look as Polishing canopies and masking.
In Part five we rescribe and move over to the primer stage and fix a few small problems that showed up and then preshade and get the Barley grey camo paint on.
In part Six we paint the intakes and the metal areas at the rear of the jet woth metalizer paints. Next is the black tail markings.
In part seven we look at weathering the Typhoon with washes and post shading.
In part Eight we work on the stand and the the pilot and attach him to the seat and install it.
In the final part we install the battery and mount the Typhoon on the acrylic rod stand all ready for the reveal.


