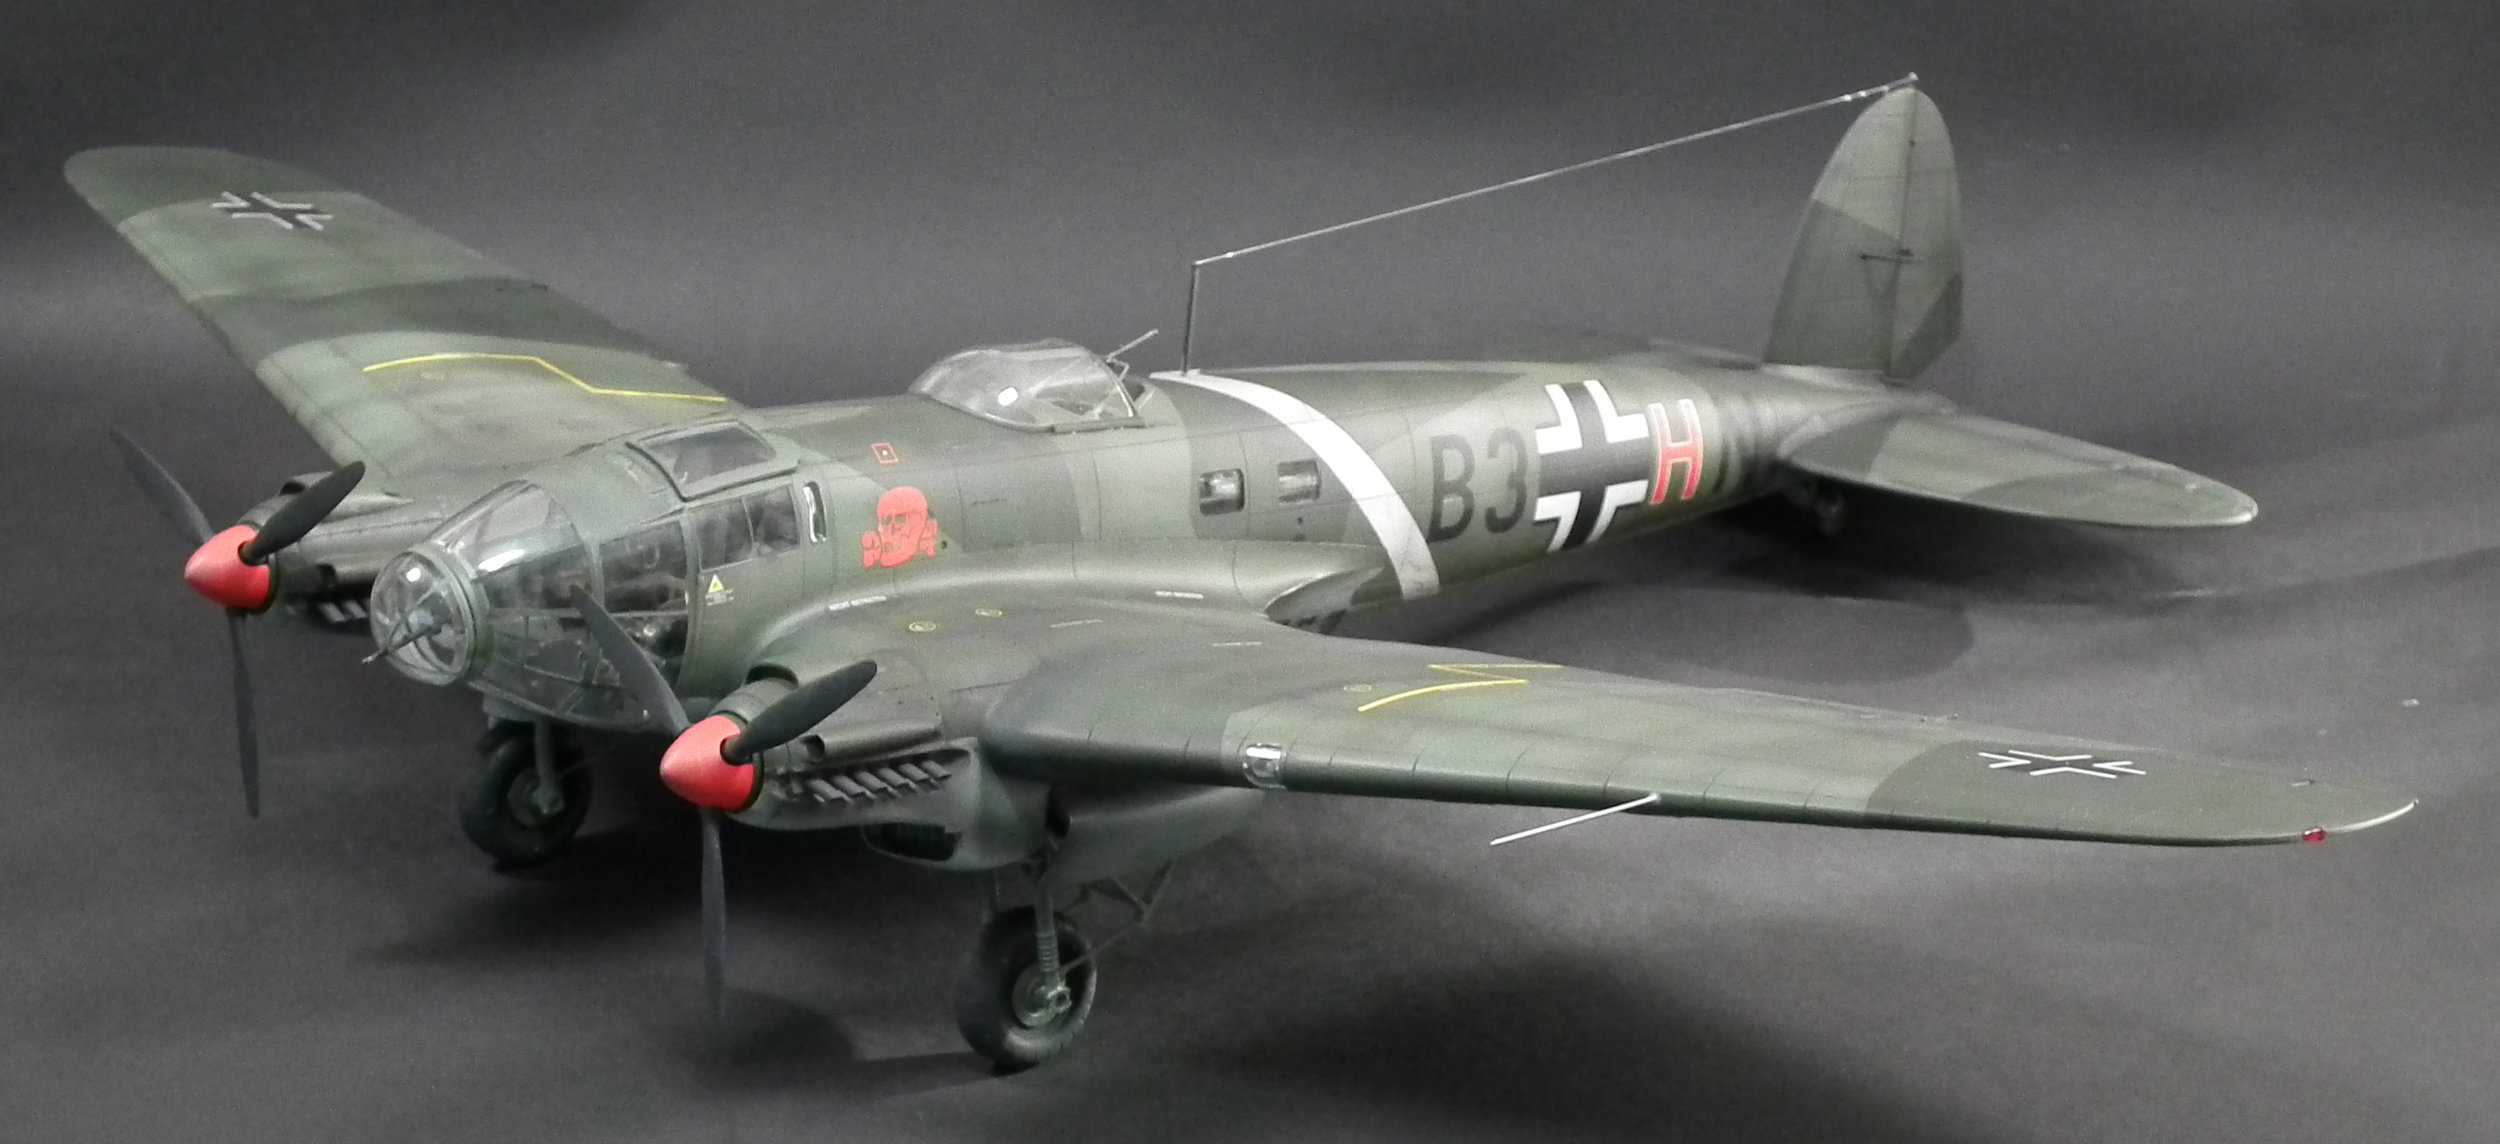
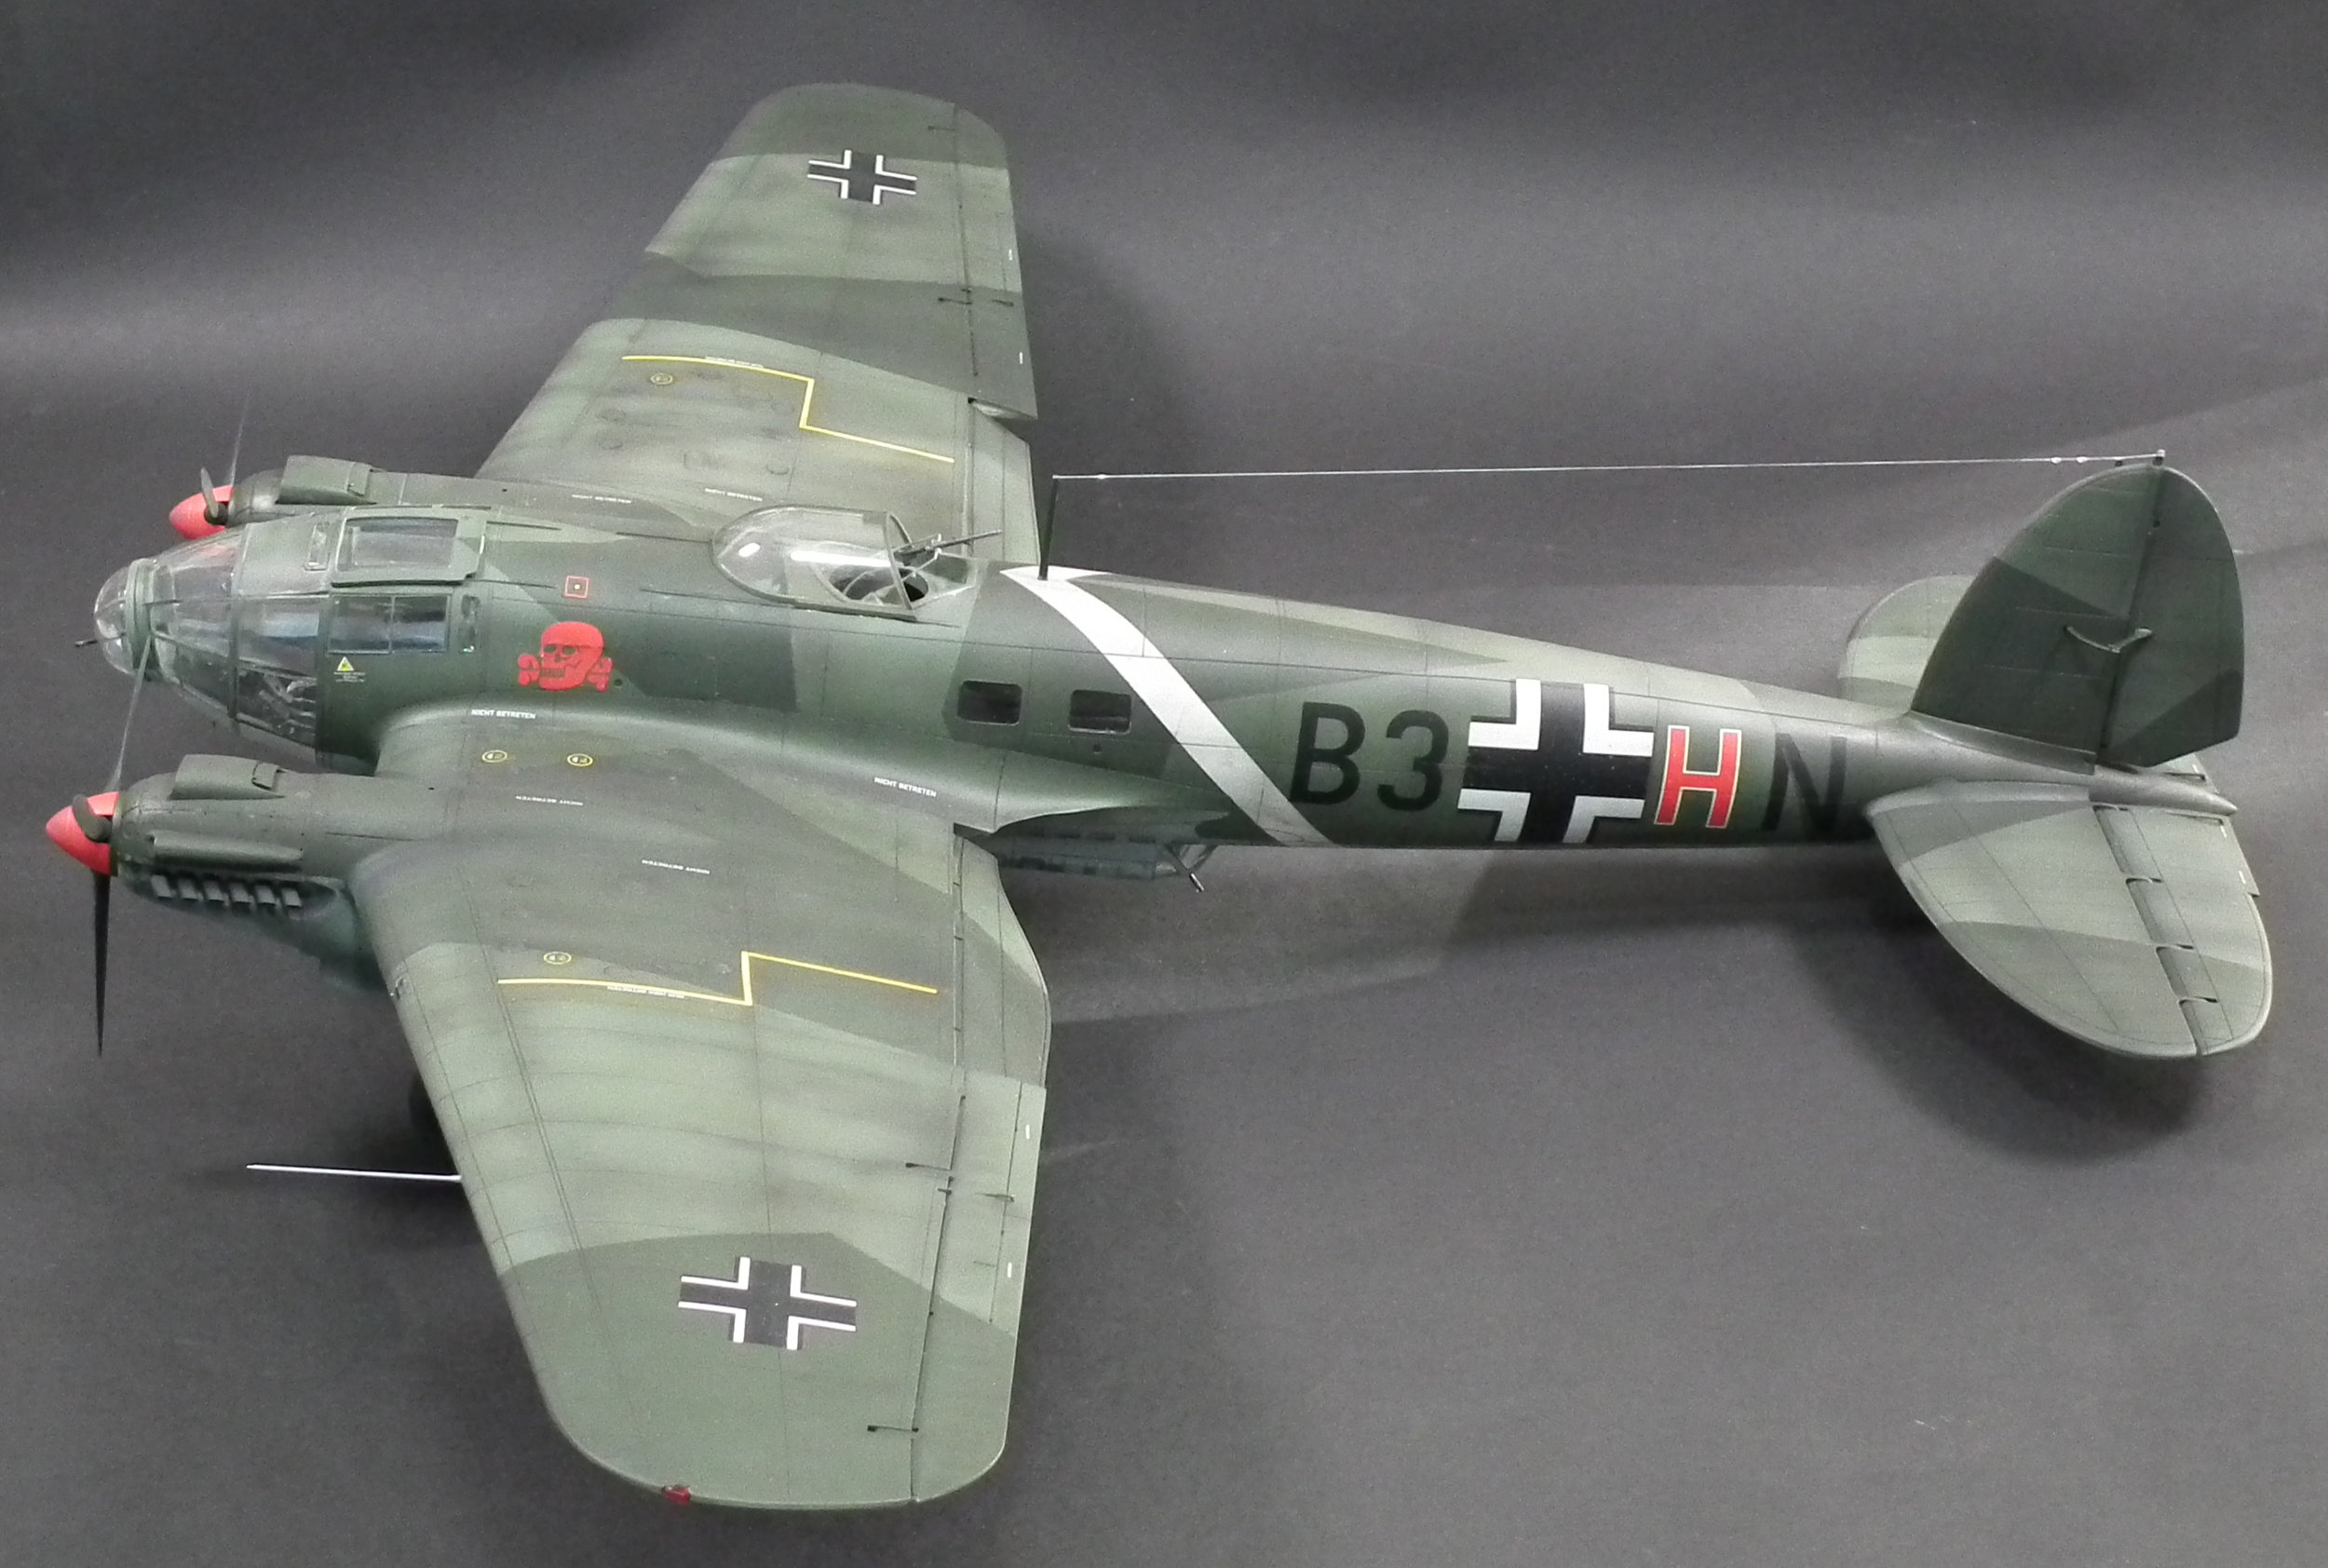
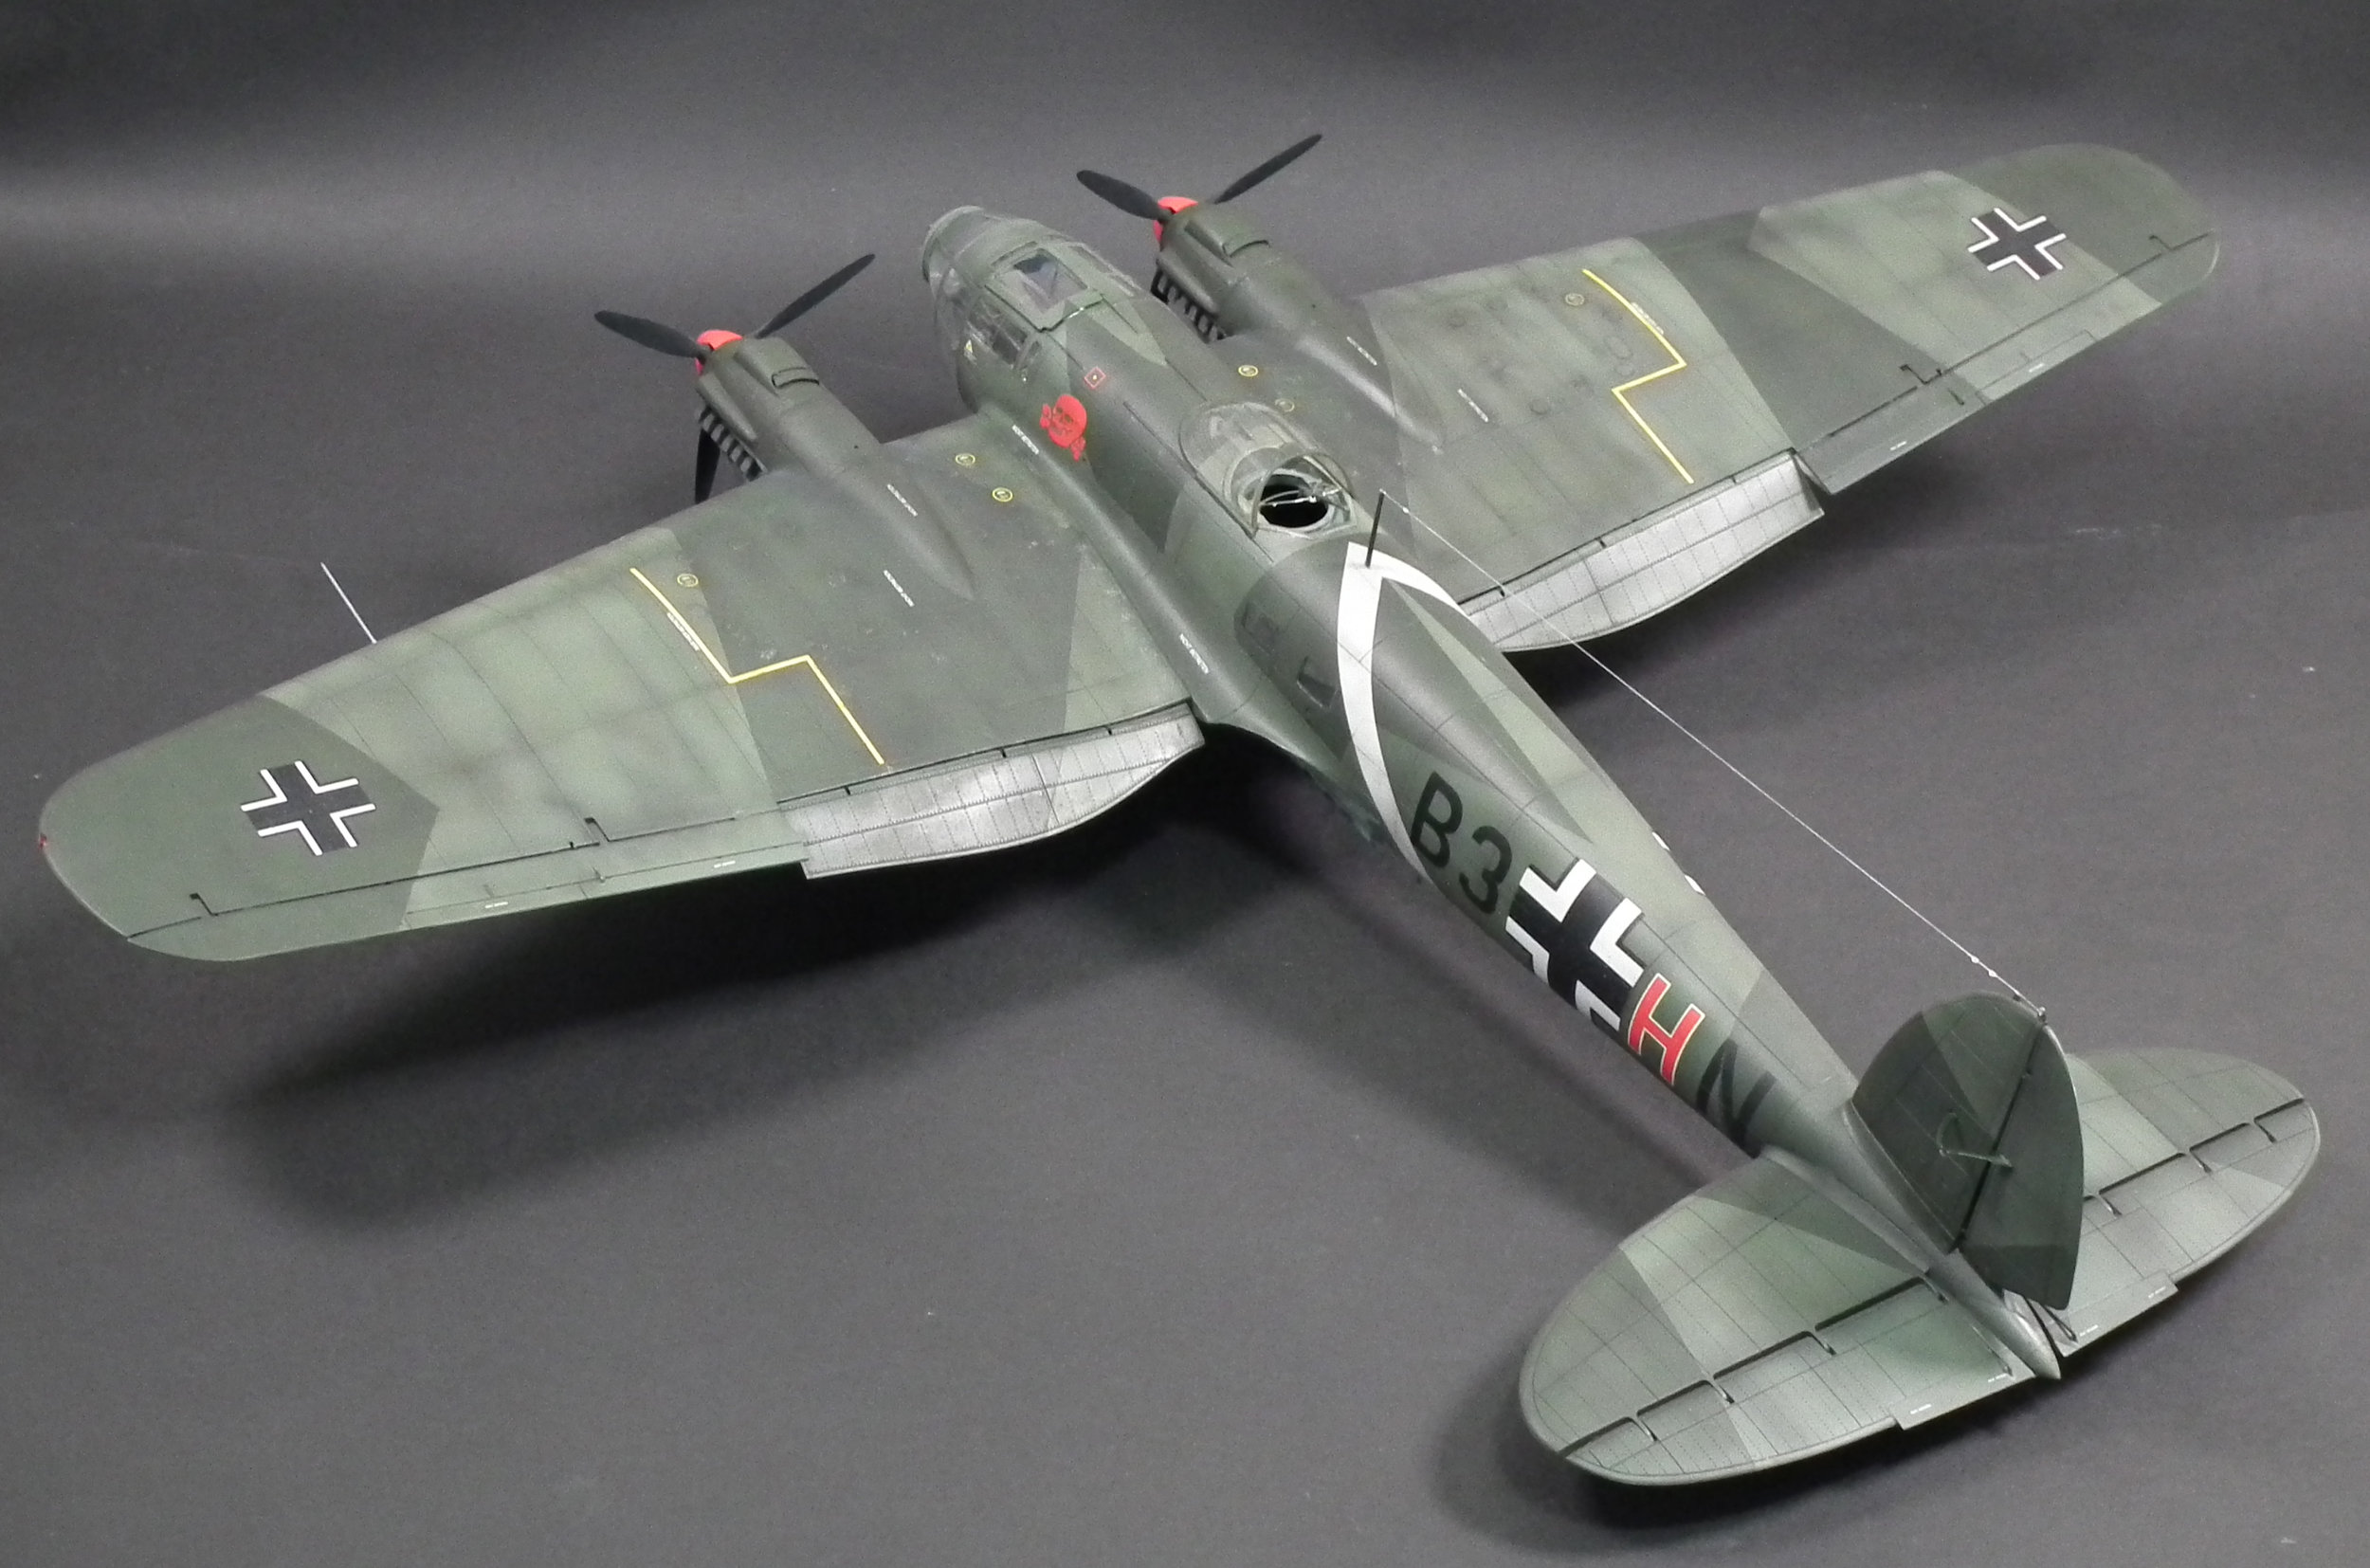
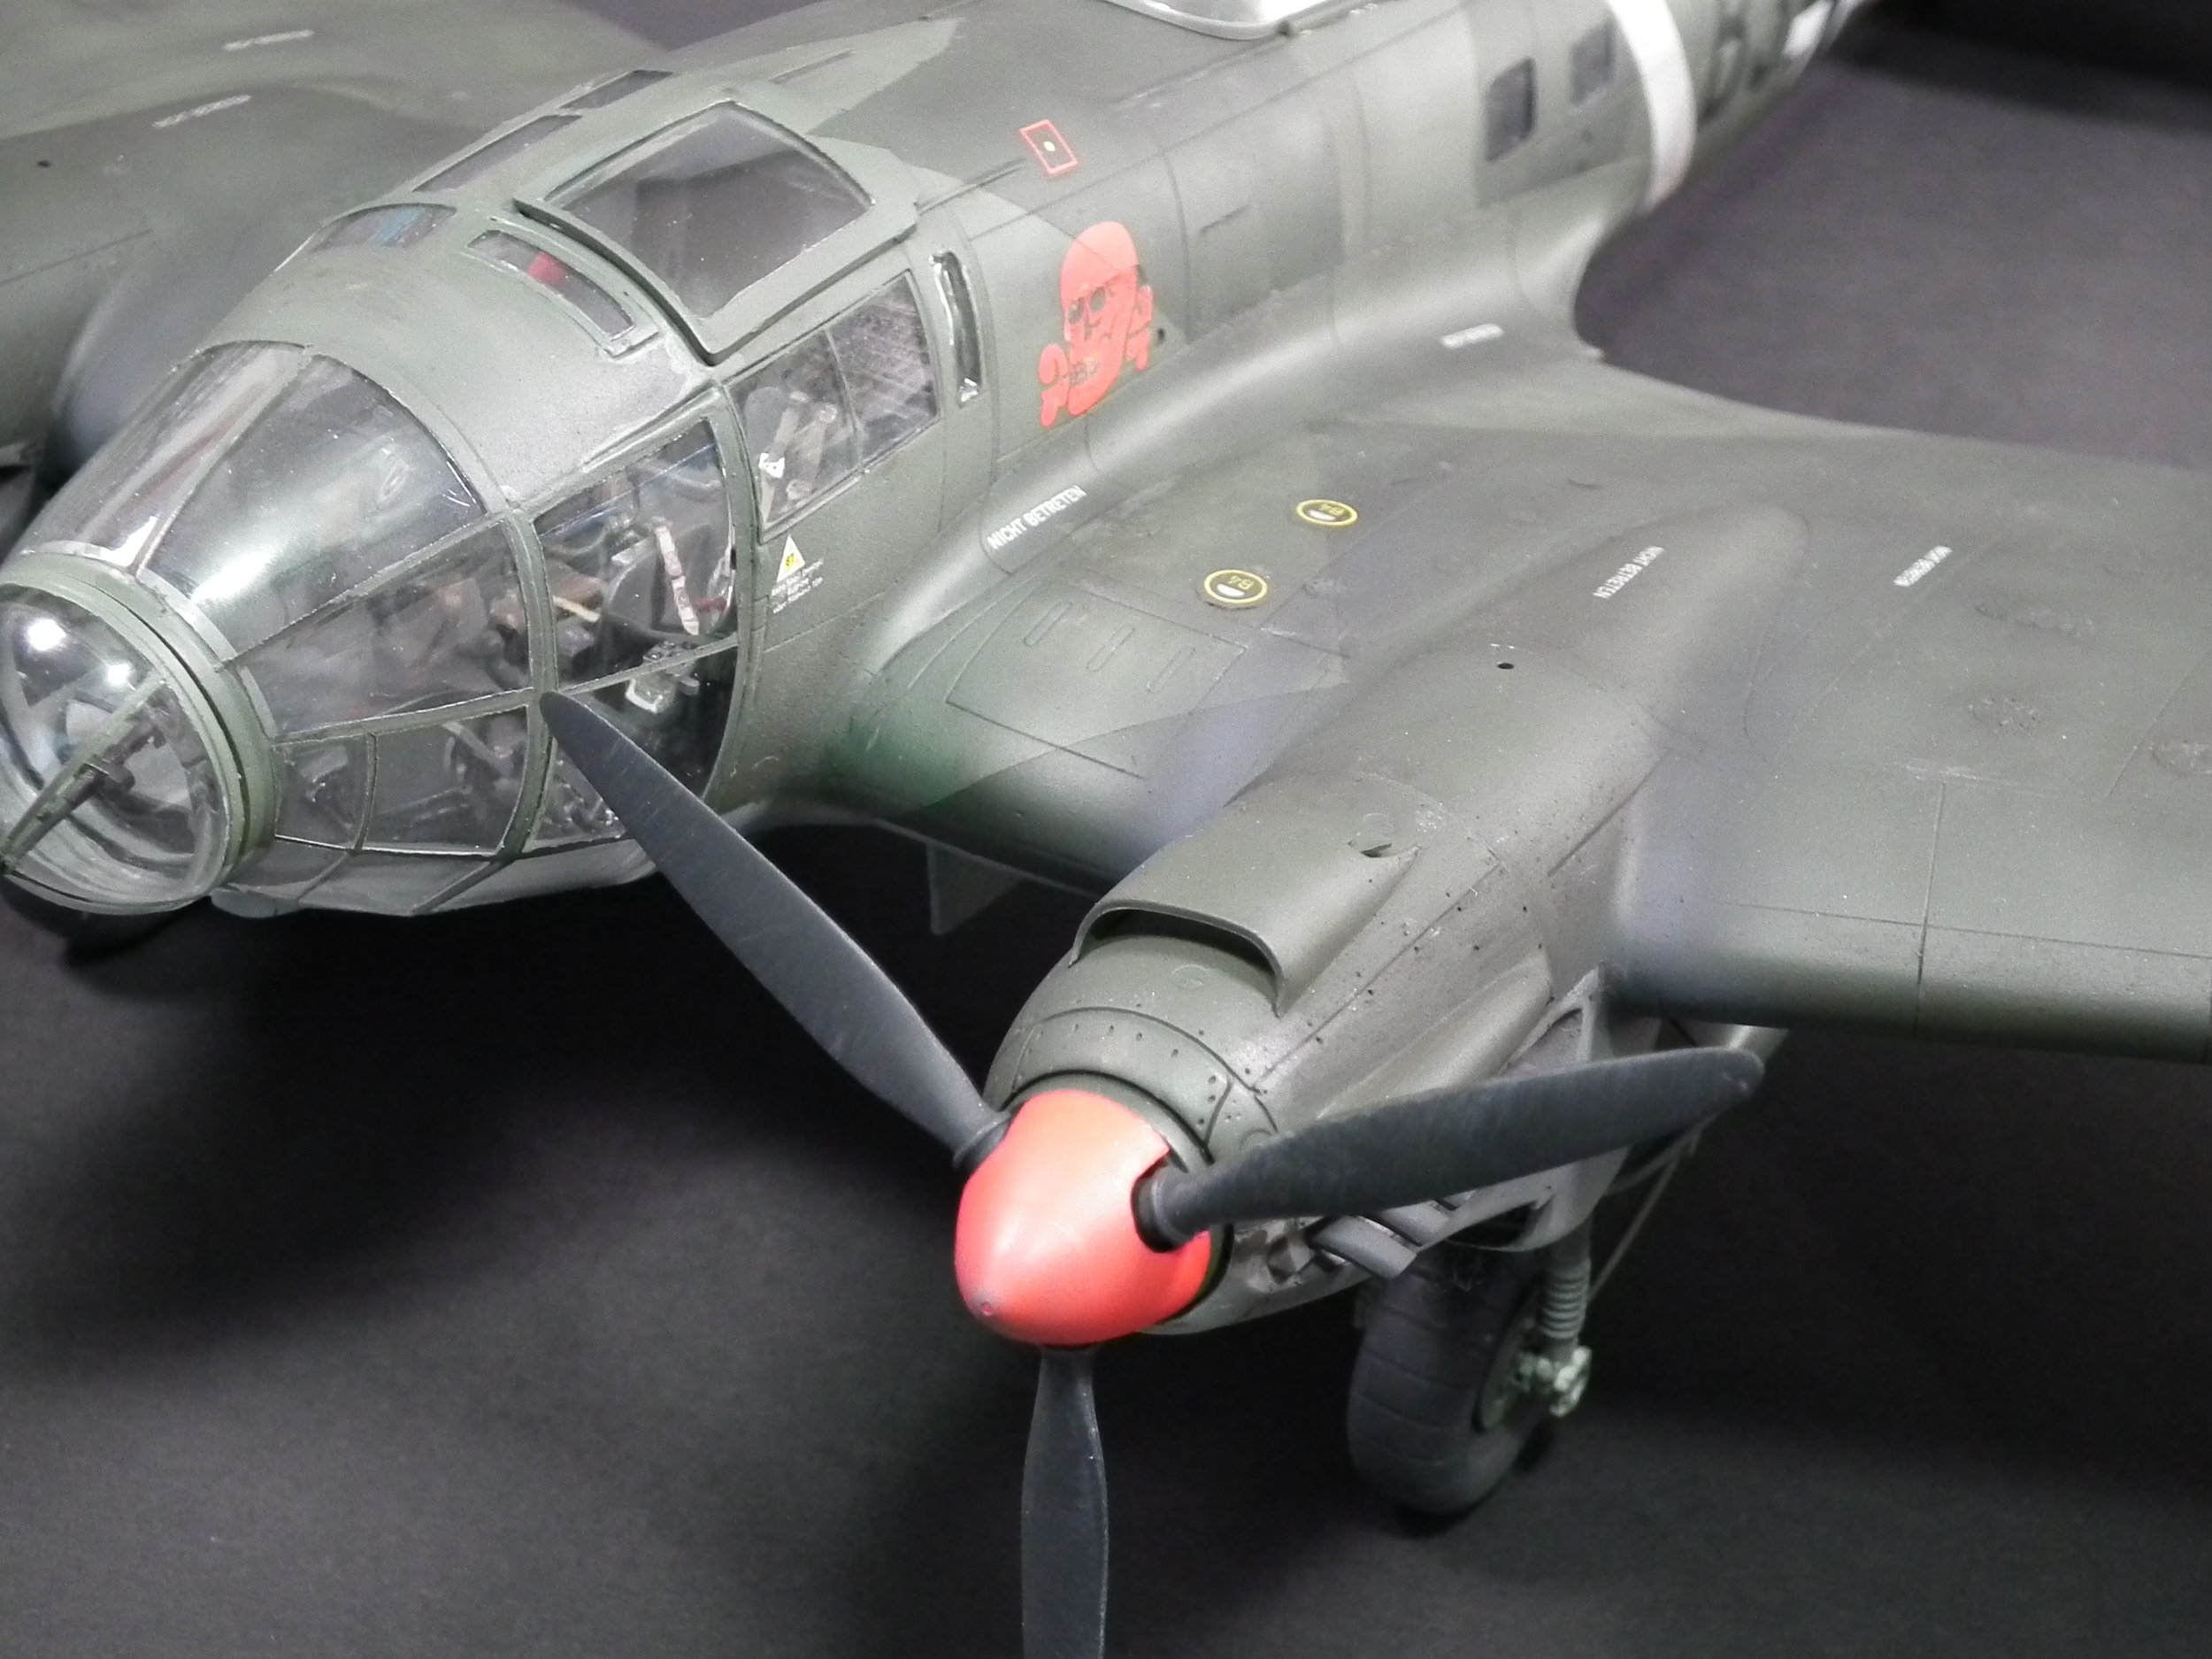
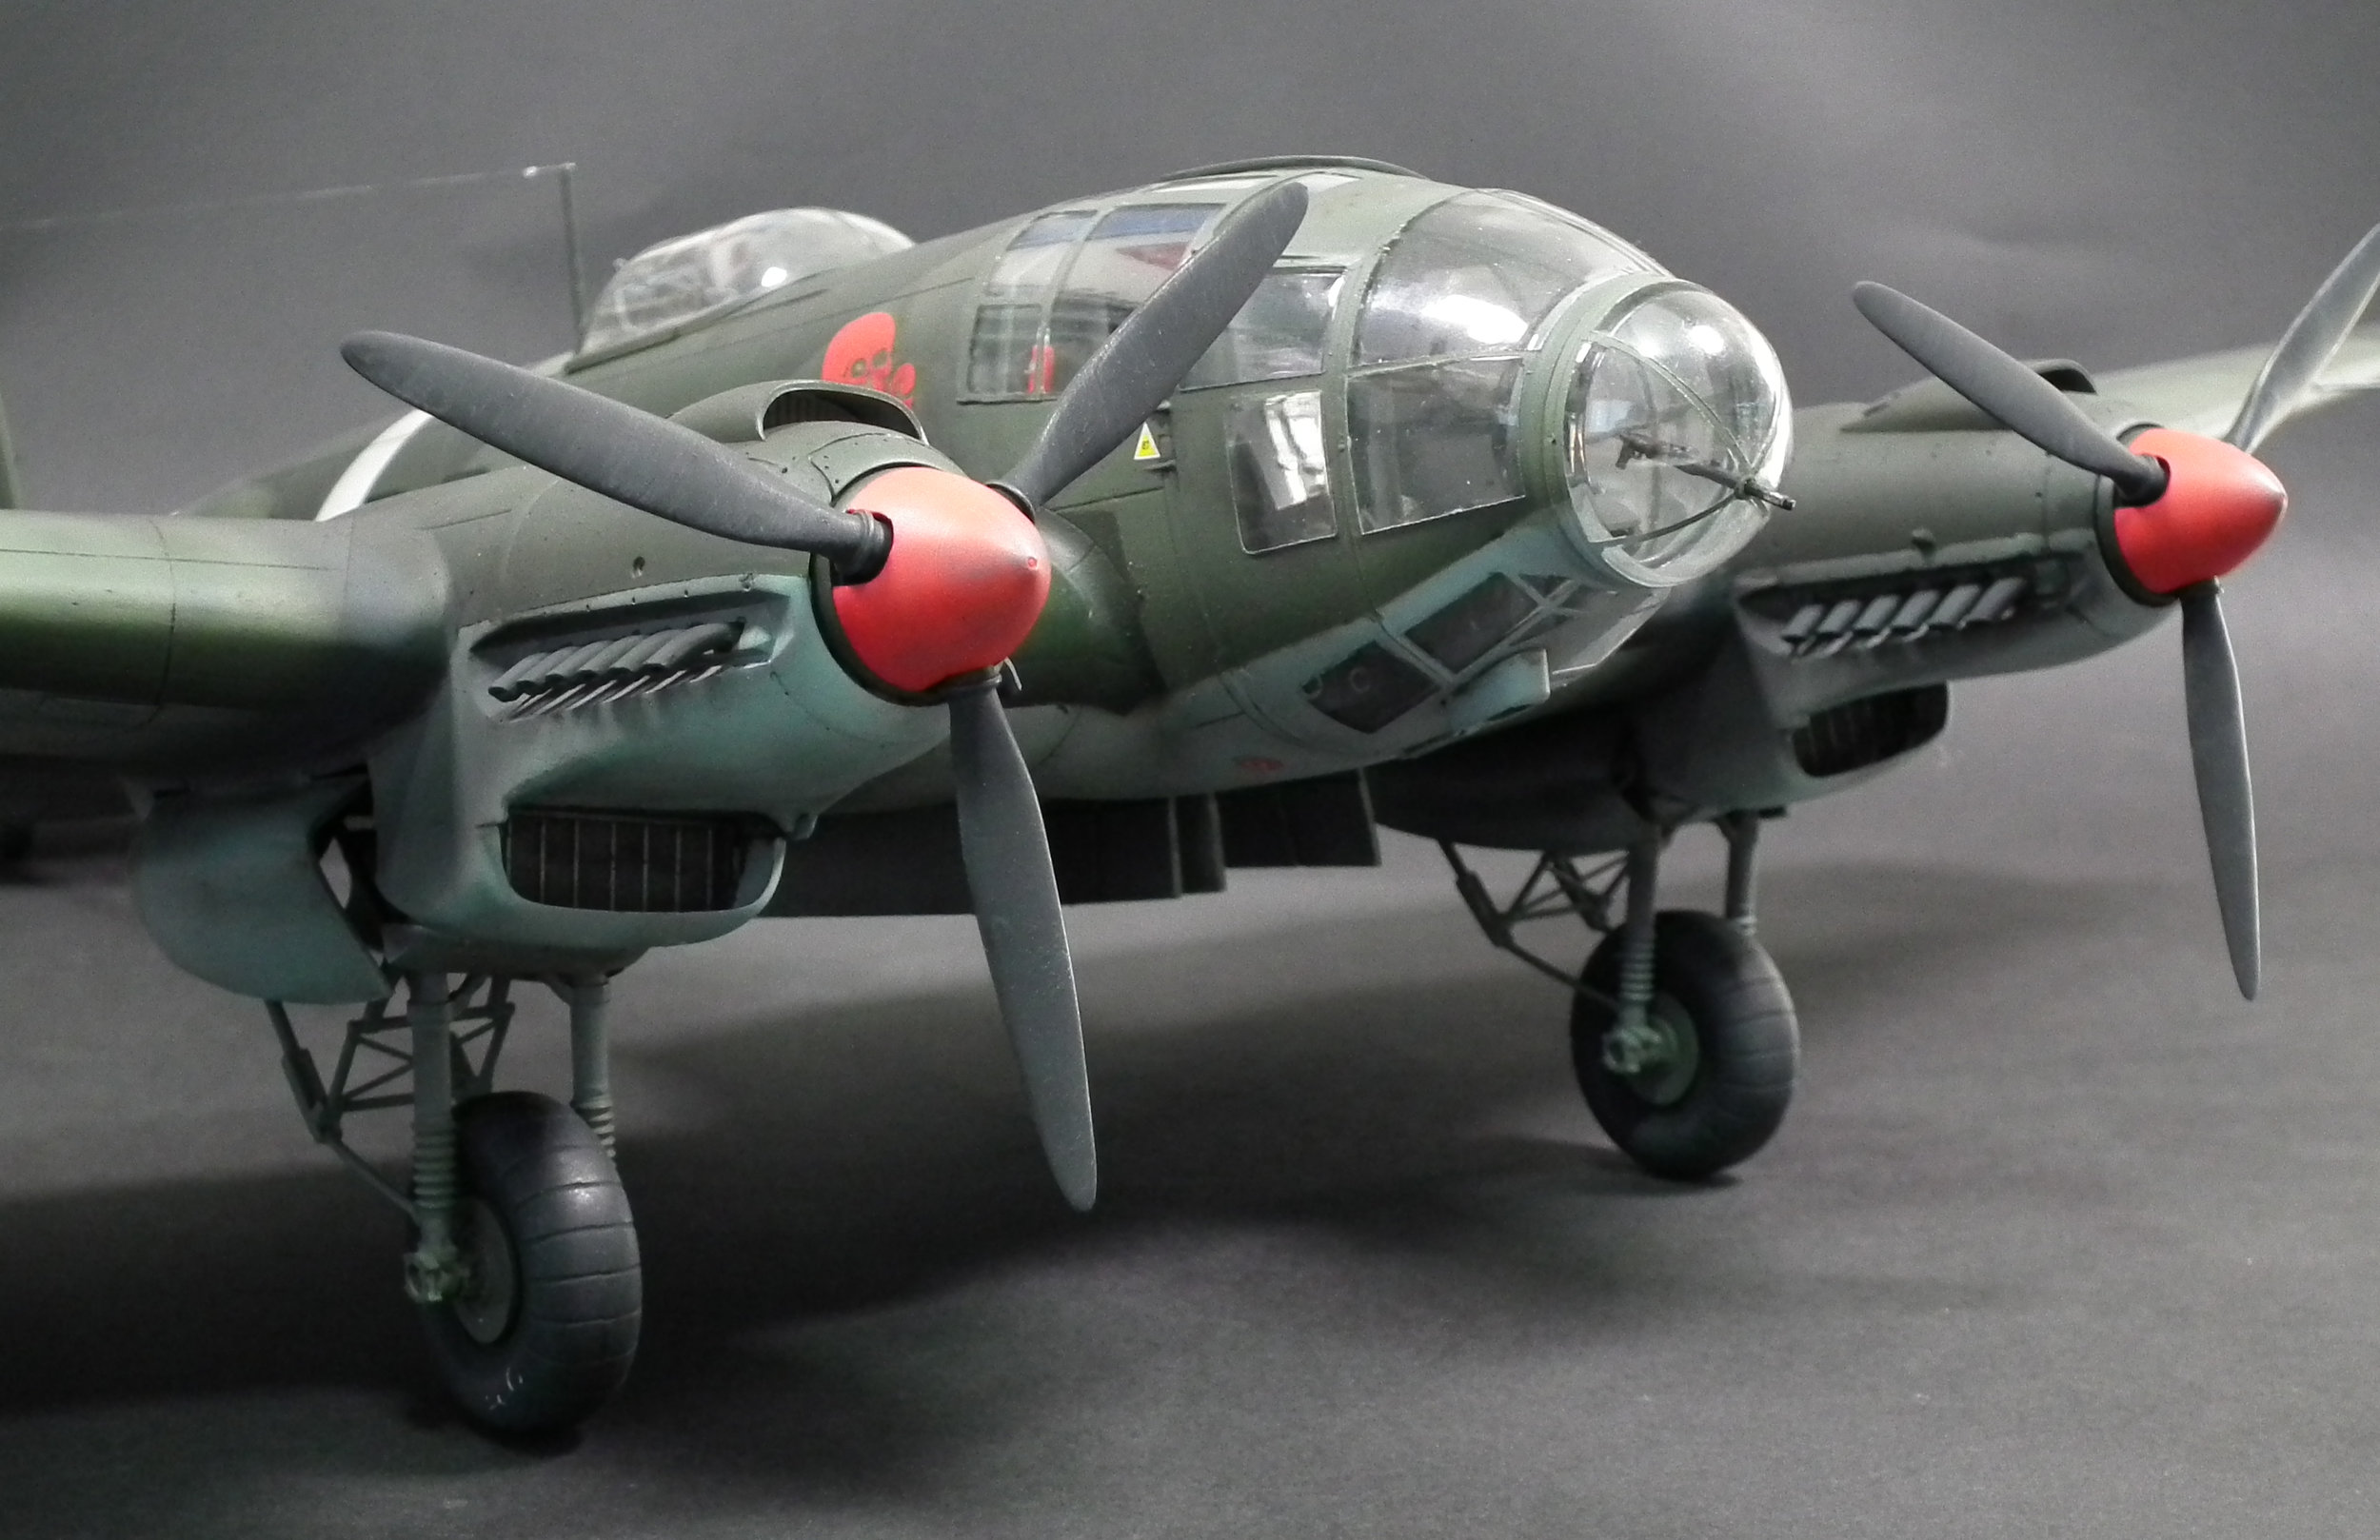
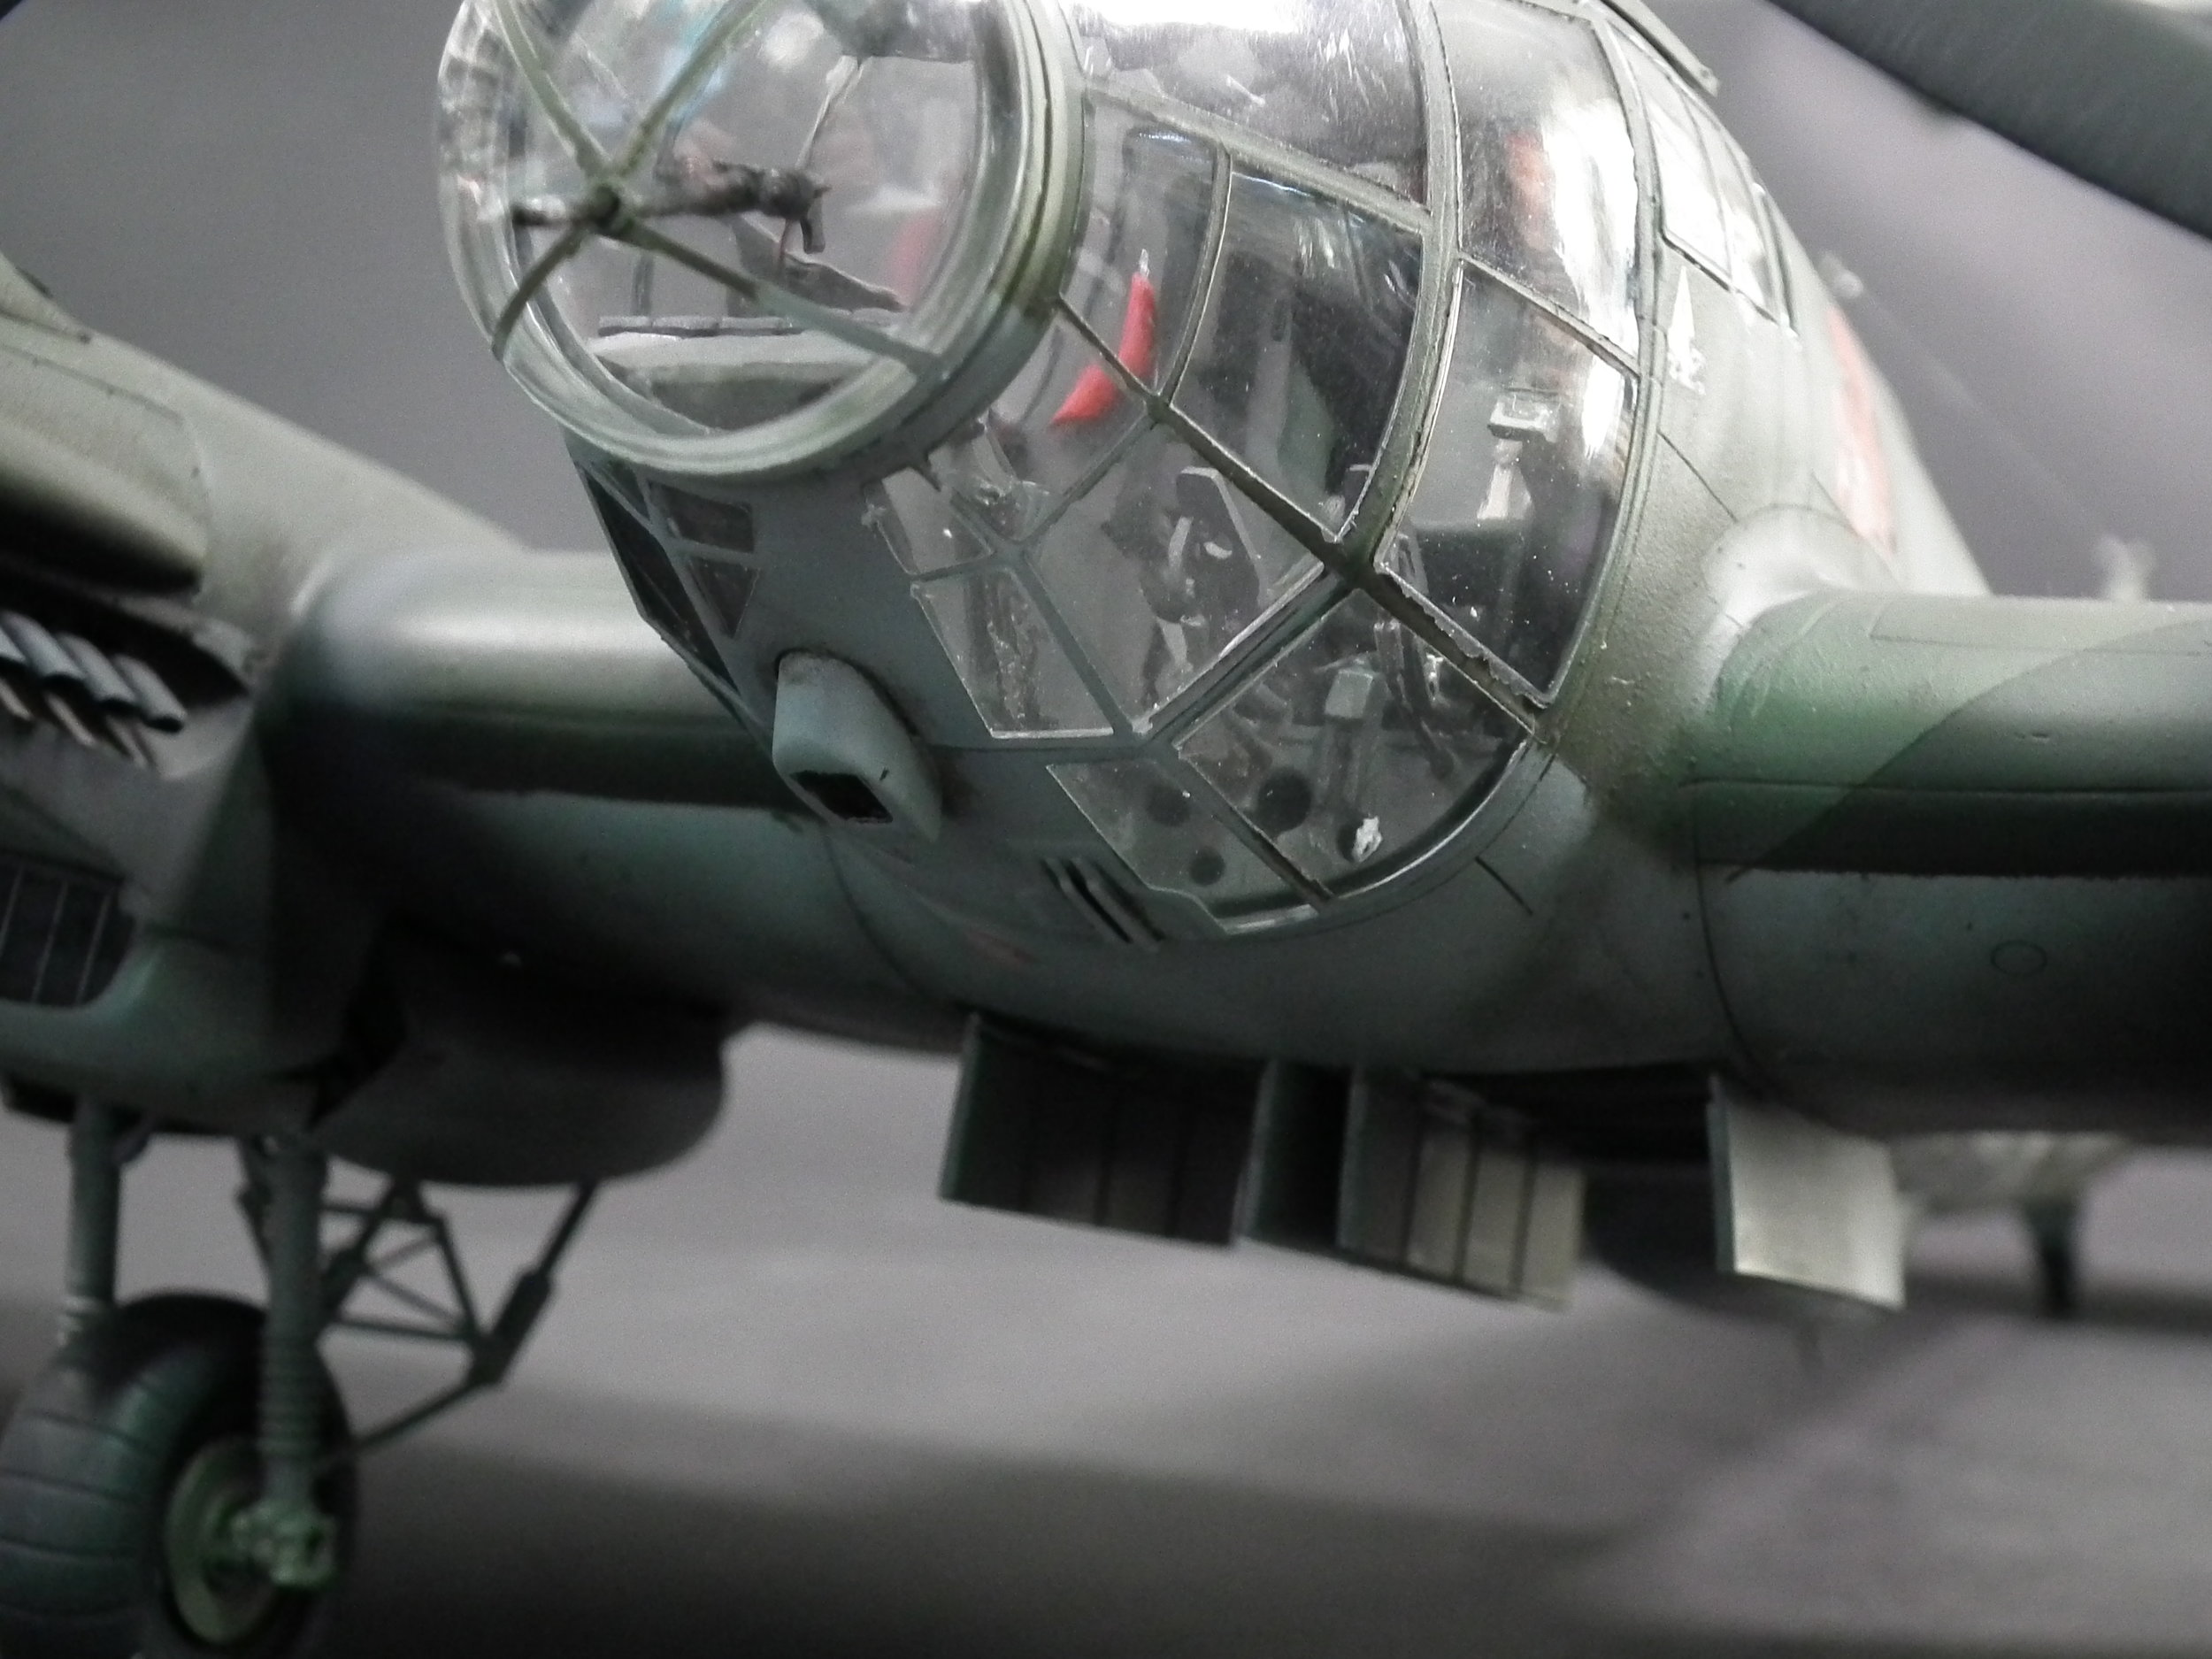
He-111 P1
Scale: 1/32
Manufacturer: Revell
Parts used: Eduard Big Edd set
Main paints used: Tamiya and Gunze
In Part one we look at the project ahead and start work on the cockpit
In part two we add the colour photo-etched parts and install all the glass work, next up is the tail wheel system
In Part Three we close up the main fuselage.
In part Four we work on the engine and wheel wells by adding the Photo Etched parts.
In part Five we work on installing the kit bomb bay and the sanding and filling the seams and putting back the panel lines.
In part six we attach the wings and then fill and sand to blend them all in.
In part Seven we move on the glazing and masking and fitting it the model
In part Eight we finish off the Photo Etched to the outside and then move in the spray booth to get the primer on.
In part Nine we pre-shade and then move in with the RAL65 light blue for the underside using AK paints.
In Part ten we carry on with the weathering of the underside of the bomber
In part Eleven we move onto the topside camo with the two tone green splinter camo.
In Part Twelve we carry on with the Camo with the dark green and the spray the white strip in place
In part Thirteen we add a dark filter to the paintwork and then it’s on with the decals and a dark wash.
In part Fourteen we get the gear instal and use a PVA glue to make the smaller windows
In part Fifteen We add exhaust stains to the model and add the chipping effect
In this final part we add more weathering with pigments we then add the Nav lights and the antennas etc for the final reveal.


