F-16CJ Falcon
Scale: 1/32
Manufacturer: Tamiya
Parts used: Eduard sets
Main paints used: Tamiya & MRP
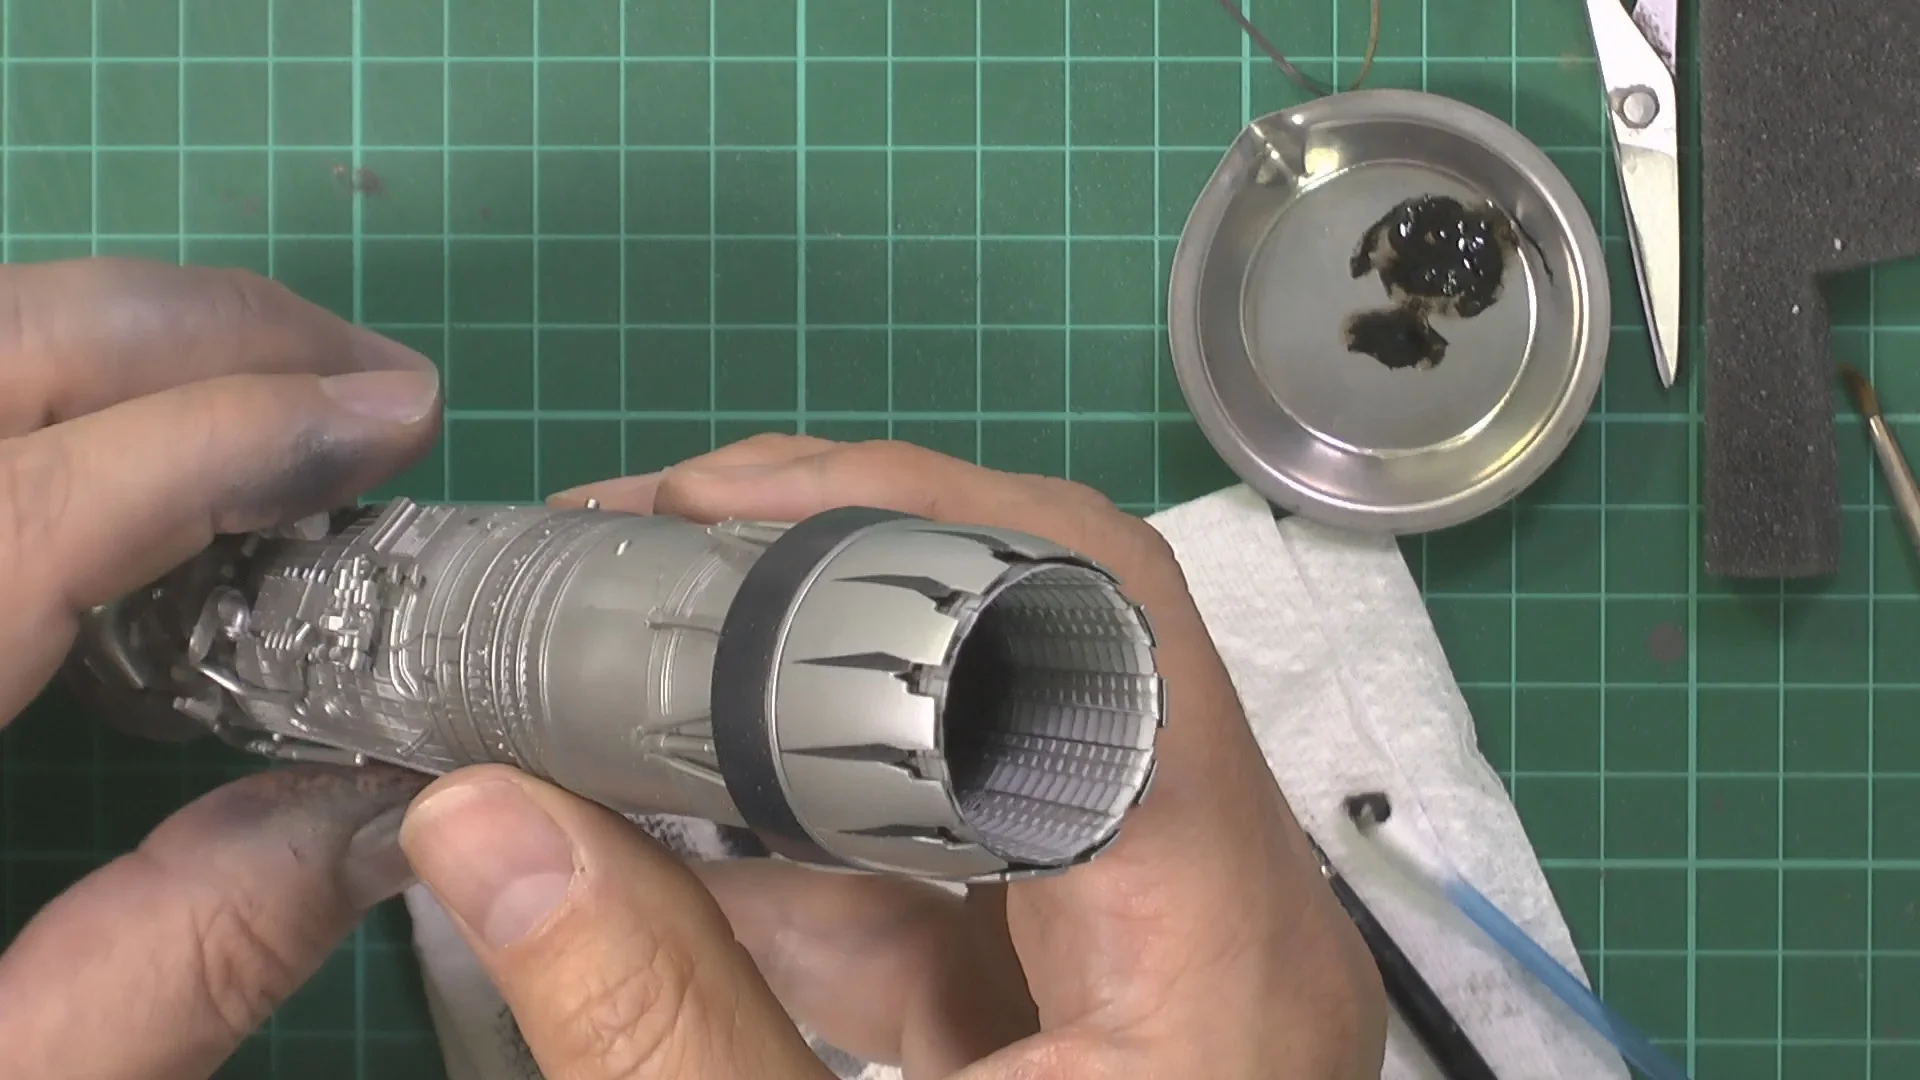
In Part on, We start with the engine and engine stand
00:00 Looking at the build ahead
12:00 Building the engine.
In Part two, we paint the engine with MRP metal paints and weather with oils
In Part Three, we Finish of the GE engine, and start work on the wheel wells and making seamless intakes
00:00 Finishing off the GE engine and stand
04:45 Building the Main gear well and intake
16:47 Making the intake seamless
23:39 Painting the rear areas with Chromate MRP-129
In Part Four, we Work on the Engine bay and intakes
00:00 Weathering the engine bay with 502 smoke oil wash
06:45 Airbrushing the intakes with MRP-99 White
20:30 Fixing the Front nose wheel so it is now retractable
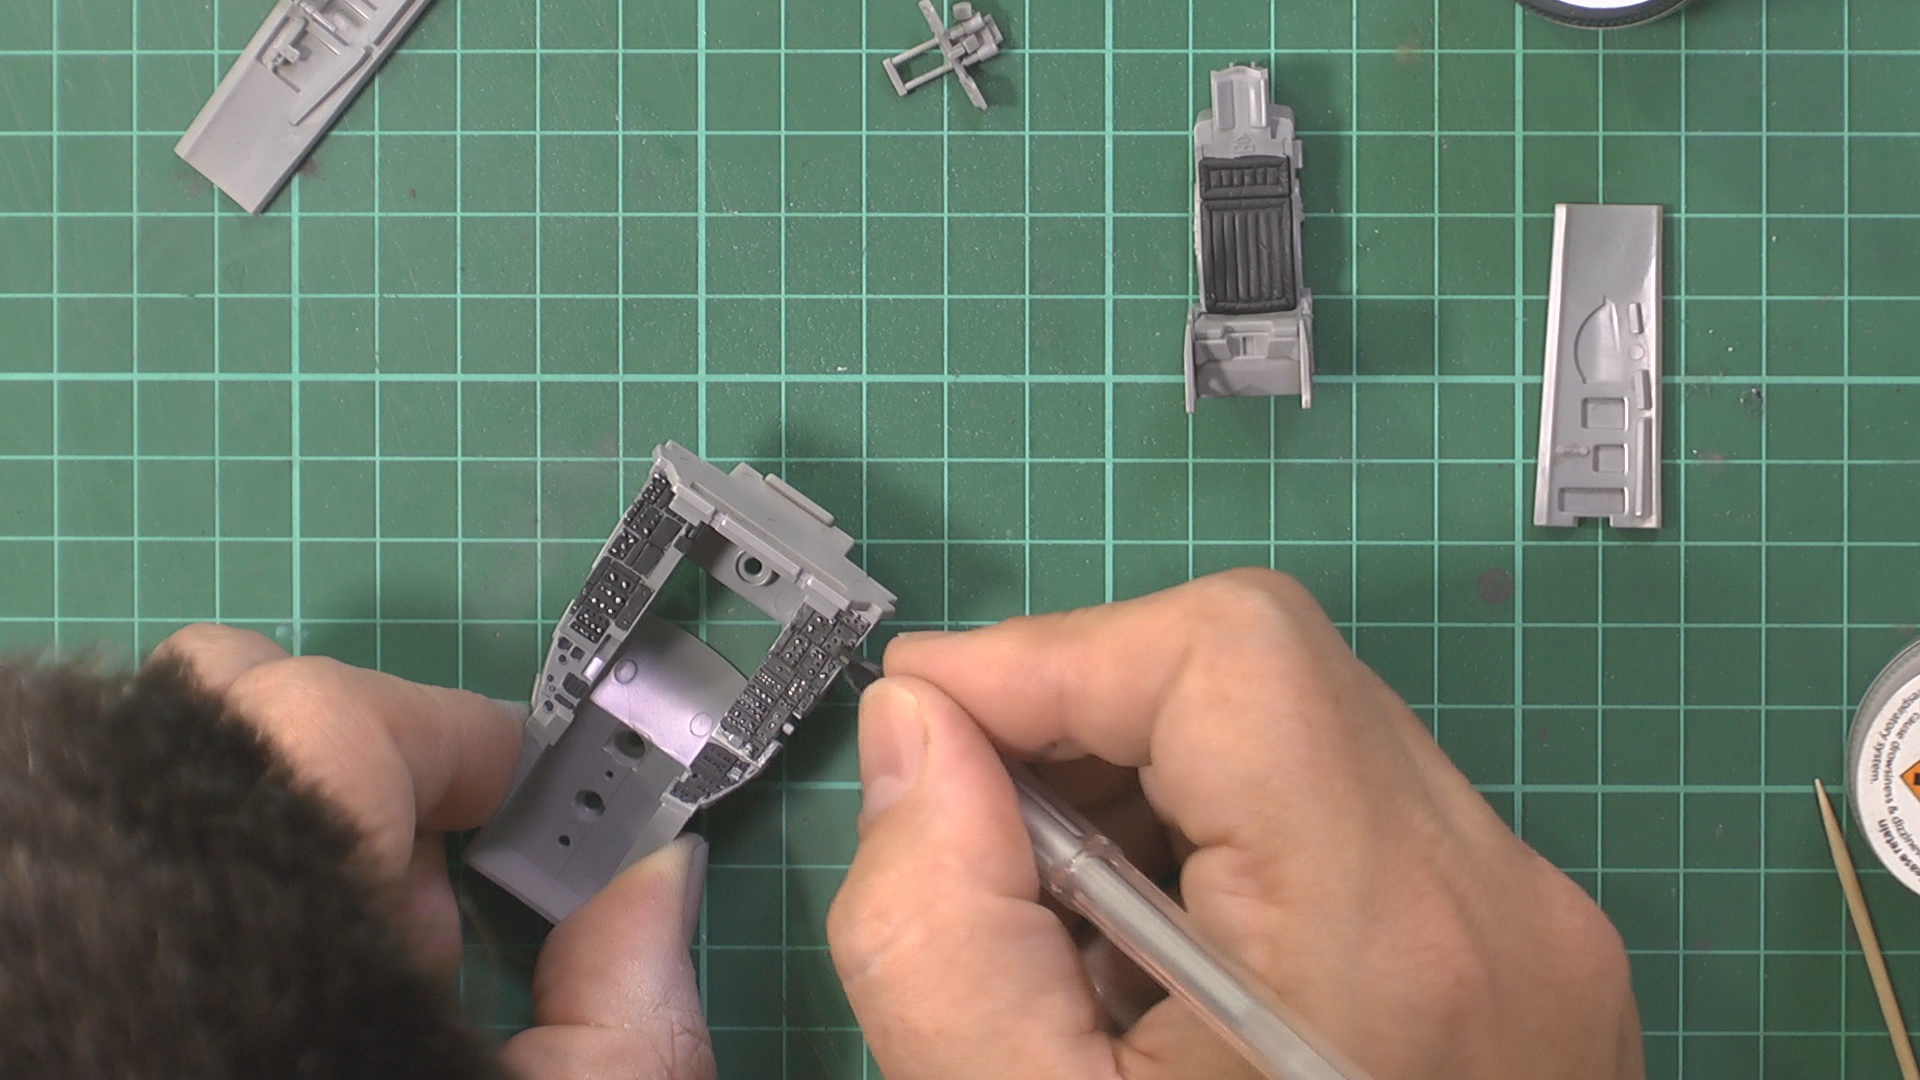
In part Five, we work on the cockpit
00:00 Assembling the cockpit and seat
05:10 Painting the gray areas with MRP Dark Gull Grey MRP-99 and then hand painting on the black side panels with XF-85
15:00 Picking out the switches and details with silver and colored jell pens
24:50 Finishing off and installing the intake duct, main gear, and engine bay
In part Six, we finish of the cockpit and bring the fuselage together
00:00 Using a thin gray oil wash to pick out the demarcation lines on the side panels
03:20 Installing the intake and engine bay to the lower fuselage
13:57 Installing the cockpit and upper fuselage
25:00 Bringing the Upper and lower fuselages together and install the wings
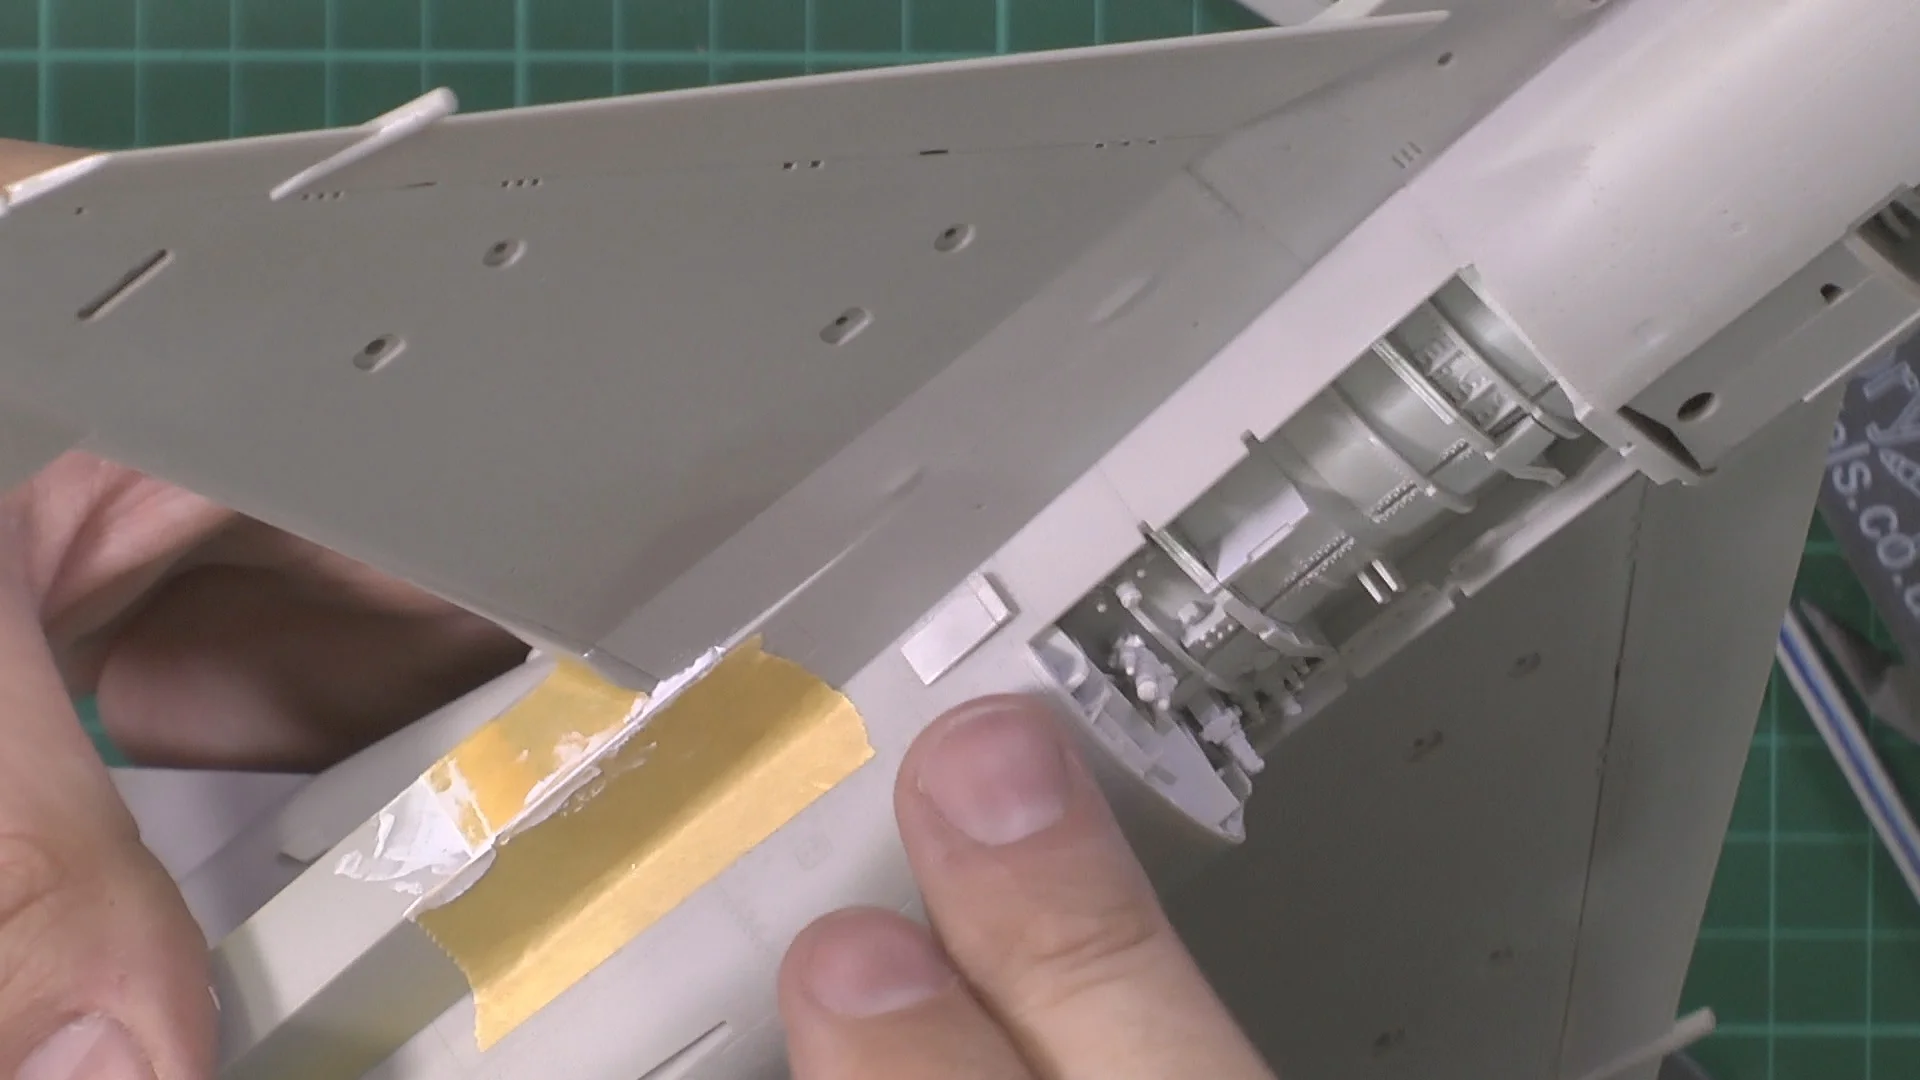
In Part Seven, we start to bring it all together with building of the gun, radar and installing the slats and flaps
00:00 Building the Falcon's M-61 A1 Gun
04:00 Building the APG-68 Radar
17:03 Installing the speed breaks, flaps and slats and take care of a small filler job.
In Part Eight, we weather and paint the gun area and polish out the center seam on the canopy
00:00 Painting the gun bay with Tamiya XF-2 White
03:47 We Paint the Gun and tailpipe area with MRP-148 Exhaust Metal
09:07 Weathering the gun bay with a wash of Smoke and then install the M-61 gun
17:11 Polishing out the mold seam from the clear canopy
In Part Nine, we move into the spray booth with the priming and the first coat of the Have Glass V
In part Ten, it's out of the spray booth and start in the decaling before we go back in for touch
00:00 Decalling with the SHG Big Scale Vipers set 32006
12:00 Taking care of any silvering with Tamiya X20A thinners
20:40 Moving back to the Stray booth to do some touch-ups
In Part Eleven, we fix a paint spill on the underside and then weather and polish the Have Glass V
00:00 Fixing the paint spill to the underside
09:36 Flory models Dark Dirt weathering wash on
14:10 Wash off with the Flory models weathering sander
23:22 Polishing the Paintwork to give us the Have Glass V look
In Part Twelve, we work on the undercarriage and making it look like it's retracting into the wheel well. We resin the engine into the bay
00:00 Cutting the white metal undercarriage so we can fold it up to give the look of it retracting.
23:00 We use two-part epoxy resin to make a strong fix so the falcon can be mounted on the pole
In Part Thirteen, we finish off the with gear wells with an oil wash and then move onto the weapons load out
00:00 Oil wash the wheel wells with Abteilung Smoke
12:20 Painting the weapons load out
17:00 Decaling and weathering the weapons
24:20 Starting on the pilot figure
In Part Fourteen, we Work on the pilot figure and the display base
00:00 Painting the pilot figure
08:54 Working with the Coastal kits blurred base
14:00 Weathering the pilot with oils
In Part Fifteen, we finish off the build and install the pilot and all the small pats to the falcon and then work on the bask and mount the F-16